
Originally, many years ago, I studied interior design and one of my passions was creating faux finishes. Basically, I altered anything which didn't move and became a little obsessed by creating illusions. One thing led to another and by the time I'd discovered embossing powders I was already experimenting with what I could do with it.
One of my favourites was to create embellishments to look like they'd been enamelled. It really is super easy to do and the result is beautiful.

You'll need a fairly sturdy base for this as it involves lots of layers of embossing, so from some thick card cut a shape like a square or oval, something with a lot of surface area.

Give this 3 coats at least of plain Bonding Powder to build up a nice thick layer.

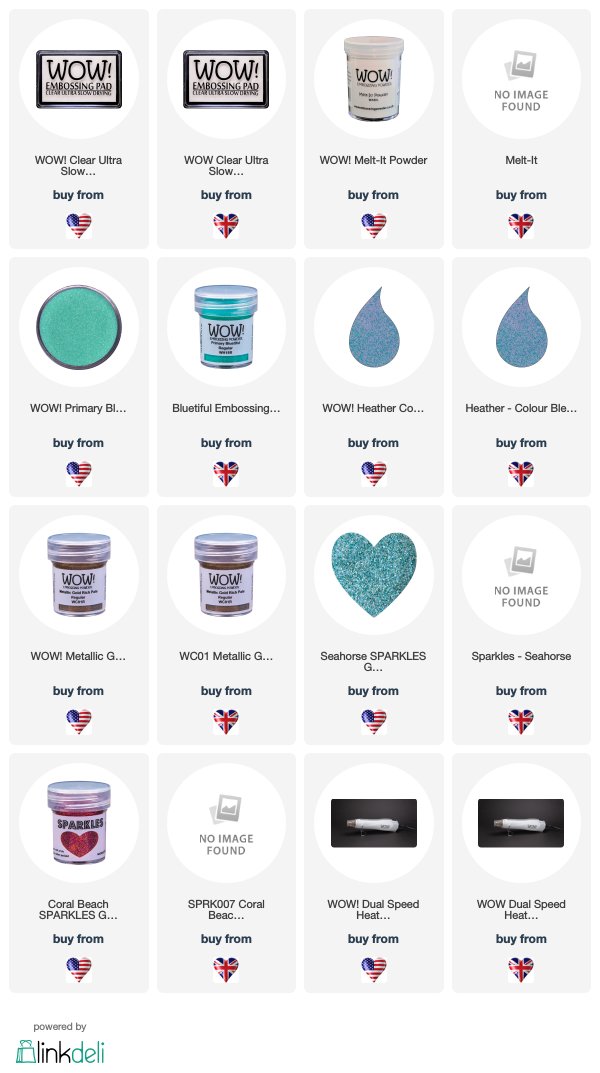
Go over this layer one more time with Bonding Powder but using a palette knife to drop two or three colours of powder onto this. I used Primary Bluetiful, Heather and Gold here. Heat it up to melt the powder definitely heating from underneath. The Bonding Powder will melt and pull the coloured powder down into it. Add one last coat of Bonding Powder to the top for more depth.


If you think it needs more powder then go ahead, it'll all add to the richness.


I created this embellishment and added it to a tag which I think is a beautiful complement to the neutral colours underneath.


I embossed the edges twice, once with Blue Tang and again with Gold.
I hope you try it out for yourself, the results are gorgeous.
Jaine
One of my favourites was to create embellishments to look like they'd been enamelled. It really is super easy to do and the result is beautiful.

You'll need a fairly sturdy base for this as it involves lots of layers of embossing, so from some thick card cut a shape like a square or oval, something with a lot of surface area.

Give this 3 coats at least of plain Bonding Powder to build up a nice thick layer.

Go over this layer one more time with Bonding Powder but using a palette knife to drop two or three colours of powder onto this. I used Primary Bluetiful, Heather and Gold here. Heat it up to melt the powder definitely heating from underneath. The Bonding Powder will melt and pull the coloured powder down into it. Add one last coat of Bonding Powder to the top for more depth.


If you think it needs more powder then go ahead, it'll all add to the richness.

For these two pieces I used Sparkles: Seahorse, Coral Beach, Starfish Eco Sparkles and Gold Embossing glitter over two backgrounds, one being black to show the difference a backing colour makes.

I created this embellishment and added it to a tag which I think is a beautiful complement to the neutral colours underneath.


I embossed the edges twice, once with Blue Tang and again with Gold.
I hope you try it out for yourself, the results are gorgeous.
Jaine
These heat embossed pieces certainly add some pizzazz to your tag and the colours you have used are so pretty. This is certainly a technique well worth trying Jaine. x
ReplyDelete