

Hello, it's Verity with another video and blog post as a Creative team member for WOW! At
the beginning of the month I was lucky enough to go to the creative craft show
at the NEC in the UK, and whilst I was there I popped along to the WOW! Marion
kindly gave me a one on one tutorial on using Melt-it and I knew I had to try it
out for my self. I couldn't resist a silicone mould that had little gingerbread
men and thought they would make fun embellishments for gift tags. So today, I'm
showing you how easy Melt-it! is.
Gingerbread embellished gift tags with Melt-it! Video Tutorial:
Gingerbread embellished gift tags with Melt-it! written tutorial:
To start off, you
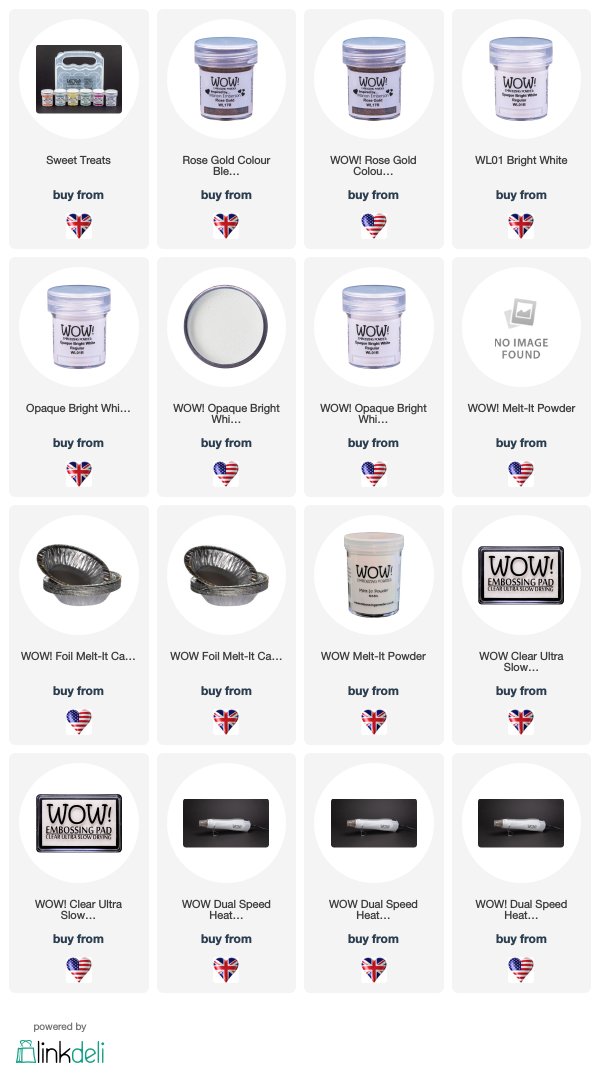
need the Melt-it powder, which comes in a large tub. You will also need a foil
case to make the melt-it powder in, and either an embossing powder or glitter
to mix with it. If the embossing powder has a 'T 'next to it, you will make a translucent
shape and if it has an 'O' it will make an opaque shape.

You will want to add the Melt-it! powder to the foil case; you can measure out a quantity, but I was estimating the amount I needed. If you didn't make enough when you pour, you can re-melt shape once set and add more powder before pouring again. If you do measure it out, make sure you use melt spoons, not plastic.
Next, add a powder of your choosing - for this gingerbread man, I'm using Rose Gold. You'll then need a pair of tweezers to hold the foil case whilst you heat the powder from underneath. The powder will start to melt and almost go clear if the embossing powder has not melted in yet. When the vast majority has melted, bring the heat gun over the top to help mix the colour whilst moving the case around.

When you're ready, pour the mixture into your mould, keeping the heat on it, to ensure it stays liquid enough whilst your pouring.
This needs to heat set before you remove it from the mould, it can take around a minute to set - if you move the mould and you notice the middle move slightly, just waiting another 30 seconds for it to solidify.
Once solid, pop the gingerbread out of the mould and you have a lovely embellishment to use.

So to create the tags, I die-cut a stitched tag from kraft card and using the Altenew 'Sweat Season' stamp set, I'm stamping the cany can in clear ultra slow drying embossing ink onto the panel and covering this is Opaque Bright White embossing powder. Both of the tags were heat set using speed to on my dual speed heat gun.

To add a little bit more interest, use a blending sponge and apply Peppermint ink by Catherine Pooler Designs in one corner and fading outwards. Don't worry about the ink on the embossing as this resits the ink and you can easily wipe it away with a cloth and brighten it back up.

Next, add some black ribbon by folding it in half, and use a gold stapler to fix the ribbon in place at the top of the tag. Add two heat embossed sentiment strips using a stamp from the Altenew 'Pine Cone' stamp set and adhered these down with liquid glue.

To adhere the gingerbread men down, it is import to use a strong adhesive, so use Gina K connect glue, and hold the embellishment down for few seconds whilst the glue starts to dry. For some added interest, add some Rock candy confetti mix from Trinity Stamps as buttons on the gingerbread men and to the background.

Gingerbread embellished gift tags with Melt-it!:
Other supplies used:
Stamps used: Altenew - Sweet Season, Pine Cone
Inks: Peppermint Scrub (Catherine Pooler Designs)
I had so much fun making these, and they hardly took any time at all. If you've not tried Melt-it! Before, then what are you waiting for?! It is just as fun as it looks!
Till next week,
Verity
Connect With Us:

Powder Arts Thermography Warehouse LTD, Caslon House, Lyon Way, St Albans, AL4 0LB
WOW! love your gingerbread men! Thanks for the how-to video!
ReplyDeleteWhat a great technique Verity and the gingerbread men look great on the tags. x
ReplyDeleteFab project! I wasn't sure chocolate type moulds would resist the heat of melted EP.
ReplyDeletevery good write up and relevant information that I am looking for. Now it’s the period to design your very own embossed swing tags. For any help, visit the Sky Com. It is a top leading UK based company and has ten years of experience. We have our own production house. Our designers use high-quality tools and machines to make your tags. Either the orders are small or large, you will get quality orders. Our tags will make your shopping experience better.
ReplyDelete