Hi Everyone!
It' Jenny here and today I'm going to show you a couple of fun techniques to combine your gorgeous WOW! embossing glitters with watercolor, including a superfun way to paint with embossing ink!
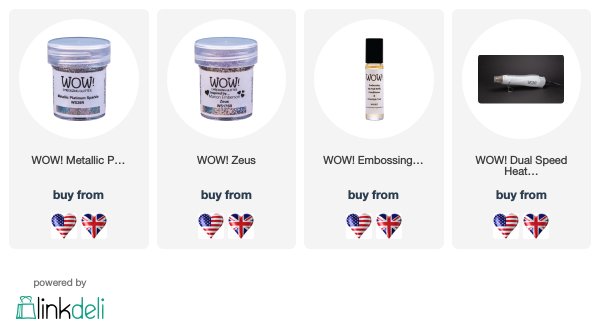
For the pink and yellow panel, before it dried, I sprinkled on some Zeus Embossing Glitter. This adheres to the water and if you heat it before the panel dries, you can melt on the embossing powder! It takes a little longer to heat due to the cold of the water but it's a great way for a random effect.
I die cut the panel with a stitched rectangle die (Simon Says Stamp) and then with a Hello Gorgeous die by Pink Fresh Studio. I adhered it to a white card base, and popped in some of the inner elements of the word die cuts. As a finishing touch because I just couldn't resist, I popped on a heart die cut from Tonic Holo Waves cardstock.
For my blue card, I trimmed down the panel to 4.25" by 5.5". I then popped the roller ball out of my WOW! Embossing Freestyle tool and poured a little bit onto a craft mat. I then dipped a 1/2" flat paintbrush and swiped some of the ink across the panel. This gives a fab painted look - I was inspired by Yaz's amazing cards here where she used a watercolor background stamp and wanted to get the look using the refill tool! I heat embossed the stripes with WOW! Metallic Platinum Sparkle embossing powder and brushed off any excess, then mounted it all to a white note card.
The 'Let's Party' is also by PinkFresh Studio and was die cut from vellum and black cardstock layered together. I finished off the card with some fun Honeybee Stamps Clear Iris sequins for a pop of subtle color.
Be sure to clean your brush with hand santizer or something else like soap and water immediately after using on the embossing ink - or use an old brush!
Have fun freestylin'!
Jenny x
Supplies

It' Jenny here and today I'm going to show you a couple of fun techniques to combine your gorgeous WOW! embossing glitters with watercolor, including a superfun way to paint with embossing ink!
I also have a video up on the WOW! Embossing Channel on YouTube showing you exactly how I created these cards.
I first created two watercolor blended panels to act as the backdrop for my embossing glitter. I used hotpress watercolor cardstock adhered to a board, and then used clear water first to wet the panels. I smushed some Distress Inks onto a craft mat and then dipped a wide flat paintbrush into water and then into each of the inks. The panel on the left uses Pumice Stone, Iced Spruce and Stormy Sky, and the right hand side panel uses Squeezed Lemonade and Picked Raspberry. On each panel I used my awesome WOW! Dual Heat Tool on setting one to dry the panels in between layers. (I did two layers of each color).
I die cut the panel with a stitched rectangle die (Simon Says Stamp) and then with a Hello Gorgeous die by Pink Fresh Studio. I adhered it to a white card base, and popped in some of the inner elements of the word die cuts. As a finishing touch because I just couldn't resist, I popped on a heart die cut from Tonic Holo Waves cardstock.
For my blue card, I trimmed down the panel to 4.25" by 5.5". I then popped the roller ball out of my WOW! Embossing Freestyle tool and poured a little bit onto a craft mat. I then dipped a 1/2" flat paintbrush and swiped some of the ink across the panel. This gives a fab painted look - I was inspired by Yaz's amazing cards here where she used a watercolor background stamp and wanted to get the look using the refill tool! I heat embossed the stripes with WOW! Metallic Platinum Sparkle embossing powder and brushed off any excess, then mounted it all to a white note card.
The 'Let's Party' is also by PinkFresh Studio and was die cut from vellum and black cardstock layered together. I finished off the card with some fun Honeybee Stamps Clear Iris sequins for a pop of subtle color.
Be sure to clean your brush with hand santizer or something else like soap and water immediately after using on the embossing ink - or use an old brush!
Have fun freestylin'!
Jenny x
Supplies


Great techniques and two very pretty cards Jenny. x
ReplyDeleteThanks for the video! Great job!
ReplyDelete