Hello there everyone! It's Riikka here today sharing a flowery card with you. I was planning to do a real summer card but somehow the project took a turn to the autumn side while I was making it. I guess it's the color scheme so just by changing the powders you use, you can make the card filled with exotic blooms or sweet meadow flowers or last blooms of the summer!
The idea to this came from the flower die I used but also from the magnificent new colors of Wow powders. I ended up using quite a few new ones here. If you want to see how I made the card, please see the step by step below!
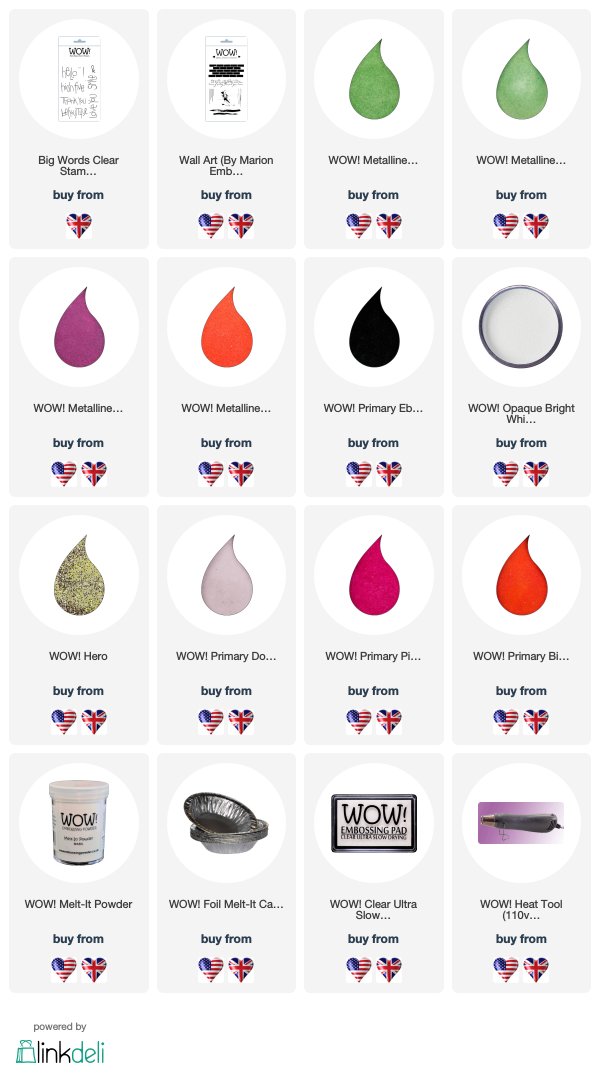
Step 1. Make your flowers. Use a flower die or cut by hand some blooms and coat them with embossing powders. I did two coats to all and used new Metalline and Primary powders. You can emboss all the flowers to same color or alternate colors like I did.
Step 2. Add dimension to the flowers by adding white and black powder to the centers. Ink the flower using Wow embossing ink but sprinkle the powder only to the center, not to the whole flower.
Step 3. Add some glitter to the center. If you want, you can only use embossing glitter but the black and white in the background bring another layer to the blooms.
Step 4. Now that the flowers are done, make some leaves to accompany them. Use a leaf die or cut them by hand and then emboss twice using Metalline powders. I used Kiwi Krush and Greenage in mine.
Step 5. Do a couple of more elements to the card to be used in layering in the card. Emboss a label shape with Primary Dovetail and a lattice styled, lace-like piece using the same embossing glitter as in the center of the flowers. Dovetail brings a lovely neutral color to the project and using the same embossing glitter on two elements binds them together, makes the card whole.
Step 6. Time to prepare the actual card base - start by stamping text, heat set and then sprinkle white powder here and there. By heat setting the stamping before adding the white powder prevents the powder from sticking to the script.
Step 7. Start to layer the elements you have prepared to your card. Start with some washi tape, twine and then the lattice. Use a stapler to attach the elements. Add then the label and the flowers and leaves. Don't be afraid to hide some of the elements partly.
Step 8. After adding all the prepared elements to the card, make a couple of embossing powder dots to further embellish it. Use a Melt-It cup, melt some powder and drip little drops to a non-stick surface. Glue the dots here and there.
Step 9. Finish the card by stamping the greeting to the tag and mounting the card to a slightly larger piece of patterned paper. Use an ink that is suitable for non-absorbing surfaces as embossing powder creates a sleek, non-absorbing surface.
There's a lot of preparing for this card but when you have all the elements, the putting together part is really quick! You can even make a bunch of these at one go as it takes almost the same time to prepare eight flowers than four.
So, have you tried the new Wow colors and products yet? What was your favorite? I really like the deep, rich Metalline colors! Can't wait to play more with those!
Thank you for stopping by today! Wishing you a great week!


A beautiful card Riikka and the reds and oranges together with the fresh green leaves look great against the darker card, and the orange and white patterned paper adds yet another layer of interest to the background. x
ReplyDeleteThank you so much Pat! <3
Delete