Moikka! It's Riikka here today sharing a step by step to some sparkling spring ATCs. My inspiration for these was the color combo of the "Mint Macaroon" and the "Opaque Pastel Yellow" powders. That combo of the minty green and pale yellow was so fresh and spring-like that I just had to use it!
Above you can see the ready triplet of cards. What looks like kraft cardstock in the first glance is actually triple embossed cream cardstock! The earthy, greyish color of the "Primary Goose" powder acts as the perfect base for the sherbet styled colors coming on top. But if you want to see how the cards were made, please see the step by step below!
Step 1. Start by cutting ATC sized pieces of cardstock and triple emboss them using the "Primary Goose". I used a light cream shade of cardstock and turned it almost into a kraft cardstock with the powder.
Step 2. Add a subtle pattern to the cards by using the "Tropical" stamp and the "Mint Macaroon" powder. The parly powder is visible in certain light and gives a lovely, subtle background to the cards.
Step 3. Add some minty acrylic paint to the cards and after it's dried add some stamping on top. I used the script stamp from the "Wall Art" stamp set.
Step 4. Use the "Opaque Pastel Yellow" powder in two different ways. First add yet another stamped layer to the cards using another stamp from the "Wall Art" stamp set and emboss with yellow. Make some roses, too, with the powder using the Melt-It powder and the "Rose Quartet" mold.
Step 5. Combine the roses to the cards and make a composition underneath them. Use some yellow wire and sewing thread. Staple the wire in place and adhere the roses on top of the thread, locking it to the card.
Step 6. Add some sparkle and shine to the cards using two colors of Sparkles, the "Twinklebelle" and "Girls Best Friend". Use a soft adhesive, such as Soft Gloss Gel, and apply it with a brush you wish to glitter and then sprinkle the glitter on top. Treat the edges of the cards as well. Let dry.
Step 7. Finish your cards with some text stickers and crystal stickers. Add the name of the card, your own name and year to the back of the cards. Then swap away!
There you have it! Embossing powders in a couple of ways, stamping to make different layers and adding sweet sparkle as the finishing detail.
Thank you for stopping by today! Wishing you all the best!
xoxo Riikka
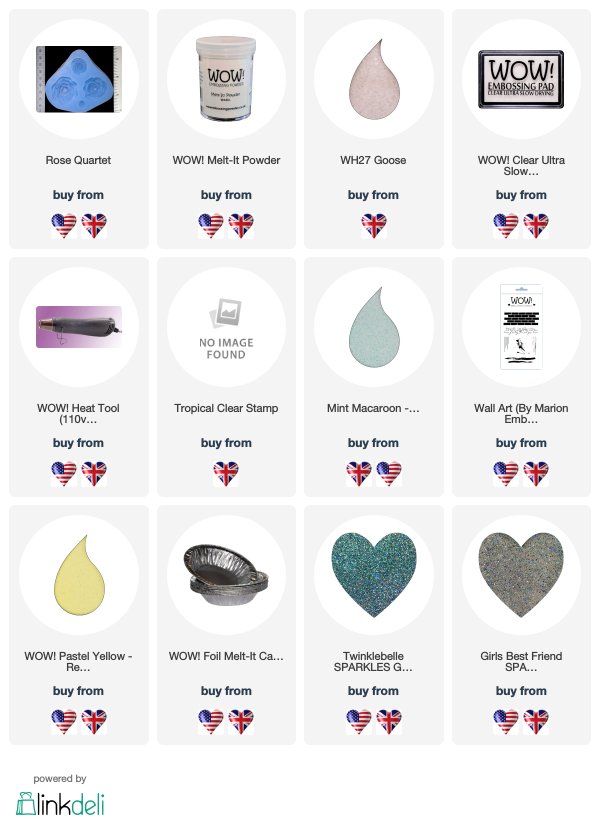
Products used:


Thanks for the step by step Riika and the colours are superbly Springlike and the layers of colours and stamping work beautifully, and finishing with the glitter and the glittery gems you have made. Totally delightful ATC's.
ReplyDeleteThank you so much Pat!
DeleteThese are lovely - and great tutorial too!
ReplyDeleteThank you Susie <3
DeleteThese are gorgeous Rika! Thank you for the tut!
ReplyDeleteJackie xo
Thank you Jackie! I'm happy you liked them!
Delete