

Heippa everyone! It's Riikka here today with a sparkling Christmas card. Well, you can so this kind of card otherwise, too, but I was thinking about snow and ice when I crafted this card.
I enjoy all the seasons and have said frequently that I wouldn't cope without the drastic change of the seasons we experience here in Finland. During the summer time the sun doesn't set at all but naturally this means that during winter the sun doesn't rise at all. Even though I love the bright summer nights and the warmth then, my favorite season is winter. Unfortunately nowadays usually the winter isn't the kind I love - with snow and chilly temperatures, but more often slush and rain. But this card reminds me of those icy, chilly winters I love. Glistening snow and frost like diamonds!

I used a few different glistening and sparkling products in my make. There's foil, embossing glitter and Sparkles, too. If you want to know, how I made the card, please see the step by step below!

Step 1. Start by adding some foil to your background. Instead of ink and Bonding Powder, take a paper glue or a planner glue pen and randomly apply that to your card base. Then add the foil on top. The effect is a bit weathered, random surface that glimmers.
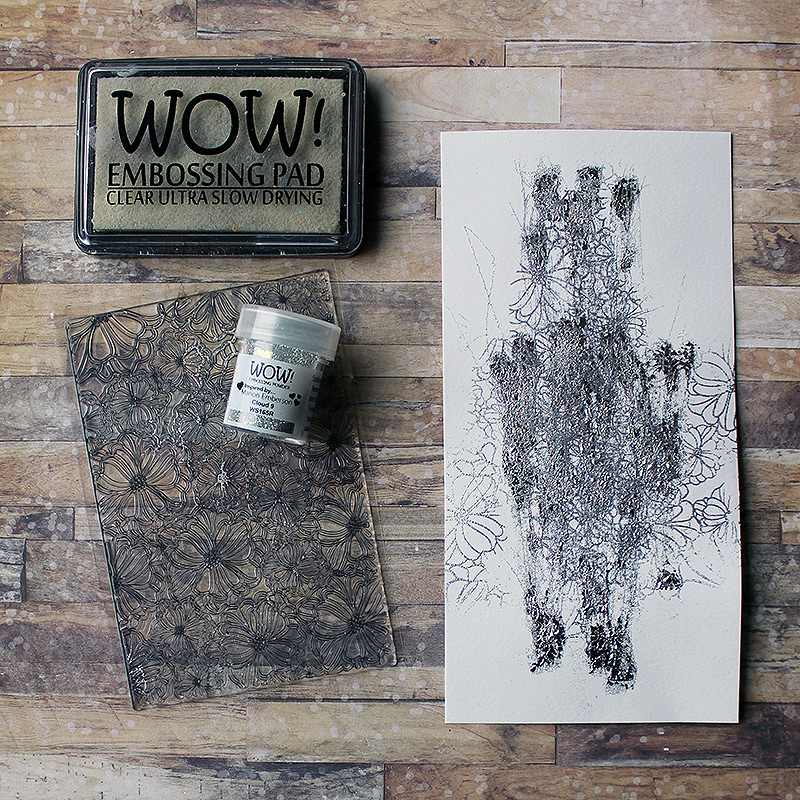
Step 2. Add some frost to the piece by adding stamping. Fist stamp the floral pattern using "Tropical" stamp and the Embossing Ink and then apply "Cloud 9" embossing glitter on top. Melt using the heat tool.

Step 3. More texture to the mix - snowy hills and frost like lace. First apply a strip of lace to the center of the card. Secure the ends to the back. Then use a dot patterned stencil and apply Light Paste through it. While the paste is still wet, add "White Pearl" on top. Use a heat tool to melt the powder and "boil" the paste at the same time. You get a snow kind of puffy dots.

Step 4. Embellish the card using die cuts and flowers. Layer the die cuts to the bottom and add the flowers on top. Use different sizes of flowers to make the composition. Adhere the embellishments securely with glue.

Step 5. Bling it on! Use a soft brush and add Soft Gloss Gel to the card around the flowers and the die cuts. Then sprinkle the Sparkles on top. Use different glitters for more impact and also choose different grain sizes.

Step 6. Use the "Buttons" silicone mold and make some buttons to be used as embellishments. Mix "Bright White" with Melt-It powder. If you need instructions how to use Melt-It and molds, please visit here (link). Adhere the buttons using glue.

Step 7. Finish the card by mounting it to a piece of patterned paper. You can effect the atmosphere of the card with the choice of the paper. Trim the paper a bit bigger than your card and adhere in place.

There's the card ready! A lot of sparkle and glimmer, but so it needs to be for Christmas and winter. Just by altering colors of the powders and embellishments you can fit the card to different seasons.
Thank you for your visit! I hope I have inspired you today!
xoxo Riikka

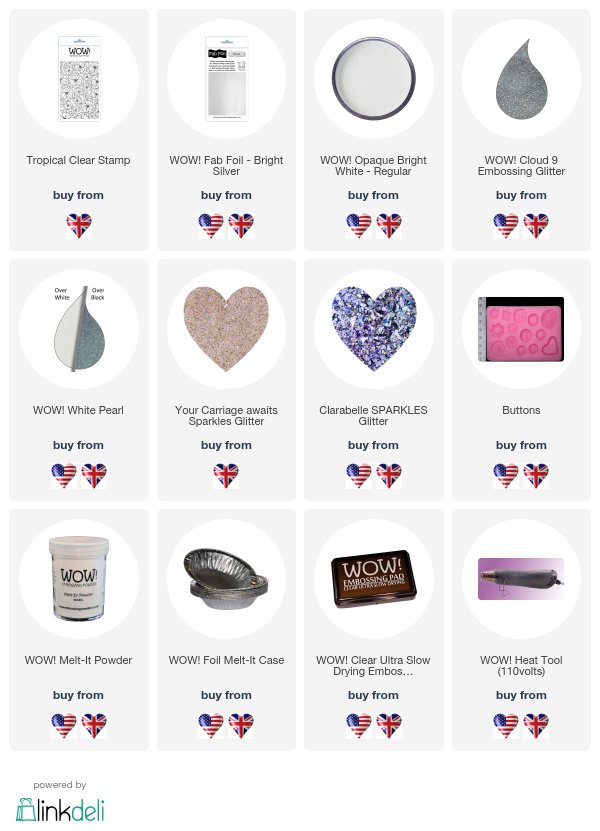
Materials from Wow Embossing Powder:

Here's what Riikka used in this gorgeous project !!
It's a beautiful card !
ReplyDeleteThank you <3
DeleteI love the pretty flowers over that glittery and textural background Riika in the quite soft fairly neutral tones. Gorgeous! x
ReplyDeleteThank you Pat!
DeleteGorgeous. It was fun to see how this came together. Hugz
ReplyDeleteThank you :-*
DeleteSo gorgeous! Love the glitter effect with fab textures, how fun!
ReplyDeleteThank you Vinita! <3
Delete