
November Guest Designer Dilia L. Ramirez |
Christmas Joy Mixed Media Canvas
Tutorial & Video


Hi, it's me again, Dilia. Here today with this second Christmas mixed media canvas. Read along for a step by step written plus video tutorial for this project.
Hope you enjoy it and are inspired to create your own! 💝
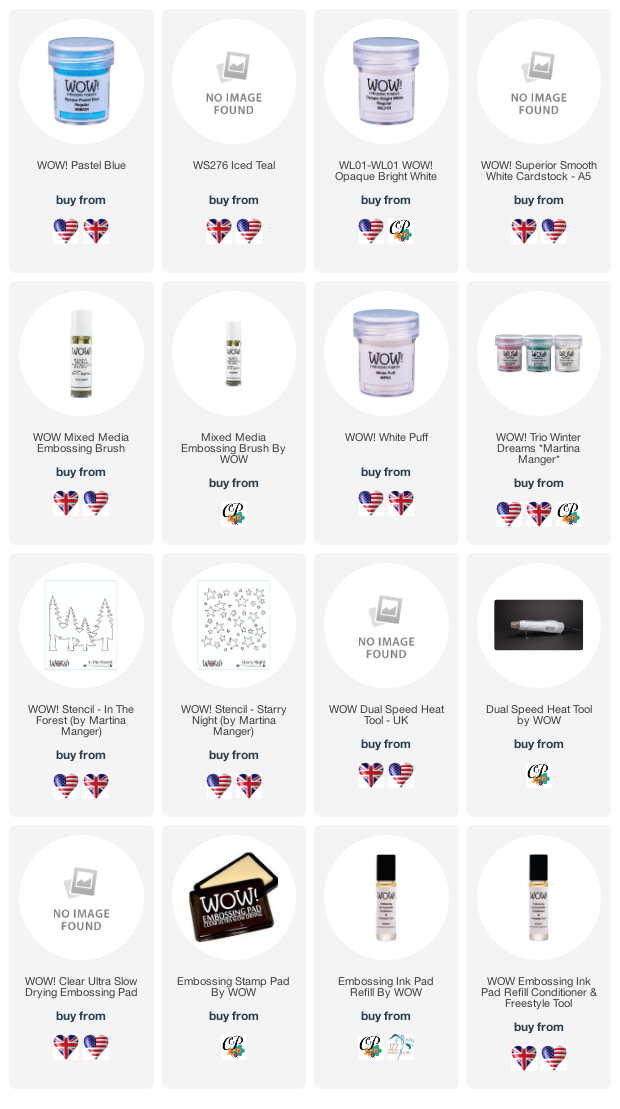
All WOW! products used are linked throughout and at the end of this post.
If you'd like to view the step by step video tutorial please see it here:
Ok so as in my previous blog posts (Project #1 and Project #2) I started this round 12" chipboard with a coat of white gesso. I then decided to create a template out of cardstock to emboss only a part of the chipboard. I hand drew the shape, cut it out with an X-Acto knife, taped it to the board and embossed the open space with the WOW! Embossing Pad and applied the gorgeous teal/silver/white mix called Bang heat embossing it with my WOW!'s Dual Speed Heat Tool. Once heatset I taped the bottom portion of that area with a piece of painter's tape to get a straight line to heat emboss what I wanted to be the road for the truck using the White Puff embossing powder. I then used Manuela's Honey embossing powder to heat emboss the bottom half of the board with the Fern Background stamp set. I used a Christmas truck ornament so I had to cut off the string with my X-Acto knife. I then moved on to painting a lot of resin embellishments with a wash of white gesso and colored a few using the WOW!'s Mixed Media Embossing Brush and then applying Manuela's Honey and heat embossing it using the low heat setting of the heat tool so as not to melt the resin.

Then I decided where I wanted the trees placed and using the In the Forest stencil I taped the trunks with painter's tape and using slight left and right flickering motions with a palette knife I applied some white texture paste. I then cleaned off my stencil (can't stress enough how important it is to do this right after using texture pastes) so you don't ruin your stencils. Then I moved on to adding some stars to the top of the board with texture paste as well using the my Starry Night stencil. From here I started adding all the embellishments I wanted to add on the project in their respective places. Then I decided to add a a line with some burlap twine/jute cord just above the "road".

At this point I regretted not adding more of the Bang embossing powder background so I used an embossing dauber from Ranger and the WOW! embossing brush to apply a little more of that beautiful background teal mix that is Bang. I used some crackle paste on the edge and I then mixed with water a small amount of an Art Ingredients Mica Powder, a teal colored one, in a small reused bottle and sprayed it to the "sky" to make up for not covering most of it with the Bang embossing powder. Thankfully the Starry Night stencil comes with both pieces the hollow trees and the actual trees so I was able to use the actual trees cutout of that stencil as a mask for my trees to spray the mixed mica powder over them. I then wiped clean the mica powder off the embossed Bang background and around the snowflake embellishments.


I then used a small foam brush to apply some white gesso over the stars to bring back the white that the mica powder had covered.
I heat embossed the Fern Background onto WOW's Superior Smooth White Cardstock using my Misti and the WOW! Embossing Pad and Manuela's Honey embossing powder and fussy cut several of the ferns out to use for embellishing my piece.


With a small brush and Ranger's Multi Medium Matte glue I applied White Puff and Opaque Bright White embossing powders to most of the embellishments to give them a white coat of "snow".


As I mentioned before please contact me with any questions.
I'm always looking forward to meeting new crafty friends.
Sending you lots hugs!
Dilia
Jx3 Inspirations by Dilia
Connect With Us:
Powder Arts Thermography Warehouse LTD, Caslon House, Lyon Way, St Albans, AL4 0LB
UK https://www.wowembossingpowder.co.uk/
(Affiliate links are used)
WOW Ultra Slow Drying Ink Pad Shop at: WOWUK | WOWUSA | WOW Mixed Media Tool Shop at: WOWUK | WOW White Superfine Shop at: WOWUK | WOWUSA | Fern Background Shop at: WOWUK |
Winter Dreams Shop at: WOWUK | WOWUSA | Starry Night Shop at: WOWUK | WOWUSA | Superior Smooth White Cardstock Shop at: WOWUK | WOWUSA |
Comments
Post a Comment