Hello, it's Verity with another video and blog post as a Creative team member for WOW! Emboss resist is such a fun technique to use with your inks. However, it's just as great to use with your watercolours. In today's video, I've got three ways to combine emboss resist withwatercolours. Whether you've got liquid watercolours, powders or watercolour pans there's a technique to suit you all.Colour trapping with heat embossing Video Tutorial:
Colour trapping with heat embossing written tutorial:
Technique 1: Liquid Watercolours
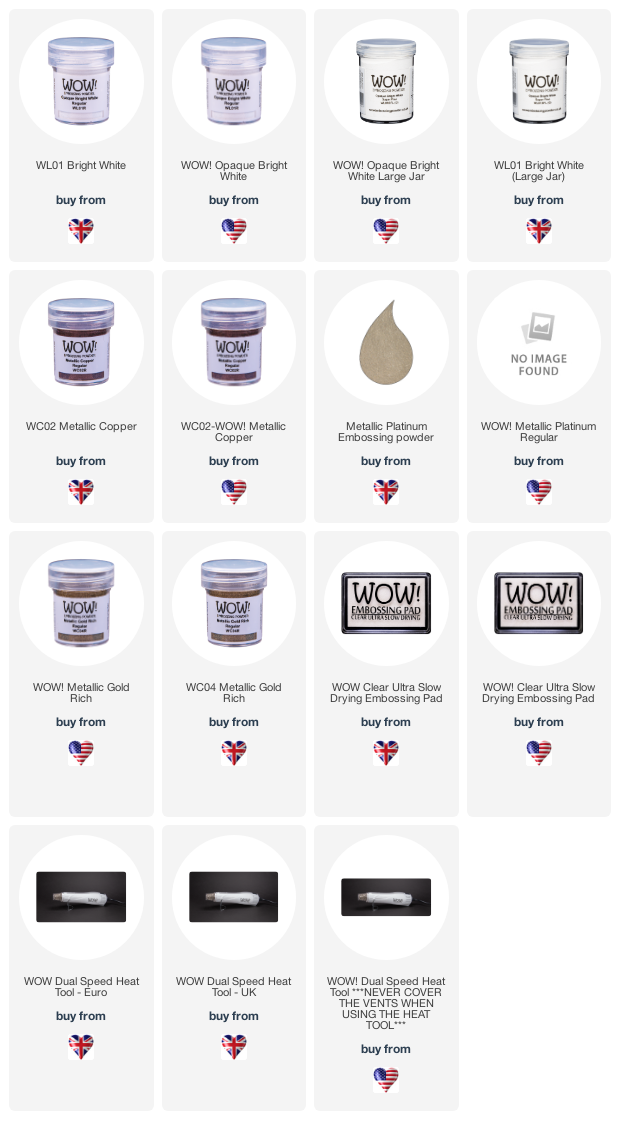
This technique uses liquid watercolours to create an embossed resist background. To start off, heat emboss the Love Note background stamp from Catherine pooler designs in clear ultra slow drying embossing ink and then cover in WOW! Metallic gold-rich pale embossing powder. Make sure you heat emboss this onto watercolour cardstock.

Once heat-set you're ready to add colour to this panel. Start off by brushing clear
clean wash over the background of the panel with a flat brush. Next, use some
liquid watercolours and use the pipette to drop out Aquamarine PinkFresh Studio
Liquid watercolour into one corner of the panel. As the panel is already wet
the colour will start to move, but to allow it to move a little bit more spray
with clean clear water in a spritz bottle. This just helps the colour to move
around a bit more.
The same process was also used for the two additional colours: Sapphire and Lavendar. Now if you're impatient, you can use your dual speed heat gun to dry your card stock without ruining your heat embossing by using setting 1.
To turn this into a card, a circle was die cut out of the
background and foam mounted onto a white card base. A sentiment from the
Kudos To You stamp set from Catherine Pooler was heat embossed and fussy cut
out to add to the card panel. A few die-cuts using the Winter Haven Die set
from Catherine Pooler designs were die-cut out of white card to create a little
house scene.
Technique 2: Watercolours Pans
For the second technique, we're going to use traditional
watercolours in their watercolour pan form. Before adding the watercolours,
first heat emboss the Painted Stripe background from Catherine Pooler Designs.
After stamping this in clear ultra slow drying bossing ink, cover WOW! Metallic
Copper embossing powder.
The watercolour pan set used for this card is the 36 watercolour pan set from Altenew. Again, add some clear clean water to the background panel first and then add Lagoon to the top of the panel. Apply this with a flat brush to get a nice smooth coverage of the colour. Next, go in with Persian blue blending this up into the lagoon. The last colour to add to this background is Midnight Violet and this transitions really well from the Persian blue into this lovely purple when blended together.
As I wanted to intensify the colours on the card stock, and as it's natural for watercolours to dry back slightly more muted in colour, I went back in and added a second layer of the same watercolours.
Technique 3: Watercolours powders
To use the Brushos apply the Brusho powder onto a dry surface. You will find what colour powders go quite a long way and you do not need a lot. I have a pin in the top of each of my Brusho lids, this creates a little hole allowing me to tap out the powder and having some control over how much comes out. The colour of powders used in this card was Turquoise, Purple and Ultramarine powder.
After you have added enough powder, use a water spritz bottle to spritz with water over the pigment powder. The water activates those small powder particles and you get such vibrant colours. The more water you add, the more diluted the colour becomes, however it also blends the colours as well. It all depends on what kind of look you're going for. I find as the colours blend I kind of get this more tie-dye look. Any excess colour you can mop up again with a piece of tissue and if you want to dry it in between powders you can also do that to.
The Mandela was fussy cutout and foam mounted onto a white
card base in one corner. For the sentiment, die-cut the Thanks die from
Catherine Pooler Designs out of soft stone card stock from Gina K, layering
this up three times to create dimension. Add another One-liner sentiment to the
front of the card to finish it off.
Colour trapping with heat embossing Supplies:
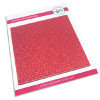 Love Note Backgroud - Catherine Pooler Designs Shop at: CPD | SB |
 Sand Background - Catherine Pooler Designs Shop at: CPD | SB |
 One Liner Sentiments - Catherine Pooler Designs Shop at: CPD | SB | LPT |
 Painted stripe background - Catherine Pooler Designs Shop at: CPD | SB | LPT |
 Kudos To You - Catherine Pooler Designs Shop at: CPD | LPT |
 Hello die - Catherine Pooler Designs Shop at: CPD |
 Thanks die - Catherine Pooler Designs Shop at: CPD |
 Winterhaven dis - Catherine Pooler Designs Shop at: SB |
 Nesting Circle Infinity Dies - Hero Arts Shop at: SB | HA | BP |
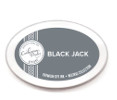 Black Jack Ink - Catherine Pooler Designs Shop at: CPD | SB | LPT |
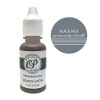 Black Jack reinker - Catherine Pooler Designs Shop at: CPD | SB | LPT |
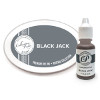 Black Jack Bundle - Catherine Pooler Designs Shop at: CPD | LPT |
 Aquamarine Watercolour - Pink Fresh Studios Shop at: SB | BP |
 Sapphire - PinkFresh Studios Shop at: SB | BP |
 Lavendar - PinkFresh Studios Shop at: SB | BP |
 White Gloss Crystal Nuvo Drops - Tonic Studios Shop at: SB | CS (UK) |
 Soft Stone Heavy Weight Cardstock - Gina K Designs Shop at: BP |
 Original MISTI - My Sweet Petunia Shop at: ALT | CPD | SB | HA | BP |
 Gina K Designs - Connect Glue Shop at: BP |
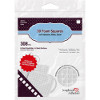 Scrapbook Adhesives 3D foam squares 1/4" white Shop at: CPD | SB | BP |
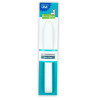 Teflon Bone Folder - Lawn Fawn Shop at: BP |
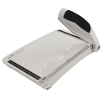 Tim Holtz 8.5 Inches Comfort Trimmer - Tonic Studios Shop at: SB | CS (UK) | CS (US) |
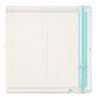 Trim and Score Board - We R Memory Keepers Shop at: SB | CS (UK) | CS (US) |



Wow, great tutorial and stunning cards!
ReplyDeleteThank you Tina :)
DeleteThree very pretty cards made using the emboss resist technique Verity and love the different looks with the script, stripes and madala and three different types of watercolour over the top and finished with some lovely sentiments. x
ReplyDeleteThank you Pat :)
Delete