Hi everyone!
It’s Erica on the WOW! Embossing Blog for my first appearance as a DT member and I’m very excited!
I have made two cards for this post, and you can find the video over on the WOW! YouTube channel as well.
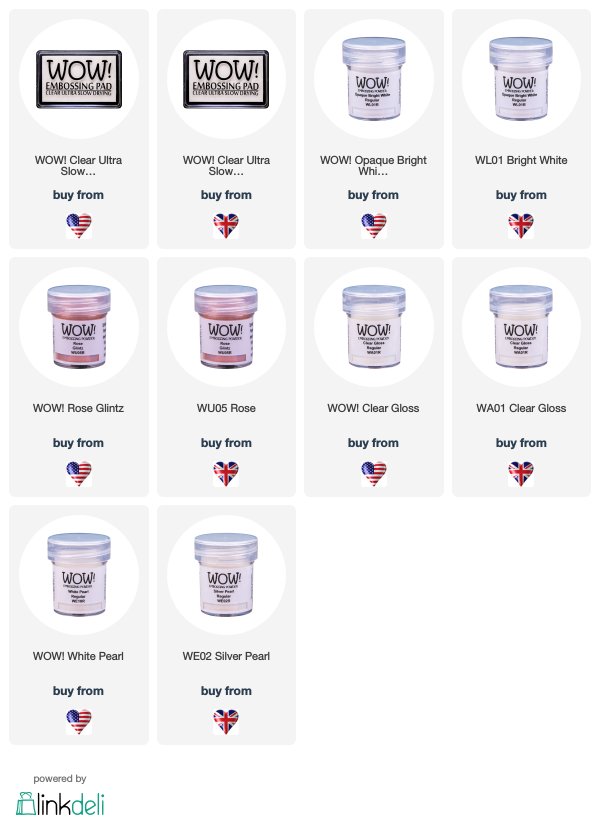
I have used one of my favourite background stamps for both of these cards. It’s Mail Background from Neat & Tangled and both are heat embossed. One with Opaque Bright White and one with Rose Glitz embossing powder. I managed to get some dog hairs on the stamp in between stamping though as I stroked one of my doggies and the WOW! Embossing pad picked those up and so did the powder. BUT I fixed it later by covering it up with a sentiment.
To add some colour to the backgrounds, I used a water colour brush and some Distress Oxide inks. On the white panel I used Tattered Rose, Spun Sugar, Worn Lipstick and Picked Raspberry.
On the Rose Glintz panel I only used two colours: Candied Apple and Fired Brick.
For interest and texture I cut out lots of different sized hearts using the Love Mail Die (this is also from Neat & Tangled) in different pink shades of paper. These are actually paint samples chips you can get from most hardware stores. To add shimmer to these I’ve heat embossed them with Silver Pearl.
While I had the die out, I also cut out some hearts in red. These I did not heat emboss though. After doing one with clear embossing powder, I thought it was actually too red so I decided against it and instead heat embossed some sentiments in white on the biggest ones.
While I had the Opaque Bright White embossing powder out, I also did some sentiments on red card stock. The same ones I did in each one of the colours I used on the background of the white one. I attached them to the backgrounds along with all the hearts and also the sentiment 'You're pretty!" which I had stamped up in Picked Raspberry for the white background and Candied Apple for the Rose Glintz one.
To make these stand out I stamped it up in ink first and then heat embossed it in clear. I repeated the process twice to make it really shiny and puffy. The MISTI is such a help when it comes to doing this as there is no guess work needed and it's so easy to build up the layers for lots of texture.
Both the cards have a similar layout, but thanks to the different colours and textures, they ended up looking quite unique.
If you want to have a look at the process of the making of these cards, hop on over to the YouTube channel to watch the video.
If you want to have a look at the process of the making of these cards, hop on over to the YouTube channel to watch the video.
I hope you have enjoyed this post and the cards that came out it. I will be back later this month, with another post and video. Until then!
Happy crafting from Erica

Connect With Us:
Powder Arts Thermography Warehouse LTD, Caslon House, Lyon Way, St Albans, AL4 0LB


Congratulations on joining the DT Erica and two beautiful heart covered cards and both with such different looks, and my personal favourite is the first. x
ReplyDeleteLove the pretty palette on these beautiful cards, congrats!
ReplyDelete