Hello, it's Verity with another video and blog post as a Creative team member for WOW! Often people see heat embossing is just a way
to add some shine to your stamping. But why not use it in a way that adds
another design element to your cards.
In today's video, I'm
focusing on Spotlight embossing and how you can use heat embossing to add a
spotlight/focal element to your card, for which I have several different
examples to show you from a simple idea for beginners to a few more stepped up
ideas for more advanced crafters. Hopefully, you'll find one method that you
like and that you might want to use in your next project.
Spotlight Embossing video:
(You can view this directly on WOW! Embossing Powder YouTube Channel HERE)
Spotlight Embossing written step-by-step tutorial and photos:
Technique 1: Block heat embossing on a stamped background
The first technique is the easiest one to do and this is block heat embossing to add a focal design element to your stamped background.For this card, I'm using the Whimsy Stamps Spiral roses rubber background stamp and to use this in the MISTI, you need to remove the foam pad. To ensure the card is completely covered with the design, place the card in the middle of the stamp by applying some repositionable tape to the back of the card, then lay this on top of the stamp with the adhesive side face up.
Next, close the MISTI back to front, so closing the base on top of the stamp, pressing down so the adhesive sticks to the base of the MISTI, flipping it over and then the opening it back up. Now the cardstock adheres down in place, and if needed you can restamp a couple of times, knowing the card won't move position.
Next, ink up the stamp with my Clear Ultra Slow drying embossing ink and stamp onto some Gina K Sweet Mango Cardstock. Do this twice for a darker appearance as we will leave most of the stamped design in the embossing ink as it acts as a watermark ink and will give a tone on tone look.
Ok, so next use some Heffy Doodle memo tape, but any low tack tape would work, to mask off a strip of the card where we are going to add heat embossing.
Now I restamped this once more to ensure the stamped area is sticky and then covered this with WOW! Metallic Gold Rich Pale embossing powder. Do not remove the tape before you cover with powder, as 1. the ink from the main stamping may still be wet so the powder would also adhere to this, and 2. the tape may leave some sticky residue that the powder could stick to as well.
Next, heat the powder using the Dual speed heat gun from WOW! on the faster speed and when you remove the tape you have a lovely strip of heat embossing which acts as a spotlight on the background design.
Technique 2: Block heat embossing on a heat embossed background
This second technique uses this block heat embossing again to create a focal element but on a heat embossed background design instead.
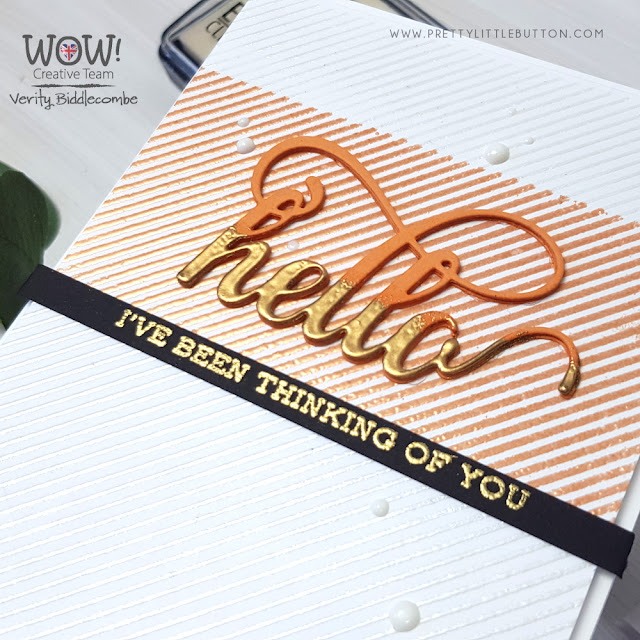
So, this card uses the Pinstripe background from Altenew and is stamped onto a piece of Solar White Classic Crest 80lb cardstock with a strip of the card masked off. For this background, cover the design with White Pearl embossing powder.
Okay, so next place the card back into the MISTI, and masking off either side of the strip we have not embossed and restamping the background again in the slow drying ink. This time, use a colour embossing powder to contrast against that subtle tone on tone heat embossed background to create the spotlight effect.
The powder I have used here is the Aztec Glintz powder, and this is stunning. It is a lovely pearlescent burnt orange, and pairs so well with the pearl powders as it has the pearlescent shine when heat set.
Technique 3: Spotlight embossing on a die-cut
For the third technique, we are going to use spotlight embossing on a die-cut. So die cut the 'thanks' from the Altenew Script Words 2 die set from white card and place it back into your MISTI, positioning the die cuts back into the negative space on the card panel. The best way I find to keep them in place, including the inners of the letters, is to cover the negative space on the back with washi tape. This makes your negative die-cut space sticky, so you can place the pieces back in and it holds it all in place.
So using the tropical stamp from WOW! ink this up with slow-drying embossing ink. The washi tape allows you to remove just the word die-cut and cover only that piece in powder. For this card, I'm using the Aladdin embossing glitter which is an orange mix with gold glitter in it. If you need to restamp and cover once more in powder, it is easier enough to adhere the word down in you make shift sticky die-cut window to do.
To finish the background, stamp the remainder of the card with the Tropical stamp with a selection of Catherine Pooler inks. Start off using Limoncello inking up the top end of the stamp. Then moving down the stamp ink this up with Tiara, then Tiki Torch and lastly Orange Twist. Now, as you're inking the stamp up, overlap the colours slightly to try and blend the colours. Then once you've stamped it you get a lovely bright ombre background.
Technique 4: Negative space spotlight heat embossing
The fourth technique uses heat embossing to create negative spaces on your card. So die-cut a heart from some Inkadinkadoo masking paper, and position this over to one side on a white card panel. Next, stamp the Script background stamp from Honey Doo Crafts in embossing ink.
The embossing powder I'm using for this card is Pop and this comes in the Confetti Trio. Now, this has some large chunks of the powder, and this is quite a thin delicate stamped design, so the large chunks won't adhere to it that much. However, I just wanted speckles of the larger chunks to appear which did happen when it was heat set. This is an orange-based powder with chunks of white and silver that melt blend with one another.
Ok, so as I remove the mask, you have this negative shape of the heart providing a focal point for the card, and it is the heat embossing that creates that spotlight.
Technique 5: Spotlight dip-dyed heat embossing
The last technique of spotlight embossing is a dip-dyed heat embossing. For the second background we created, die-cut the Altenew Fancy Hello die from Sweet Mango cardstock several times and layer up for dimension. To add the spotlight embossing, take your embossing pad directly to the die-cut and smoosh it down over one half of the die-cut.
Next, cover this with Metallic Gold Rich Pale powder and heat set. This gives the illusion that you have dipped or dyed the bottom of the word in gold. Now, I repeated this twice for a smooth finish, but it is personal preference on the number of times you may want to do this.
Assembling the cards
For the first background, I've kept it nice and simple to allow the spotlight embossing strip to shine. Use the happy die from the Altenew Script words 2 set in white card and add a Gold heat embossed 'Anniversary' sentiment from the Altenew Sentiment Strips stamp to the card.
The second background was foam mounted onto a white card base, and the dip-dyed 'Hello' along with a gold heat embossed the sentiment was added to the front.
For the third background, this was matted onto a white base layer but I wanted the sentiment die-cut to pop out even move from the busy background. So using the same colours that we used to stamp the background, ink blend these onto the die-cut for a bold Ombre look to contrast against the background. This really helps to bring out the spotlight embossing on the die-cut. The whole panel was adhered onto a sweet mango card base, and the die-cut was layered up for more dimension. A gold heat embossed 'You're amazing' with Gina K Connect glue to the front of the card.
For the last background, another heat embossed dip-dyed sentiment from the Script Words 2 set in Sweet Mango card was added to the background which had been foam mounted onto a white card base. Again, gold heat embossed sentiment was also added. All four cards were finished off white Tonic Nuvo drops.
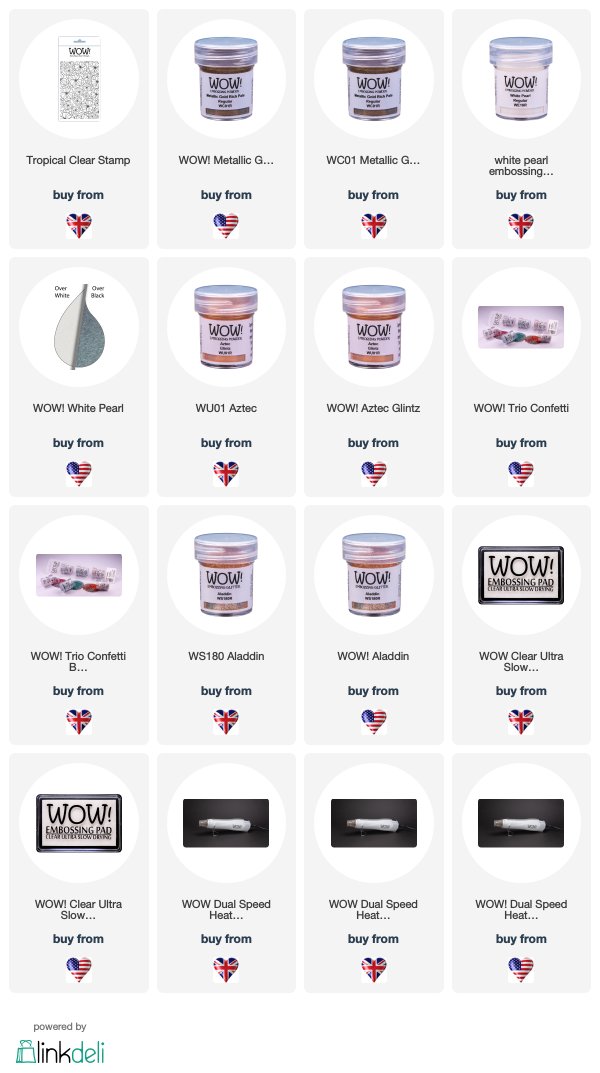
Spotlight Embossing WOW! Supplies used:

Other supplies used:
Dies used: Script Words 2, Fancy Hello (Altenew
Stamps used: Sentiment Strips, Pinstripe (Altenew), Script (Honey Doo Crafts), Spiral Roses Background (Whimsy Stamps)
I hope you enjoyed today's video and stay tuned for more to come. If you make a card with this technique, make sure to tag us #wowembossingpowder so we can check your creations out!
Till next week,
Verity
Pretty Little Button Blog | Instagram | Facebook | YouTube
Connect With Us:
Powder Arts Thermography Warehouse LTD, Caslon House, Lyon Way, St Albans, AL4 0LB


I think these are all stunning Verity with great techniques and really well explained, also love the colours of the card and the bright and pretty embossing powders. Altogether gorgeous cards. x
ReplyDelete