Hi Everyone!
It's Jenny here, and today I'm sharing three cards with you that use one of my favorite techniques - emboss resist, with watercolor. The added 'bonus' on these three cards is that the background is super quick and easy. You embellish them as much or as little as you like (or depending on how much time you have!) and I have a few ideas here to inspire you.
There's a video too which you can find here, or over on the WOW! Embossing channel.
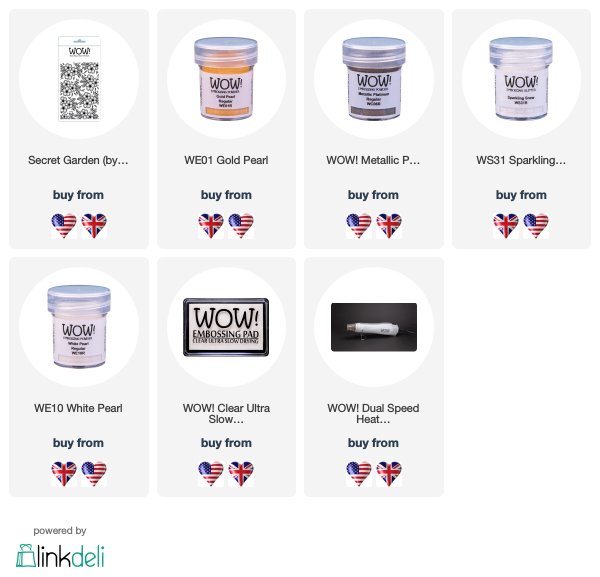
All three of my cards feature the WOW! Secret Garden stamp set designed by Marion Emberson - I love this stamp, it's got super pretty florals that are great for coloring or these techniques.
For my first card, I first stamped Secret Garden onto Distress watercolor cardstock with WOW! embossing ink. I then heat embossed it with WOW! White Pearl embossing powder (LOVE).
I watercolored the panel (which I adhered to a board with tape) with my Altenew Pan watercolors, painting clear water over the panel first, then using a wide brush, created a pink ombre background starting with dark pink at the top, moving to lighter pinks and blending out with more water towards the bottom. I drived the panel on setting 1 on my WOW! Embossing Dual Heat Speed tool and then repeated. When dry, I die cut the panel with a Deckle Edge Rectangle die by Honeybee Stamps.
To finish my card, I trimmed a strip of purple cardstock and heat embossed a sentiment from Pinkfresh Studio's Scripted Bold Sentiments 2 in WOW! Metallic Platinum (which is a warm silver and basically goes with everything!), and die cut it with a banner die. I then popped it up foam tape and added a few sequins. The entire panel was mounted onto a white notecard with foam tape.
For my second card, I heat embossed the image with WOW! Gold Pearl. I then used my watercolors again and added in really quick color with a large brush into the images - just splodge in the color! I did yellow for the main florals and then dropped in some orangey-coral - I just let it blend on its own for a more sketch look. I added some olive tone to the leaves. I then dried with my heat tool.
When dry, I die cut the background with circle dies of varying sizes, and adhered them onto a white card base with different levels of foam tape. I added a sentiment strip as before, again heat embossed in WOW! Metallic Platinum on black. The sentiment is from Altenew's Crafty Friends. As a finishing touch I added some sequins.
My final card is my favorite! I heat embossed the stampset one more time, this time in WOW! Sparkling Snow which is a gorgeous clear glitter with opaque white embossing powder - I just love it. I added some clear water to the centre, then dropped in various paint colors to create a rainbow, letting them blend only slightly. I then let it dry naturally and die cut it with a stitched rectangle die.
I popped it up on craft foam onto a white notecard. For a little more interest, I added a leaf die cut from vellum, using the Simon Says Stamp Clustered Leaves die which I added with liquid clear adhesive. I trimmed it off at the edges. The sentiment is in Metallic Platinum, and is from Pinkfresh Studio's My Favorite Things to Say set.
All of the WOW! supplies I used are listed below. I hope you have a wonderful day!
Jenny x


Beautiful cards !! Watercolor with heat embossing is my favorite technique too :)
ReplyDeleteThree really pretty cards using this beautiful flower stamp and the watercolours are beautiful with the resist embossing. x
ReplyDelete