

Hi Everyone,
It's Jenny here with a video showing you how to use WOW! Fab Foils with WOW! Bonding Powder. I've been meaning to try this technique forever and I found a few tips and tricks along the way which I thought I'd share with you.
You can check out the video over on WOW!'s YouTube Channel here:
I took advantage of the opacity of the foils by choosing coloured cardstock to foil on - pink, purple and dusty rose from my stash.

For this card, I used the Pink Fresh Studio Dainty Botanicals stamp set. All of the images were stamped in WOW! Embossing Ink and then I added WOW! Bonding Powder and heated it. Exactly the same way as you would with a normal embossing powder.

One of the tricks with foiling is to have your foil ready to go and heat the bonding powder a little longer than you would with normal embossing powder, then immediately add the foil. I find it helps to use a teflon bone folder to burnish the foil, and then 'waft' the cardstock a little with foil still on to cool it down before peeling it back. For this card, I used the Pink Fab Foil for a tone on tone look.

On my next card I used the Catherine Pooler Designs Flourishes Background with Silver Fab Foil. I find that if you slowly lift the foil back and see any areas aren't quite picking up the foil, heat up the bonding powder a little before laying the foil back down again. You can use this method to 'fill in' any gaps in the image when you have done the initial foiling too.

On my final card I used the Simon Says Stamp Center Cut Fancy Flower Background stamp. These are finer lines than the other images and actually a little trickier to foil. You can go back and reheat then apply foil again to help get a clearer image although with bonding powder, the look will likely always be a little distressed - I think it gives a more unique look and you can always build it into your card as a feature too.

I finished each of my cards in a similar way - I used the CZ Designs dies Good Luck, Love You and Thanks 1. I die cut the background part of the die from Vellum, and the main word element from the same cardstock I used for the cards themselves (I also used this cardstock to create the card base) and adhered them together. I then popped them onto the card panels.

The sentiments were stamped again onto the same cardstock and heat embossed in WOW! Bright White Opaque embossing powder then popped up on foam tape. (The sentiments are from Simon Says Stamp: Great Things, Love You Like and Messages for Everyday).
I love how these turned out and hope this helped inspire some of you to pick up the bonding powder and foil - it's a unique look and so much fun!
Have a wonderful day!
Jenny x
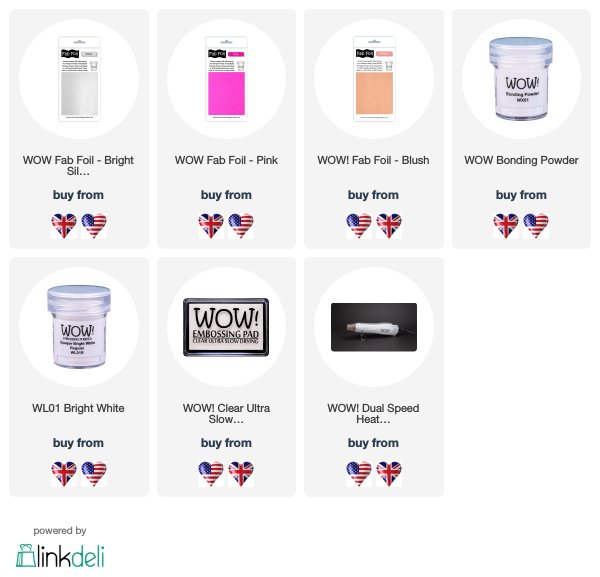
WOW! Supplies Used:
Three fabulous foiled backgrounds Jenny with the pretty flowers, flourishes and the more geometric look on tbe last, and all on very pretty pieces of coloured card, and finished beautifully with the large die cut and stamped sentiments. x
ReplyDeleteThis comment has been removed by the author.
ReplyDeleteIf you go camping and find water that needs to be purified before you can use it, you'll be glad you brought along some aluminum foil from China Aluminum Foil suppliers, because you can easily purify the water with it. You may use the foil to make the water safer to drink before you drink it. Take the foil out of the packaging and form it into a bowl with your hands.
ReplyDelete