

Hello, it's Verity with another video and blog post as a Creative team member for WOW! If
you love to play about creating lots of watercolour backgrounds, but then don't
use them all up in you cards straight away, this technique is a great way to
use up those surplus watercolour backgrounds from when you were playing and
experimenting. Using heat embossing, you can trap the watercolour underneath
the stamped image, and then lift the colour surrounding it to get stunning
backgrounds to use. Whether you use them whole, cut them up or even die-cut
from them, you can easily use up those backgrounds to create stunning cards.
You can use this with any of you watercolour backgrounds, however, I find it
works best when you use panels with bright vivid colours.
How to Watercolour Lift video:
(You can view this directly on WOW! Embossing Powder YouTube Channel HERE)
How to Watercolour Lift written step-by-step tutorial and photos:

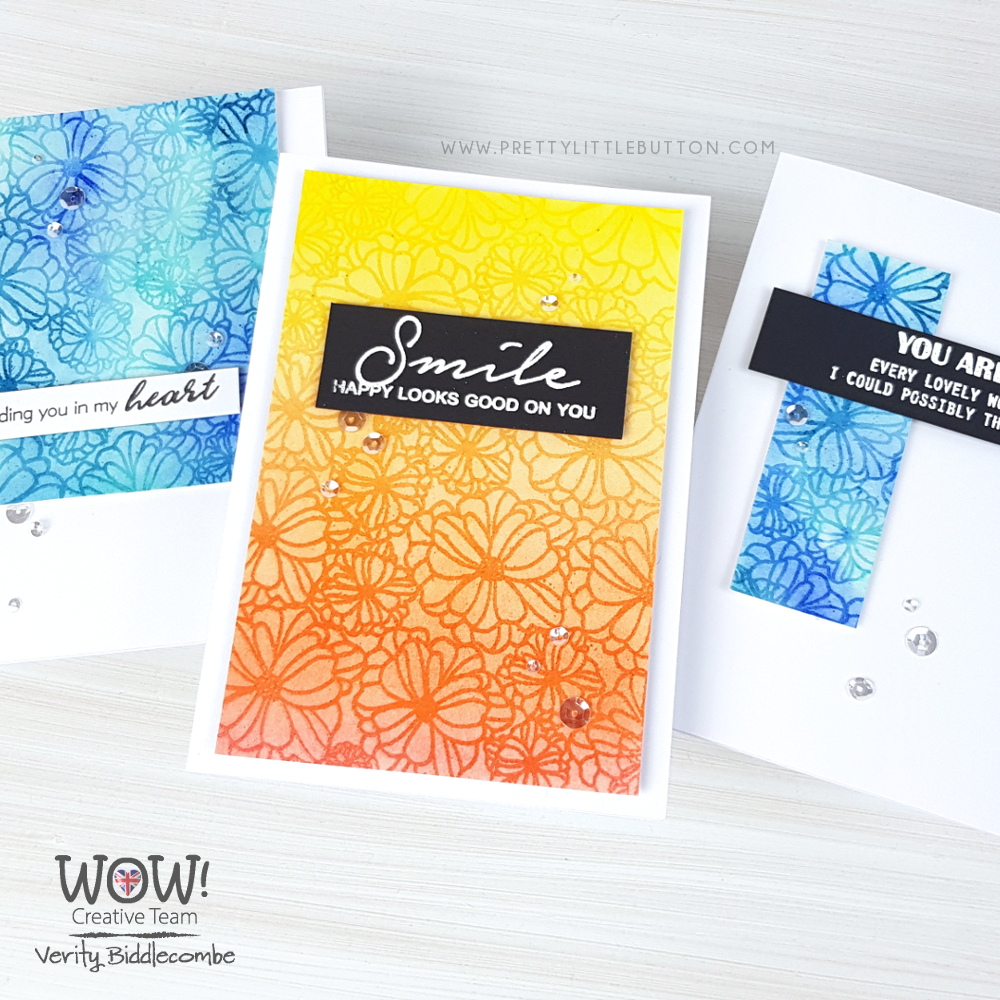
The cards today use the Tropical Stamp from WOW! Embossing powder along with Arches Hot
Press watercolour paper as I prefer to use smooth watercolour paper. However,
this technique works well with cold press paper as well.

Cut down your paper
and fix it to a hardboard with masking tape. This will help reduce
the amount of warping later on. For the first card, use a flat brush to apply clear water over the
paper as we will be using the wet on wet technique to get a lovely soft blend for an ombre effect.
The watercolours I'm using are the Altenew 36 pan watercolour set. Start off with Fresh Lemon at the top of the paper and working
through colours, gradually overlap them to create a seamless blend. Next, use warm sunshine, sun-kissed, orange cream, Autumn blaze and Crimson.

The WOW! Dual speed heat gun is great for watercolour backgrounds as you can use the slow speed
setting to dry your panels without worrying that the panel would warp. Now once
this is dry, apply a second layer of colour, drying again, and then adding
a third layer of colour to create bight vivid background.

This technique can also work on non-uniformed
looking backgrounds as well. This time, using a number 12 round brush
and add colours randomly to the panel starting off with Mountain Mist -
lovely pale turquoise. Using a selection of blues, including Lagoon, Ocean
Waves, Dusk and Persian Blue, continue to add the colours haphazardly. As
with the other background, dry the panel in between layers, and add
another two layers of colour to intensify the background. Of course removing the masking tape when the
panel is dry, is the best part.

So to lift the
colour up, we need to first heat emboss the stamped design. Place the
tropical stamp in your MISTI and using WOW! Clear ultra slow drying embossing
pad, stamp the design onto the panel. If you've used cold press
watercolour paper, I recommend doing this 2-3 times to ensure the image has
stamped well.

To trap the colour,
but to still be able to see it, we need to use Clear Gloss embossing powder.
Once heat-set, the clear gloss will have a lovely shine to it but you will
still see the colour of the paper beneath. This is great for a tone on tone
backgrounds. And you could leave it like this. However, the watercolour lift can
increase the contrast between the stamping and the background enhancing the
design.

For the watercolour
lift, you need a spray bottle filled with clear water and some clean paper
towel. Spritz the card panel quite liberally with water so you can see the water is
starting to form beads on top of the paper. Then use the towel in
swiping motions back and forth to lift the colour up. You can do this as many
times as you like to increase the contrast.
To turns these into
cards, apply fun foam to the back of the panel with double-sided tape to
remove any residual warping. For the first card, time the panel to have
a 1/4" border and added a white embossed sentiment from Altenew Smiles &
Hugs stamp with WOW! Opaque Bright white embossing powder.

For the second
panel, trim this down slightly, mounting this onto a UK A6 card base
and add a black stamped sentiment from Altenew Cherished memories.

I also created third
card using the offcut from the second panel. This created a lovely pop of
colour to help ground an embossed sentiment onto the front of a card. All of
the cards were finished off with Ice Crystal sequin mix from Lucy's cards and
adhered on using Gina K Connect glue.

How to Watercolour Lift WOW! Supplies used:
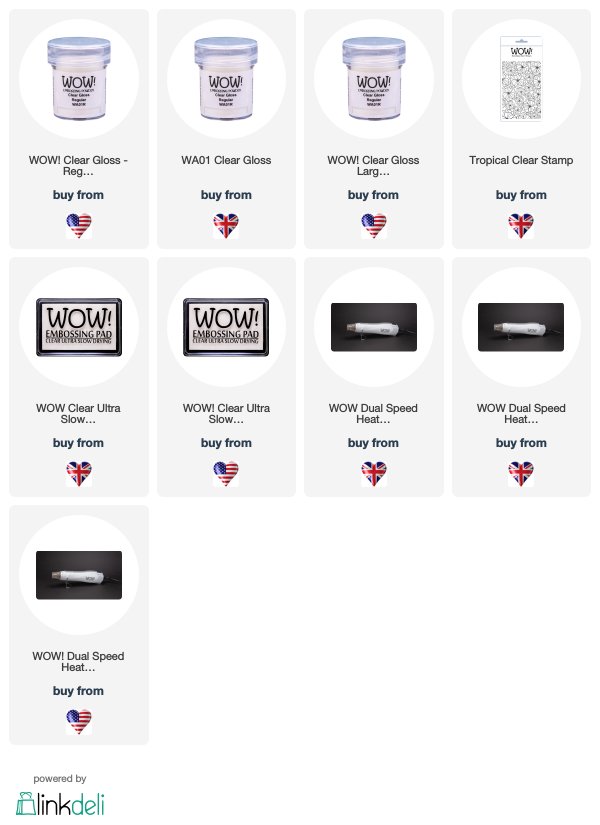
Other supplies used:
Stamps used: Cherished Memories, Smiles & Hugs, Reason to smile (Altenew)
This technique is such a fun technique and a great way to use watercolour backgrounds in your cards especially if you have stack building up. What's more you can even go further with these are die cut from them, create die cut sentiments or use it for an eclipse card. The possibilities are endless.
I hope you enjoyed today's video and stay tuned for more to come. If you make a card with this technique, make sure to tag us #wowembossingpowder so we can check your creations out!
Till next week,
Verity
This is a great technique Verity which has worked well with the all over flower stamp, and both colourways work beautifully, and lovely finishing touches with the sentiment strips and the little clear sequins. x
ReplyDelete