
Hello everyone, Jenny here and in keeping with our pastels theme this month (check out the WOW! Embossing Fans facebook page to take part in our monthly challenges!) I have created three pastel colored backgrounds with different mediums, all of which I have heat embossed on for the focal image.

I have a video to share showing you how I created all of these cards over on the WOW! Embossing YouTube channel:
My first card uses watercolor to create the pastel background. I used handmade watercolor paper, and heat embossed the Catherine Pooler Cottage Garden background stamp (after using my powder tool) in WOW! Embossing Opaque Vanilla White embossing powder. I'm enjoying using the different white embossing powders WOW! has and I'll be showing you another one in an upcoming post. They are ever so slightly tinted - although it's hard to tell in the photo, this one is just like Vanilla Ice Cream!

To watercolor my background, I used Distress Inks in pastel colors - Shaded Lilac, Tumbled Glass, Spun Sugar and Milled Lavender. I smushed them down and spritzed a little water on them in my butcher pallette (a metal mixing tray), then smushed down the embossed panel on top. I then dried it on setting 1 on my WOW! Dual Speed Heat Tool. I repeated this and then also used a paintbrush to add some more color in in the panel. I then set it aside to dry.

When dry, I trimmed out the panel with a rectangle die (I used Hero Arts Rectangle Infinity Dies) and adhered it to a white notecard. For my sentiment, I die cut the Erin Lee Creative You Are Sweet die three times from pink shimmery cardstock, stacked them together and adhered them to the front of my card.

I finished off the card with a sub-sentiment (from Just Because by Altenew) stamped in Catherine Pooler Rose Petals ink, popped up on foam tape. I then scattered some pink sequins and some Fairy Wings Dream Drops to finish!
My next card uses Alcohol Ink to create the background. I am using Yupo Heavy cardstock which is great for that ethereal, softer look with alcohol inks, and the heavier version is perfect for heat embossing as there is far less warping. I will recommend setting 1 on your WOW! Heat Tool though. I created my alcohol ink panel using pale pastel inks in Salmon, Pink Sherbert and Aqua. I pushed them around with an air puffer and made sure the panel was fully dry. I then die cut it with the same rectangle die and added it to a white notecard.

I heat embossed the main image from the Miss Ink Magnolia Sympathy stamp set in WOW! Metallic Rich Pale Gold. I recommend continuously moving away your heat tool to avoid any warping.

I also used the same embossing powder to stamp the sentiments from Birch Press Design Hooray for Everything (and die cut out with the corresponding die). I then popped them up on foam tape.

As a finishing touch, I added some clear and iridescent sequins.
For my final card, I used patterened paper. I love heat embossing on patterned paper. I die cut a panel of the paper using the rectangle die. The paper I'm using is from Reflections at Michaels - the Blush & Mint collection, which I thought tied in well with the other cards.

I heat embossed the floral image from Altenew's Just Because in WOW! Metallic Silver Superfine embossing powder. As this is a super detailed image, I chose Superfine grade powder to ensure all the details were picked up. I also stamped the sentiment from the set in black ink directly onto the paper before adhering the panel to a white notecard.

As an extra pop, I stacked four Strong diecuts together (by Ellen Hutson) die cut from white cardstock and adhered them over the heat embossed image.

To finish, I added some more Nuvo Crystal Gems. You could always add more details with gel pens or pencils to the image, but I love letting the heat embossing shine through!
Enjoy!
Jenny
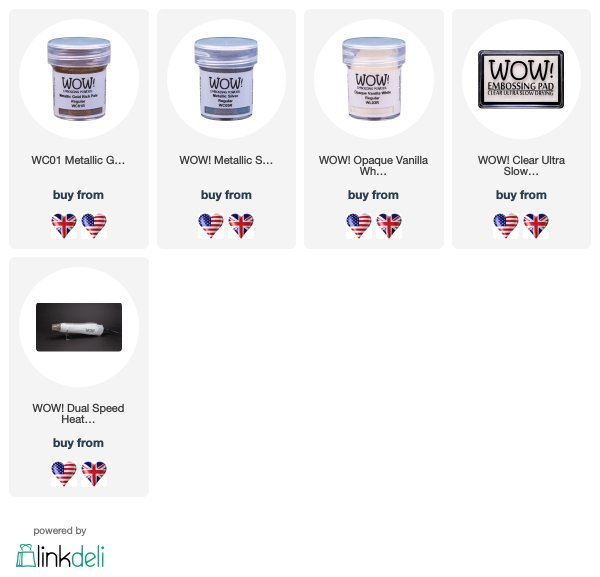
WOW! Embossing Supplies Used:
Three beautiful pastel cards and love the three floral images you heat embossed over three very pretty backgrounds, and the die cut sentiments and gems are just perfect as finishing touches. x
ReplyDelete