

Hello Wow fans! It's Riikka here today with a layout of love.
The page is about my lovely family and extended family, but also for my love for the forest and the fact that I can go there to clear my head. The picture in the page is actually taken last Christmas Day, can you believe that?! We live in Finland so normally that time of the year would mean snow and minus degrees, but the last year was really strange so there's my daughters, my husband and my father taking a stroll in almost summer-like weather on Christmas Day.

I wanted to use the resist technique in my page with a twist. I find that clear powder works the best for me as it then shows through what ever is underneath the layer of color, but naturally you could build striking contrasts with choosing contrasting colors or going with bolder colors.
If you want to see how the layout was made, please see the step by step underneath!

Step 1. Cut a stencil to yourself using a piece of copying paper or even an add or something from going to the paper recycling. Cut a big heart to the paper, attach to your background with washi tape and then stamp all over the "hole" using Wow! Embossing Ink and a heart stamp. Don't throw the cut heart away!

Step 2. Sprinkle Clear Gloss Regular to the area and emboss using the heat tool. If it seems that you have missed a spot when stamping, align the stencil again, stamp and repeat the embossing part. It's better to use quite a solid stamp when trying to get the stenciled shape showing rather than one with thin lines.

Step 3. Color the area using watercolors. The darker the color, the easier it is to see the stenciled shape. I chose to go with pink and yellow.

Step 4. Place the cut heart on top of the embossed area to mask it and stamp around the area of the heart to better highlight the shape. Use the script stamp from "Wall Art" set together with Archival Ink. Remove the mask and go slightly over the area in a couple of places to merge the heart to the background.

Step 5. If you wish to highlight the heart shape even more, go over the edges randomly with a pencil and with Wow! Embossing Pen. I made my heart a golden edge using the Rose Gold embossing powder.

Step 6. Next make your composition using the photo, patterned papers and foam dots. Mount the photo to the paper cluster using the dots as well as the whole cluster to the paper using them. If you wish to see how I usually layer the papers, please see for example this video (link).

Step 7. Time to embellish the page! I'm continuing with the sweet theme and not introducing more colors either but you can use any color for the butterflies. Stamp some butterflies on top of white cardstock using Wow! Embossing Ink and emboss them with a powder of your choice. I used the Rose Gold.

Step 8. Stamp the title using one of the words from the "Mr Wows Wonderful Words" set together with Archival Ink. Adhere the butterflies and also add any extra embellishments like a flair button, a banner shaped die cut and a sticker.

Step 9. Finish your page with some self-made "enamel dots". Melt the color or colors of your choice in a Melt-It Foil Case and gently tilt the foil case and let drops of the melted powder drop onto a non-stick sheet. Let the powder cool and then attach the drops to your page using glue. Also add handwritten journaling.

To me the theme translated to pastel colors and sweet candy shades. I also used hearts in a couple elements - like in the stamp I chose and also in the paper layers. What would your layout of love look like?
Thank you for stopping by today! Wishing you a fantastic day, filled with love!
xoxo Riikka
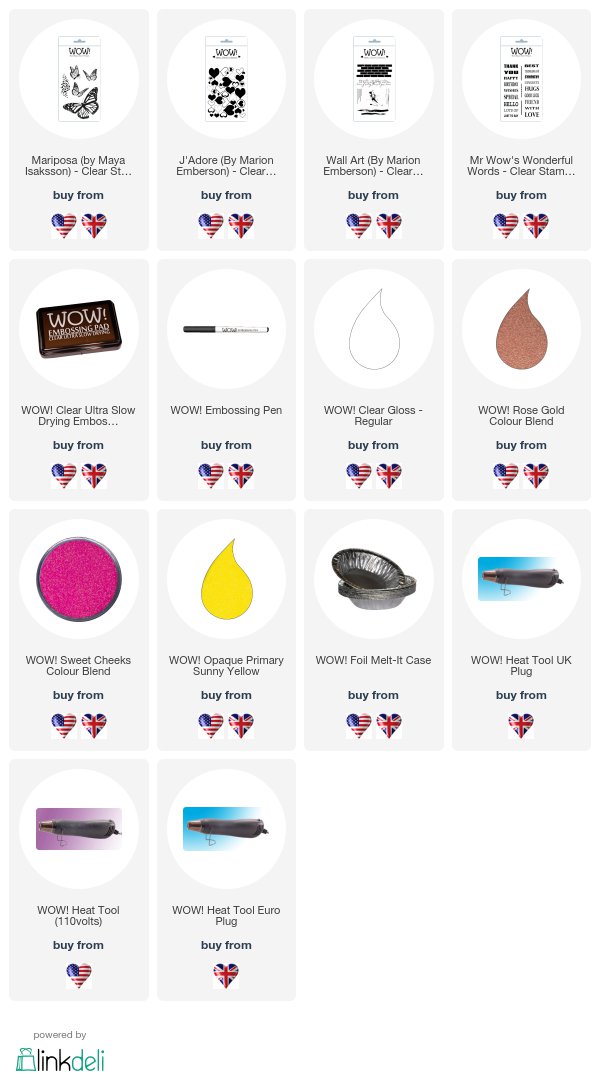
Here's what Riikka used on this fab layout !!!
This is a great layout Rikka and the hearts and butterflies are a pretty accompaniment to it. x
ReplyDeleteThank you so much Pat!
DeleteOh my goodness, this is gorgeous. Love the heart full of hearts. Thanks for all the fab tips. Hugz
ReplyDeleteThank you for your lovely words!
Delete