Hello there! It's Riikka here to share a layout with foils! They are tricky to capture to the photo, but easy to use. And you can use different techniques with them. I've used several different in this layout, please scroll down to the step by step if you want to know more.
I used gold and blush colored foils in this layout about my older daughter. The picture in the page is actually taken on her birthday early this year. The saying "don't forget to be awesome" and foil make a great match, sparkling one could even say. The journaling is about how I always find it magnificent that my 8-year-old has such a strong self-esteem and style - it took me twenty years to find mine!
As you can see from the photo above, there's several things sparkling in this piece so let's get going with the step by step!
Step 1. Start with the background. The foils will stick to anything, well, sticky, so grab a glue pen or paper clue stick and apply the adhesive through a stencil. Let dry for a teeny tiny bit and then add the foil on top. The pattern won't be as precise as with stamping, for example, but it creates a wonderful background.
Step 2. Continue build layers around the foiled background. Add first some watercolor on top - see how the glue and foil resist the color - and then use a star stencil to add some pattern in there as well. Work with a analogous color scheme or at least avoid layering contrasting colors on top to prevent muddy look.
Step 3. Cue stamping. Choose a couple of saying stamps or script ones and stamp them multiple times around the area you've been working on. See how I used the big "don't forget to be awesome" stamp but still stamped parts of it here and there? By manipulating the stamp when you either ink it or touch the paper you can only stamp partials of the design. Also add some pencil lines for added interest.
Step 4. Let's get foiling! Create a couple of shining patterned papers using the foils. First stamp a continuous design using the Wow! Embossing Ink and cover the pattern with Bonding Powder. While the powder is still hot, place the foil on top. You can use just one color or play with several. See this video (link) for reference if you haven't tried foiling with the Bonding Powder before. Create another piece of patterned paper by using double sided tape and foil. Place the tape to a piece of cardstock forming lines and then add the foil on top. Also treat your photo with the foil using a stamp and Bonding Powder.
Step 5. Start to build the layout. Add patterned papers and pieces of the sparkling papers you just created behind the photo. Mount the photo on top using foam dots and the whole cluster to the background using them also. Add "splash dots" here and there using the Wow! Embossing Pen and a powder of your choice. Just add little dots here and there with the pen near the main composition and emboss with the powder.
Step 6. Use the "Buttons" silicone mold to make some embellishments for your page. Use the Technique Library as your guide (link) if you haven't moulded embellishments before. Add those to the layout together with some real buttons and sequins. Finish the page with hand written journaling for a personal touch.
Naturally you can use every technique and idea also on a card! Have you ever added a photo of the recipient to the card? Maybe adding some foiling to it could make a perfect focal point to a birthday note?
Thank you so much for stopping by! I'll see you next month again, but there's some fabulous inspiration coming with the foils still this month! Ta ta for now!
Riikka
Materials from Wow:
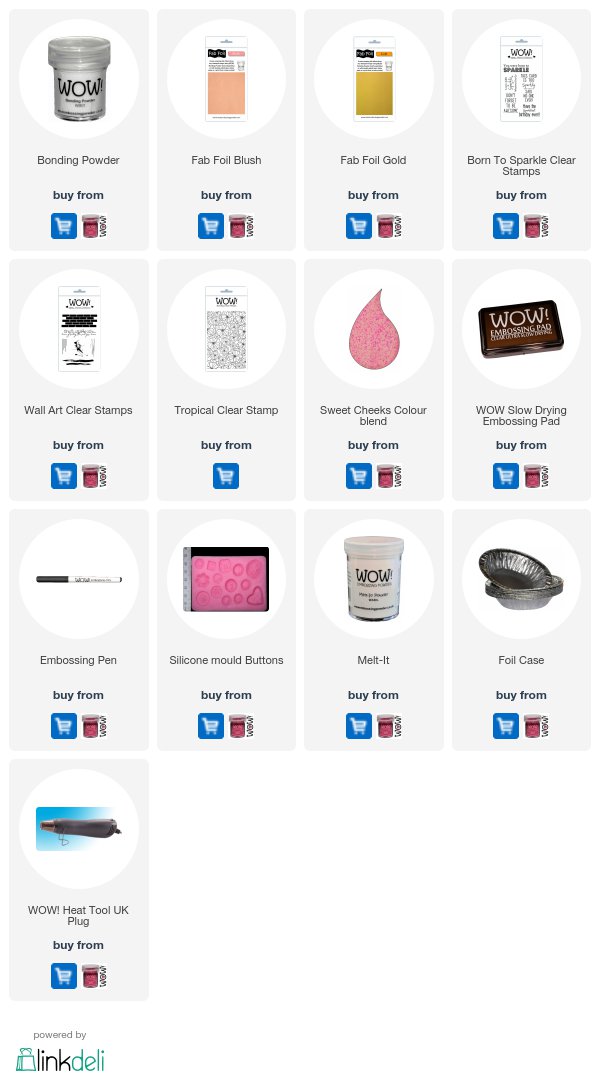
SUPPLIES LIST: Fancy having a go? here's what WOW! products Riikka used to create her gorgeous project.


WOW - your layout is WONDERFUL Rikka!
ReplyDeleteSO MUCH to INSPIRE, SO MUCH for me to try!
Thank you, Tracy!
DeleteA great layout Rikka and love the touch of foil and the pretty stars to accompany that sweet photo of your daughter. x
ReplyDeleteThank you, Pat!
Delete