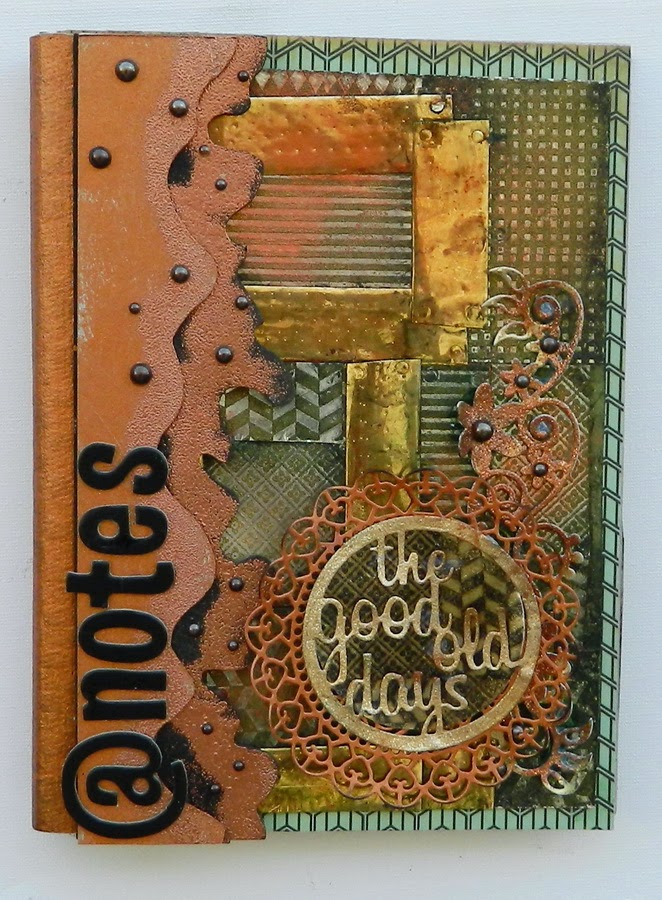
Hello my dear crafty friends! Irit is here again with a small tutorial and quite a big project.
This time I am going to show you a bit of technique I used to make this altered book cover for my new art/memory journal.
The chipboard parts are Tando Creative kit- easy to use and to made your own altered book.
And this is a technique I used here: combo of stamping, heat embossing and painting , all in one.
Step 1: Stamp a pattern over metallic cardstock. (It works over real metal sheets too, but I was short of those).
Step 2: Heat emboss your stamped patterns with Clear embossing powder
Step 3: Paint the embossed cardstock with a mix of gold, copper and black acrylic paints. As you can see I use the cheap, craft store paints and not those fancy acid free paints for this cover. Wipe the paint until you have a thin layer of it left over the stamped image and you like the color. If not- add more of the paint you want to be seen .
Step 4 and the last: Those 4 squares here were made just as a sample (will be used later for the cover corner embellishment cluster), so go on and make dozens of those squares with 2'' stamps and let them dry.
Cover the chipboard with a nice vintage looked paper; not much is seen after all.
Now cut those pieces to uneven rectangles and squares and made your cover as shown here. Add gold foil tape in between the pieces and be sure to glue it to your cardstock pieces as this " self- adhesive" tapes are really " non- adhesive" ones. Paint the chipboard wavy pieces with copper paint, add a bit of Metallic Copper and Ebony Black embossing powder and a splash of black paint and embossing. Add the title.
And now I am going to show you my embellishment cluster. I made a punched circle form the 4 pieces square made as a tutorial as my subtitle base. Then I die cut the title with Die-Versions die form copper cardstock and heat embossed it with Metallic Brass Spackle embossing powder. I die cut the heart medallion from the same copper cardstock and inked it a bit with black ink around. All 3 circles were arranged to one central title piece and glued over the die cut flowers branch that was heat embossed with Metallic Copper Spackle embossing powder and copper pearls.
Hope you like my metal brown/copper monochromatic project and see you next month with more WOW! inspiration.


great layering irit - fabulous notebook xx
ReplyDeleteit is really beautiful...thanks for the tutorial
ReplyDeletewahat a cool creation, fantastic idea!
ReplyDeleteLG
Michaela