
Hey Crafty People! 🫶
It's Tasha, and today I'm sharing a Back to Basics technique that is ALWAYS a sure-fire win!!!
.png)
Emboss Resist Technique
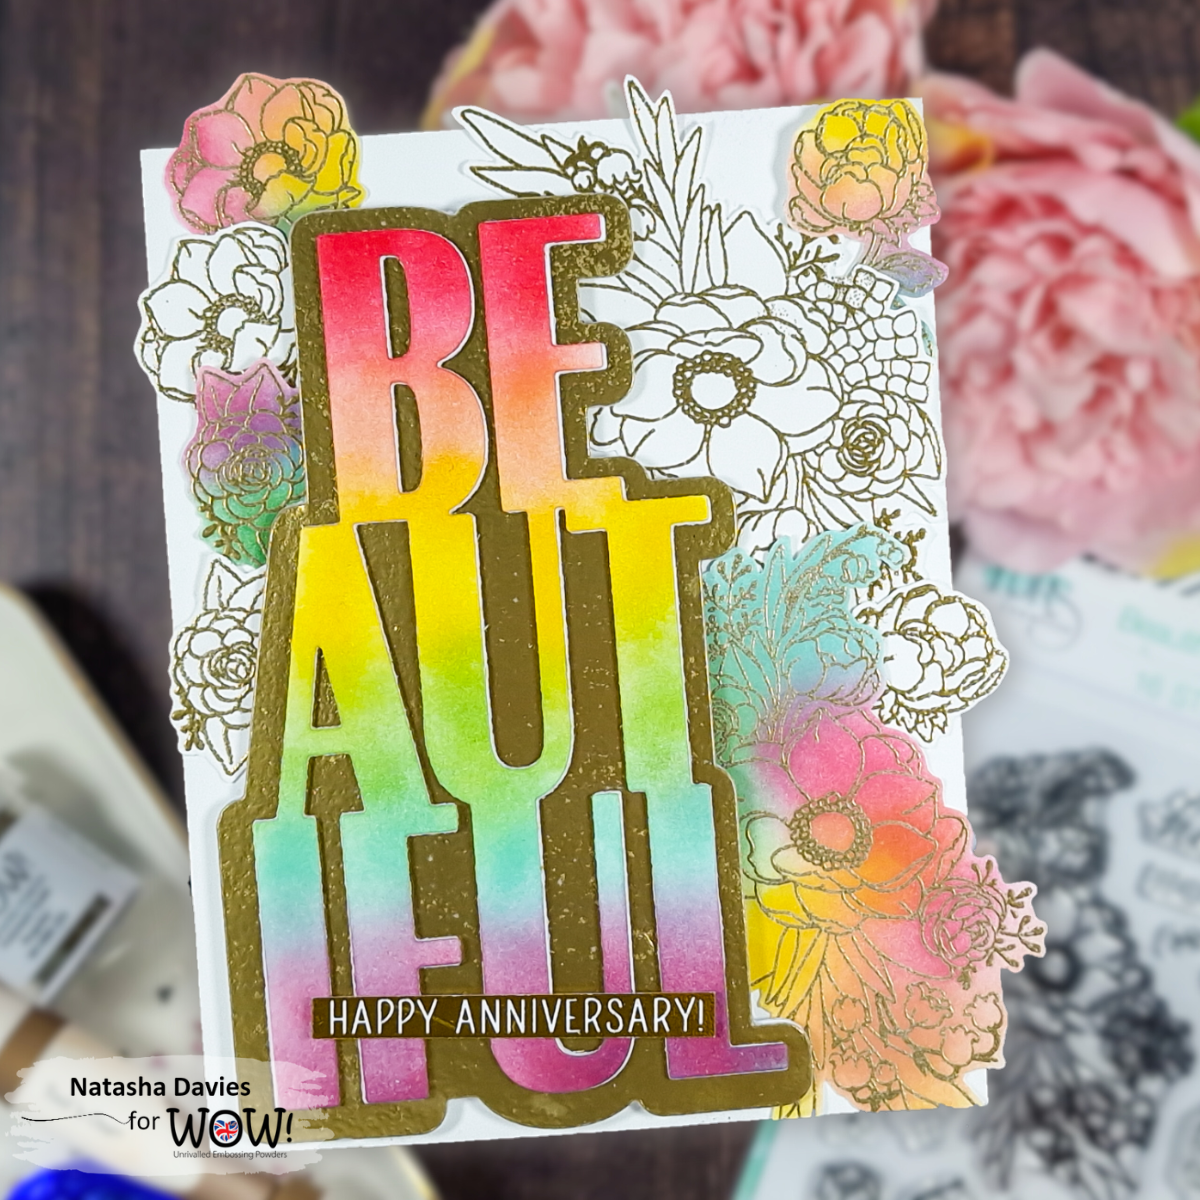
When you heat set our fabulous embossing powders, they melt and bond to your cardstock giving that beautiful shine.
But, did you know that heat embossing will resist a lot of different mediums that you might want to put on top of it?
Here, for example, I ink blended on top of my embossed florals and once I was happy with the colour on the cardstock, I just wiped the excess ink from the embossing with a dry cloth!
This works with ink, markers, watercolour...loads of different mediums and you can use this fabulous effect to get some pure magical creations!

Creating the Card
1. Stamp images from LDRS Creative's Beautiful Blooms stamp set in our Ultra Slow Drying Embossing Ink. Emboss in Polished Gold. Repeat this twice for doubles of each image.
2. Choose a Rainbow in inks, and ink blend each colour in turn, over random parts of all of the images. (I started with my red colour, and added this over each image, then moved on through the colours in order. For those smaller images, I just chose 2-3 colours to use on each one so that it didn't get too muddy.)
TIP! To avoid mixing your colours too much, wipe excess ink off the embossing after each colour before moving on to the next.
3. Leave one set of the images white.
4. Fussy or die cut them.
5. Die cut the Large Beautiful word die from white cardstock, stacking it up 3 times for extra dimension. Ink blend the same Rainbow of colours, going from the top of the word down to the bottom, being sure to overlap to get a nice blend.
6. Brayer Ultra Slow Drying Embossing Ink onto more white cardstock and emboss in Polished Gold. Make sure the area you emboss is large enough to die cut the shadow die from and then adhere the colourful word on top.
7. Organise your layout on an a2 panel, and once you're happy with it, place a sheet of Press'n Seal on so that you can lift it all up in one go to apply foam adhesive to the back.
8. Only remove the backing from behind the florals, so that you can lay these in place but lift your sentiment back up. Add a second layer of foam adhesive to the areas it won't be sitting on the florals; you'll only need to add one layer to those areas. Now, add your sentiment die cut back in its place.
9. Use a foiled and trimmed sentiment from the Sweet Sentiments Fab Foiler pack, and pop this up with some thin foam adhesive.
10. Trim any overhanging florals from the bottom to allow your recipient to stand their card up, but I like to leave the others without trimming.


You'll find a quick process video for this technique over on whichever is your go-to Social! 🥳
Thank you so much for spending this time with me, and I hope you enjoy this first installment of Make It WOW! with Tasha!
I'll be back in a fortnight with my first episode of Back To Basics with Tasha and I hope you'll join me. 💗
Have a lovely, happy, safe and wonderful week.
Stay crafty!
Byeee!
 WOW Ultra Slow Drying Ink Pad Shop at: WOW UK | WOW US | SBC |
 WOW Dual Speed Heat Tool Shop at: WOW UK | WOW US | CS UK | SBC |
 Fab Foilers Sweet Sentiments Shop at: WOW UK | WOW US | CS UK | AMZ |
 WOW Superior Smooth Shop at: WOW UK | WOW US |
 Fab Foil Bright Gold Shop at: WOW UK | WOW US |
 Polished Gold Shop at: WOW UK | WOW US | SBC |
 Beautiful Blooms Shop at: LDRS |
 Big Word Die: Beautiful Shop at: SBC | LDRS |
 Honeysuckle C+9 Shop at: SBCom |
 Grapefruit C+9 Shop at: SBCom |
 Buttercup C+9 Shop at: SBCom |
 Sprout C+9 Shop at: SBCom |
 Aqua Sky C+9 Shop at: SBCom |
 Bitty Blending Brushes Shop at: MPS |
 Press N Seal Shop at: AMZ |
Connect With Us:
Powder Arts Thermography Warehouse LTD, Caslon House, Lyon Way, St Albans, AL4 0LB
UK https://www.wowembossingpowder.co.uk/
Choosing to package our goods in China Bopp pearlized film suppliers was an ingenious one. Important for drawing in customers, its great printability lets us showcase detailed and vibrant patterns. Our items stay fresh for longer because to its strong barrier characteristics. Keeping with the principles of our brand, the pearlized finish gives it an air of refined elegance. I recommend this to anyone looking for more luxurious packing alternatives.
ReplyDelete