Hey crafty people!
Affiliate links are used
It's Tasha here, and I'm back for another Back to Basics for WOW Embossing Powder! 🥳
So this time we are really taking it all the way back to basics and I've thrown in a few FAQs too, so this video is jam packed with info! 😎🤓
Ive marked out the different chapters of the video, so you can go straight to the answer you need, or grab a cuppa, sit down and make a card with me 😁
What info is in the video?!
Chapters:
• Intro
• Prepping Your Stamp
• Refilling Your WOW Ink Pad
• Ultra Slow Embossing Ink Pad
• Applying Ink & Stamping Your Image
• Applying Embossing Powder
• Why shouldn't I pour my powders into another tub?
• Meet Our Dual Speed Heat Tool
• Heating Your Powder
• How do I know when my powder is done?
• Should I use an Anti Static powder tool?
• What are these white bits in my powder?!
• My paper is warping, what do I do?!
• What do those letters on the packaging mean?!
• What if I have more questions?!
I used both Polished Gold & Polished Silver; stamping out the rainbow layers and alternating between each one
Emboss the Expressing Gratitude stamp from Alex Syberia Designs in Polished Gold and die cut.
Using foam adhesive pop this up on your panel.
Thank you so much for spending this time with me, and I hope you enjoy this trip to the Basics with Tasha!
Have a lovely, happy, safe and wonderful week.
Stay crafty!
Byeee!
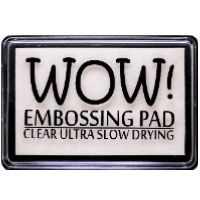 WOW Ultra Slow Drying Ink Pad Shop at: WOW UK | WOW US | CS UK |
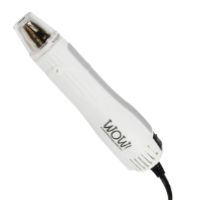 WOW Dual Speed Heat Tool Shop at: WOW UK | WOW US | CS UK |
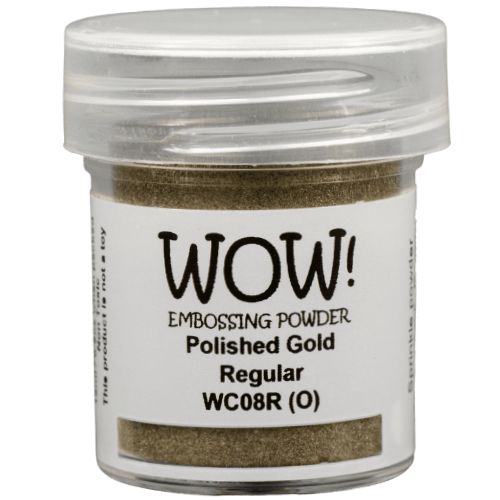 Polished Gold Shop at: WOW UK | WOW US |
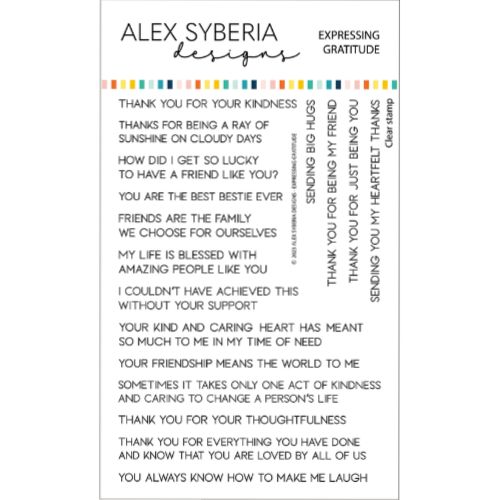 Expressing Gratitude Stamp Shop at: ASD |
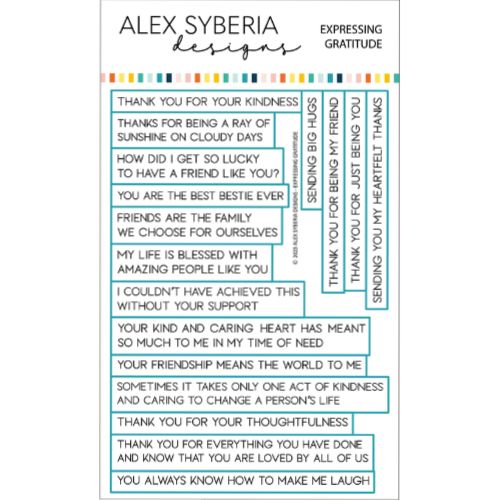 Expressing Gratitude Die Shop at: ASD |
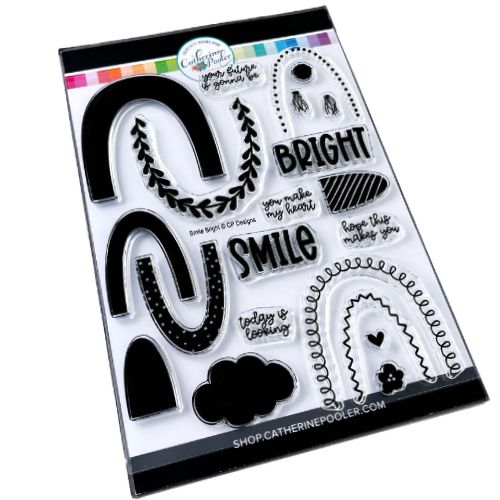 Smile Bright Stamp Set Shop at: CPD |
Connect With Us:
Info Site: www.wowembossingpowder.com
Powder Arts Thermography Warehouse LTD, Caslon House, Lyon Way, St Albans, AL4 0LB

.png)

.jpg)


Comments
Post a Comment