Hey Crafty People!
Today is another episode in my Make It WOW! series and I'm sharing my process for creating some easy, mixed media backgrounds.
I shared these cards as part of our Collaboration hop with Alex Syberia and I got lots of questions about how I made them...so let's go!
Card 1
1. Mask off the upper half of an a2 panel and repeat stencil with grey inks; shift the stencil down and to the left very slightly between each colour so that you have three shades. This will give you a fun echoed effect.
2. Remask the lower half and add Texture Paste through the same stencil. Remove the stencil and add Frosted Glass embossing powder over the wet paste. Heat set fully.
3. Apply Polished Gold to a strip of heat safe double sided adhesive and trim.
4. Using a brayer add Ultra Slow Drying Embossing Ink to a panel of cardstock and apply Polished Gold powder in patches. Repeat this using the powders from our Silk Road Trio until your panel is fully covered. Heat set and once cool die cut various leaves from the panel.
5. Adhere several of these embossed leaves to the back of the Gold strip and add some vellum die cut leaves too for added interest.
6. Adhere the whole strip with foam adhesive onto your background panel.
7. Add a sentiment strip embossed with Polished Gold.
Card 2
1. Create some ombre watercolour panels using a variety of Lindy's Magicals. (I make a whole bunch of them in advance and then use throughout my crafting projects.)
2. Apply Texture Paste through your stencil and then apply Polished Gold powder over the pattern. Heat set.
3. Trim down the panel to 4 x 5.25in and layer on top of another panel made from the same Magicals. (I chose panels which used the same colours but in different directions for a really interesting look!)
4. Adhere three sentiment strips embossed in Polished Gold.
5. Embellish with a variety of gems.
Watch The Tutorial
Thank you so much for spending this time with me, and I hope you enjoy this first installment of Make It WOW! with Tasha!
I'll be back in a fortnight with my first episode of Back To Basics with Tasha and I hope you'll join me. 💗
Have a lovely, happy, safe and wonderful week.
Stay crafty!
Byeee!
Card 1 Supplies:
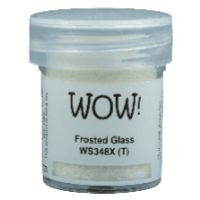 Frosted Glass Shop at: WOW UK | WOW US |
 Silk Road Trio Shop at: WOW UK | WOW US |
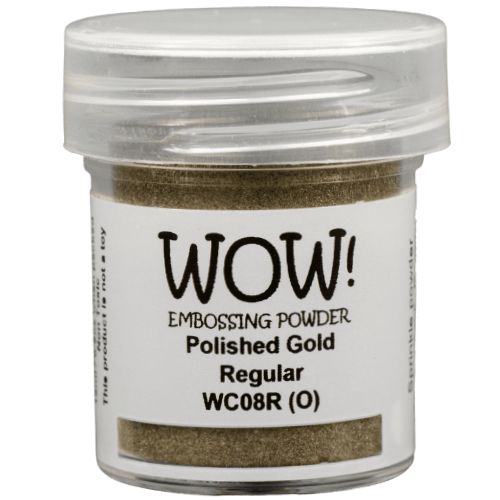 Polished Gold Shop at: WOW UK | WOW US |
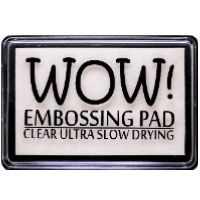 WOW Ultra Slow Drying Ink Pad Shop at: WOW UK | WOW US | CS UK |
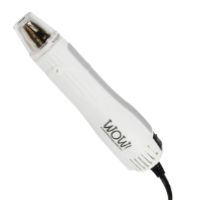 WOW Dual Speed Heat Tool Shop at: WOW UK | WOW US | CS UK |
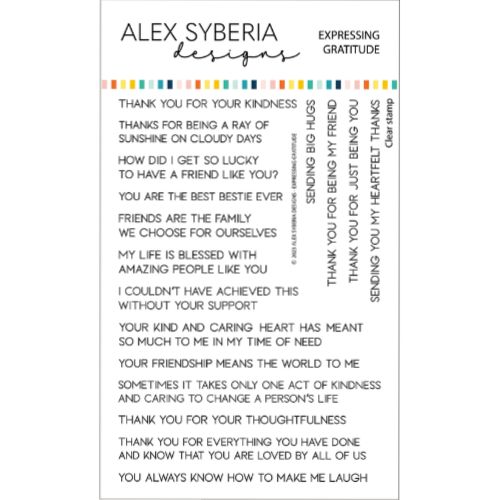 Expressing Gratitude Stamp Shop at: ASD |
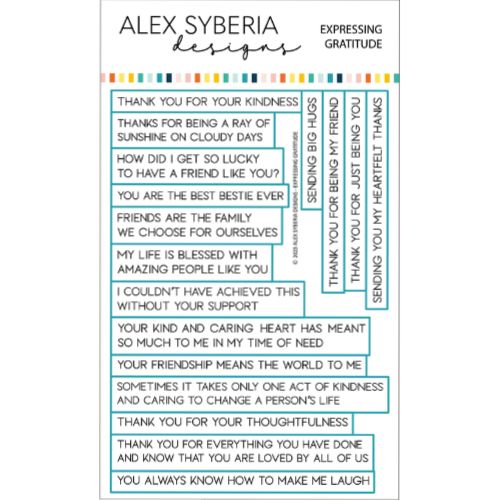 Expressing Gratitude Die Shop at: ASD |
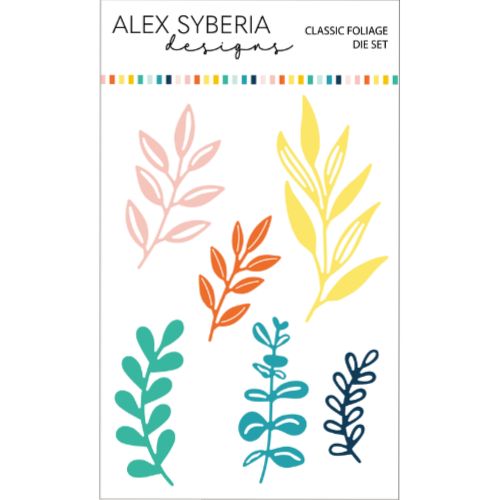 Classic Foliage Shop at: ASD |
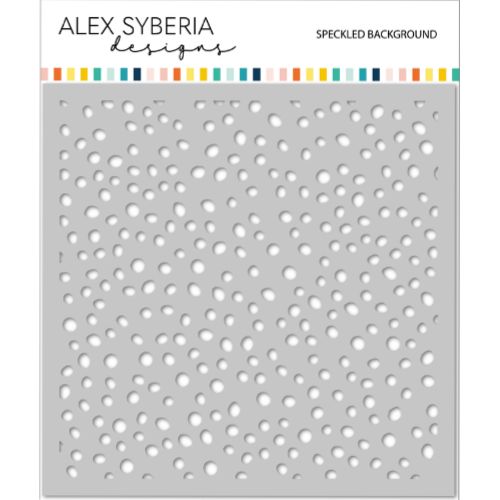 Speckled Background Stencil Shop at: ASD |
 Rock Collection Shop at: Alt | Craftstash UK |
Card 2 Supplies
Affiliate links are used
end
 Polished Gold Shop at: WOW UK | WOW US |
 WOW Ultra Slow Drying Ink Pad Shop at: WOW UK | WOW US | CS UK |
 WOW Dual Speed Heat Tool Shop at: WOW UK | WOW US | CS UK |
 Expressing Gratitude Stamp Shop at: ASD |
 Expressing Gratitude Die Shop at: ASD |
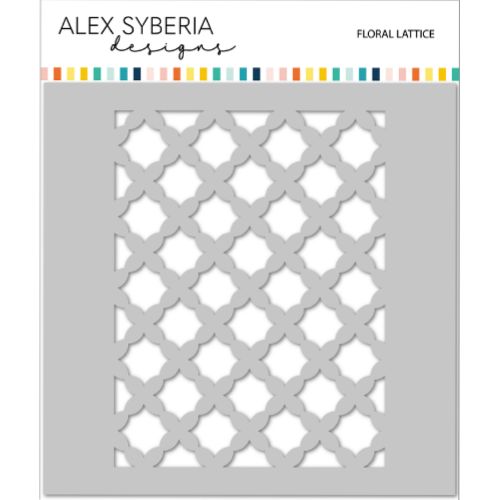 Floral Lattice Stencil Shop at: ASD |
 Deutsche Desserts Magicals Shop at: Renke |
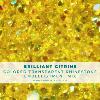 Birilliant Citrine Gems Shop at: HD |
Connect With Us:
Info Site: www.wowembossingpowder.com
Powder Arts Thermography Warehouse LTD, Caslon House, Lyon Way, St Albans, AL4 0LB


.jpg)
.jpg)

Two very striking looks using these super embossing powders Tasha...I think my favourite is the leaves and the gold strip and the texture with the vellum leaves and added Frosted Glass embossing powder. x
ReplyDelete