
Hello lovely crafty friends, HAPPY NEW YEAR to you all!!! Welcome to the first instalment of Technique Time with Sasha :) I am looking forward to a year filled with plenty experimenting and discovery with our embossing powders, but of course we can’t forget fun so let’s have a fun filled crafty 2023.


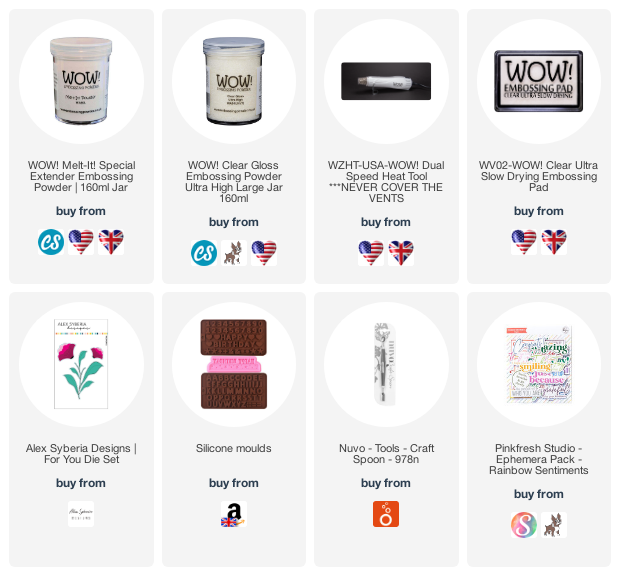
You’ll need: (products linked at the end of post)


So for today I thought we should get started on some Valentine’s Day card ideas by creating our own heart shaped embellishments. There’s a full tutorial reel that shows the process in more detail so please watch that over on the WOW! Embossing Powder social media platforms. This project also features a sneak peak of a brand new colour that will be available in the brand new January release….so exciting!

Sooo let’s get started…

You’ll need: (products linked at the end of post)
Silicone mould
WOW! Melt it powder
WOW! Ultra high clear gloss embossing powder
WOW! Metallic is gold embossing powder
WOW! Purple Fizz embossing powder (not yet available **)
WOW! Dual heat tool
WOW! Embossing ink pad
Craft spoon
Leaf die ( Alex Syberia for you die set)
1. We will start of by adding one heaped spoon of melt it powder to the heart shapes of the silicon mould. The objective is to fill up the shape with the powder. You can either heat it from below using your dual heat tool or heat it from above but at a distance so that the powder doesn’t go everywhere.
2. Next we will add a spoonful of the ultra high clear gloss embossing powder and melt it too.
TIP:Use a toothpick to mix the molten powders, then add a half spoon of the Purple Fizz embossing powder. Melt it and use a toothpick to mix it in with the other powders. Out this on the side to cool.

3. While the embellishments are cooling, die cut your leaf shape and ink it up with the WOW! Slow drying embossing ink before heat embossing it with the purple fizz embossing powder.
TIP: I always double emboss for extra depth of colour and a smoother finish. Simply repeat this step of inking and heat embossing your die cut.
4. Our embellishments should have cooled down by now. Let’s take them out of the mould and rub the raised edges on the embossing ink pad before adding some gold embossing powder and heat embossing the edges in gold. We must be super quick with the heat tool so that we don’t melt the whole shape.
5. To put together our card, I used an old background I had lying around but also patterned paper is a good alternative. Heat emboss the edges of your 4 x 6 inch background with gold embossing powder. Using some strong adhesive stick down all your elements including the embellishments and a sentiment. Finish the card by propping it up on some foam tape and sticking it onto a 5 x7 inch card base. That’s the finished card!

There are so many ways to use these embellishments, I promise you once you get the recipe that works for you, you will be hooked! I will be back next time with a full video tutorial sharing more ways we can make and use our embellishments. Hope you look forward to it
Thank you for popping by, have a WOW! Day
Sasha x
Connect With Us:
Info Site: www.wowembossingpowder.com

Powder Arts Thermography Warehouse LTD, Caslon House, Lyon Way, St Albans, AL4 0LB
PRODUCT LINKS (click on link to go to product)
Comments
Post a Comment