
Hello lovely crafty friends and lovers of HEAT EMBOSSING!! It’s time for another episode of Cardmakers Delight with me, Sasha from Love Builds Up Crafts . Did you know that you can use your embossing powders with your alcohol inks to create gorgeous marble effect backgrounds? At this point I’m sure it’s quite obvious that I’m obsessed with marbling.

As the saying goes, I can show you better than I can tell you, so please watch the Video Tutorial Here over on the WOW! Embossing YouTube Channel and if you prefer Shorter form content, then look out for the reel over on the WOW! Embossing Instagram Page. Also please don’t forget to use the Discount Code: WOWDTSO to get 10% off any purchase from WOW!

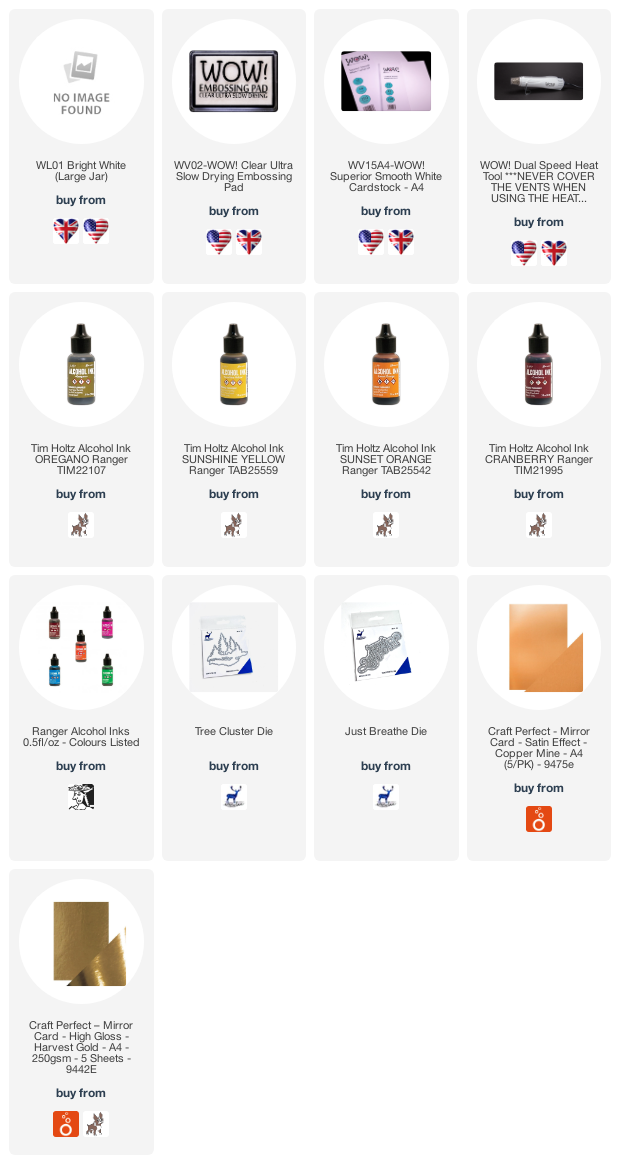
So to start, simply emboss your 3.5 x 5.5 inch panel of WOW! Embossing superior cardstock with two layers of Bright White High Gloss White embossing powder. In the video tutorial I share tips to ensure you have a nice smooth layer of glossy embossing but basically you need a super super juicy slow drying embossing ink pad. Leave your panel to completely cool down.

Next you choose your alcohol inks and apply them one colour after the other in a stripped pattern. Use your dark colour first, then a light colour then a dark. Alternate that way so that you don’t get a poo brown colour. Also add your Alloy ink last after you are done with all the other colours. Now go ahead and add some heat to the panel.
As you are heat embossing, you may notice your molten powder bubbling, don’t fear, just keep going and mixing all the colours with that white embossing powder. To create ripples and different effects, use your dual speed heat embossing tool to direct the placement of colour. If this sounds like gibberish then stop right now and go and watch the video tutorial first :)

So once your panel is nicely marbled to your liking, take a moment to appreciate your WORK OF ART! Trust me the pictures do not do these panels enough justice, they are mesmerising and you will see for yourself when you try this! Anyway, to finish off the card, I used a tree and word die from Erin Lee Creative which I die cut out of gold mirror card and vellum. I offset the diecuts over each other just to soften the glow of the gold. I also cut out a frame from copper cardstock to match the beautiful array of colour on our panel. The final card is 5 x 7 inches.

I really enjoyed this technique and ended up creating 4 backgrounds. I will share the finished cards over on Instagram. Please do the same and tag us on our socials when you share your wonderful Heat Embossing makes! You could even get featured on the WOW Embossing Page!
I hope this has encouraged you to experiment with your embossing powders ❤️
Crafty hugs,
Sasha x
Connect With Us:
Info Site: www.wowembossingpowder.com

Powder Arts Thermography Warehouse LTD, Caslon House, Lyon Way, St Albans, AL4 0LB
I LOVE this! Thanks for sharing this technique and for the video!
ReplyDelete