

You can watch this VIDEO here that shows the full process.

Firstly cut out your die shapes from heat resistant acetate. If you find that your acetate didn’t die cut properly, just take a scissors and cut out your shape.
Using your embossing ink pad, ink up your butterflies then add some white ultra gloss clear embossing powder. Repeat this step again so that your butterfly has 2 layers of clear embossing. You are going to reheat your butterfly and as the embossing is melting, add some glitter (optional). Let it cool down then stick down some gems. Once your gems are dry, repeat the step above to add another layer of embossing powder. So that is 3 layers of clear embossing powder all together.
Using some alcohol markers, add some colour to your butterfly. How much colour you put will depend on how light or bold you want your butterflies to be. Now reheat the butterfly and you will see the ink start to move around as the powder melts, use this to add whatever effect you would like. This step is optional but use your alcohol marker to add colour to the edges of your butterfly.
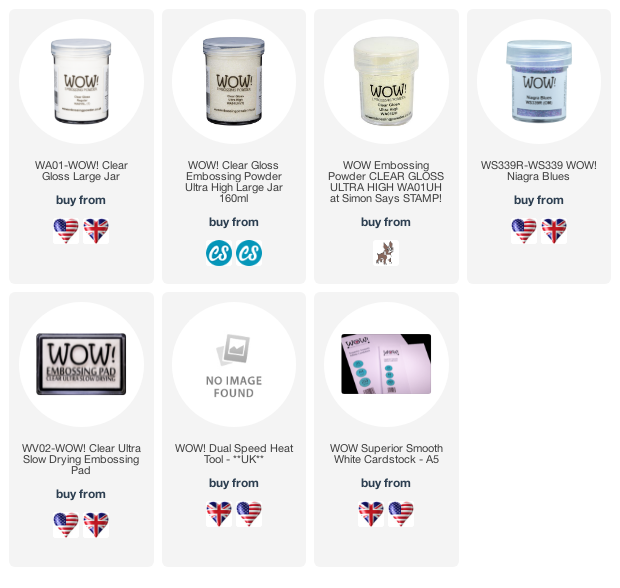
Next you are going to emboss a panel of cardstock with some Niagra Blues embossing powder, then die cut the butterfly body from this and use redline tape to stick it onto the glass wings.
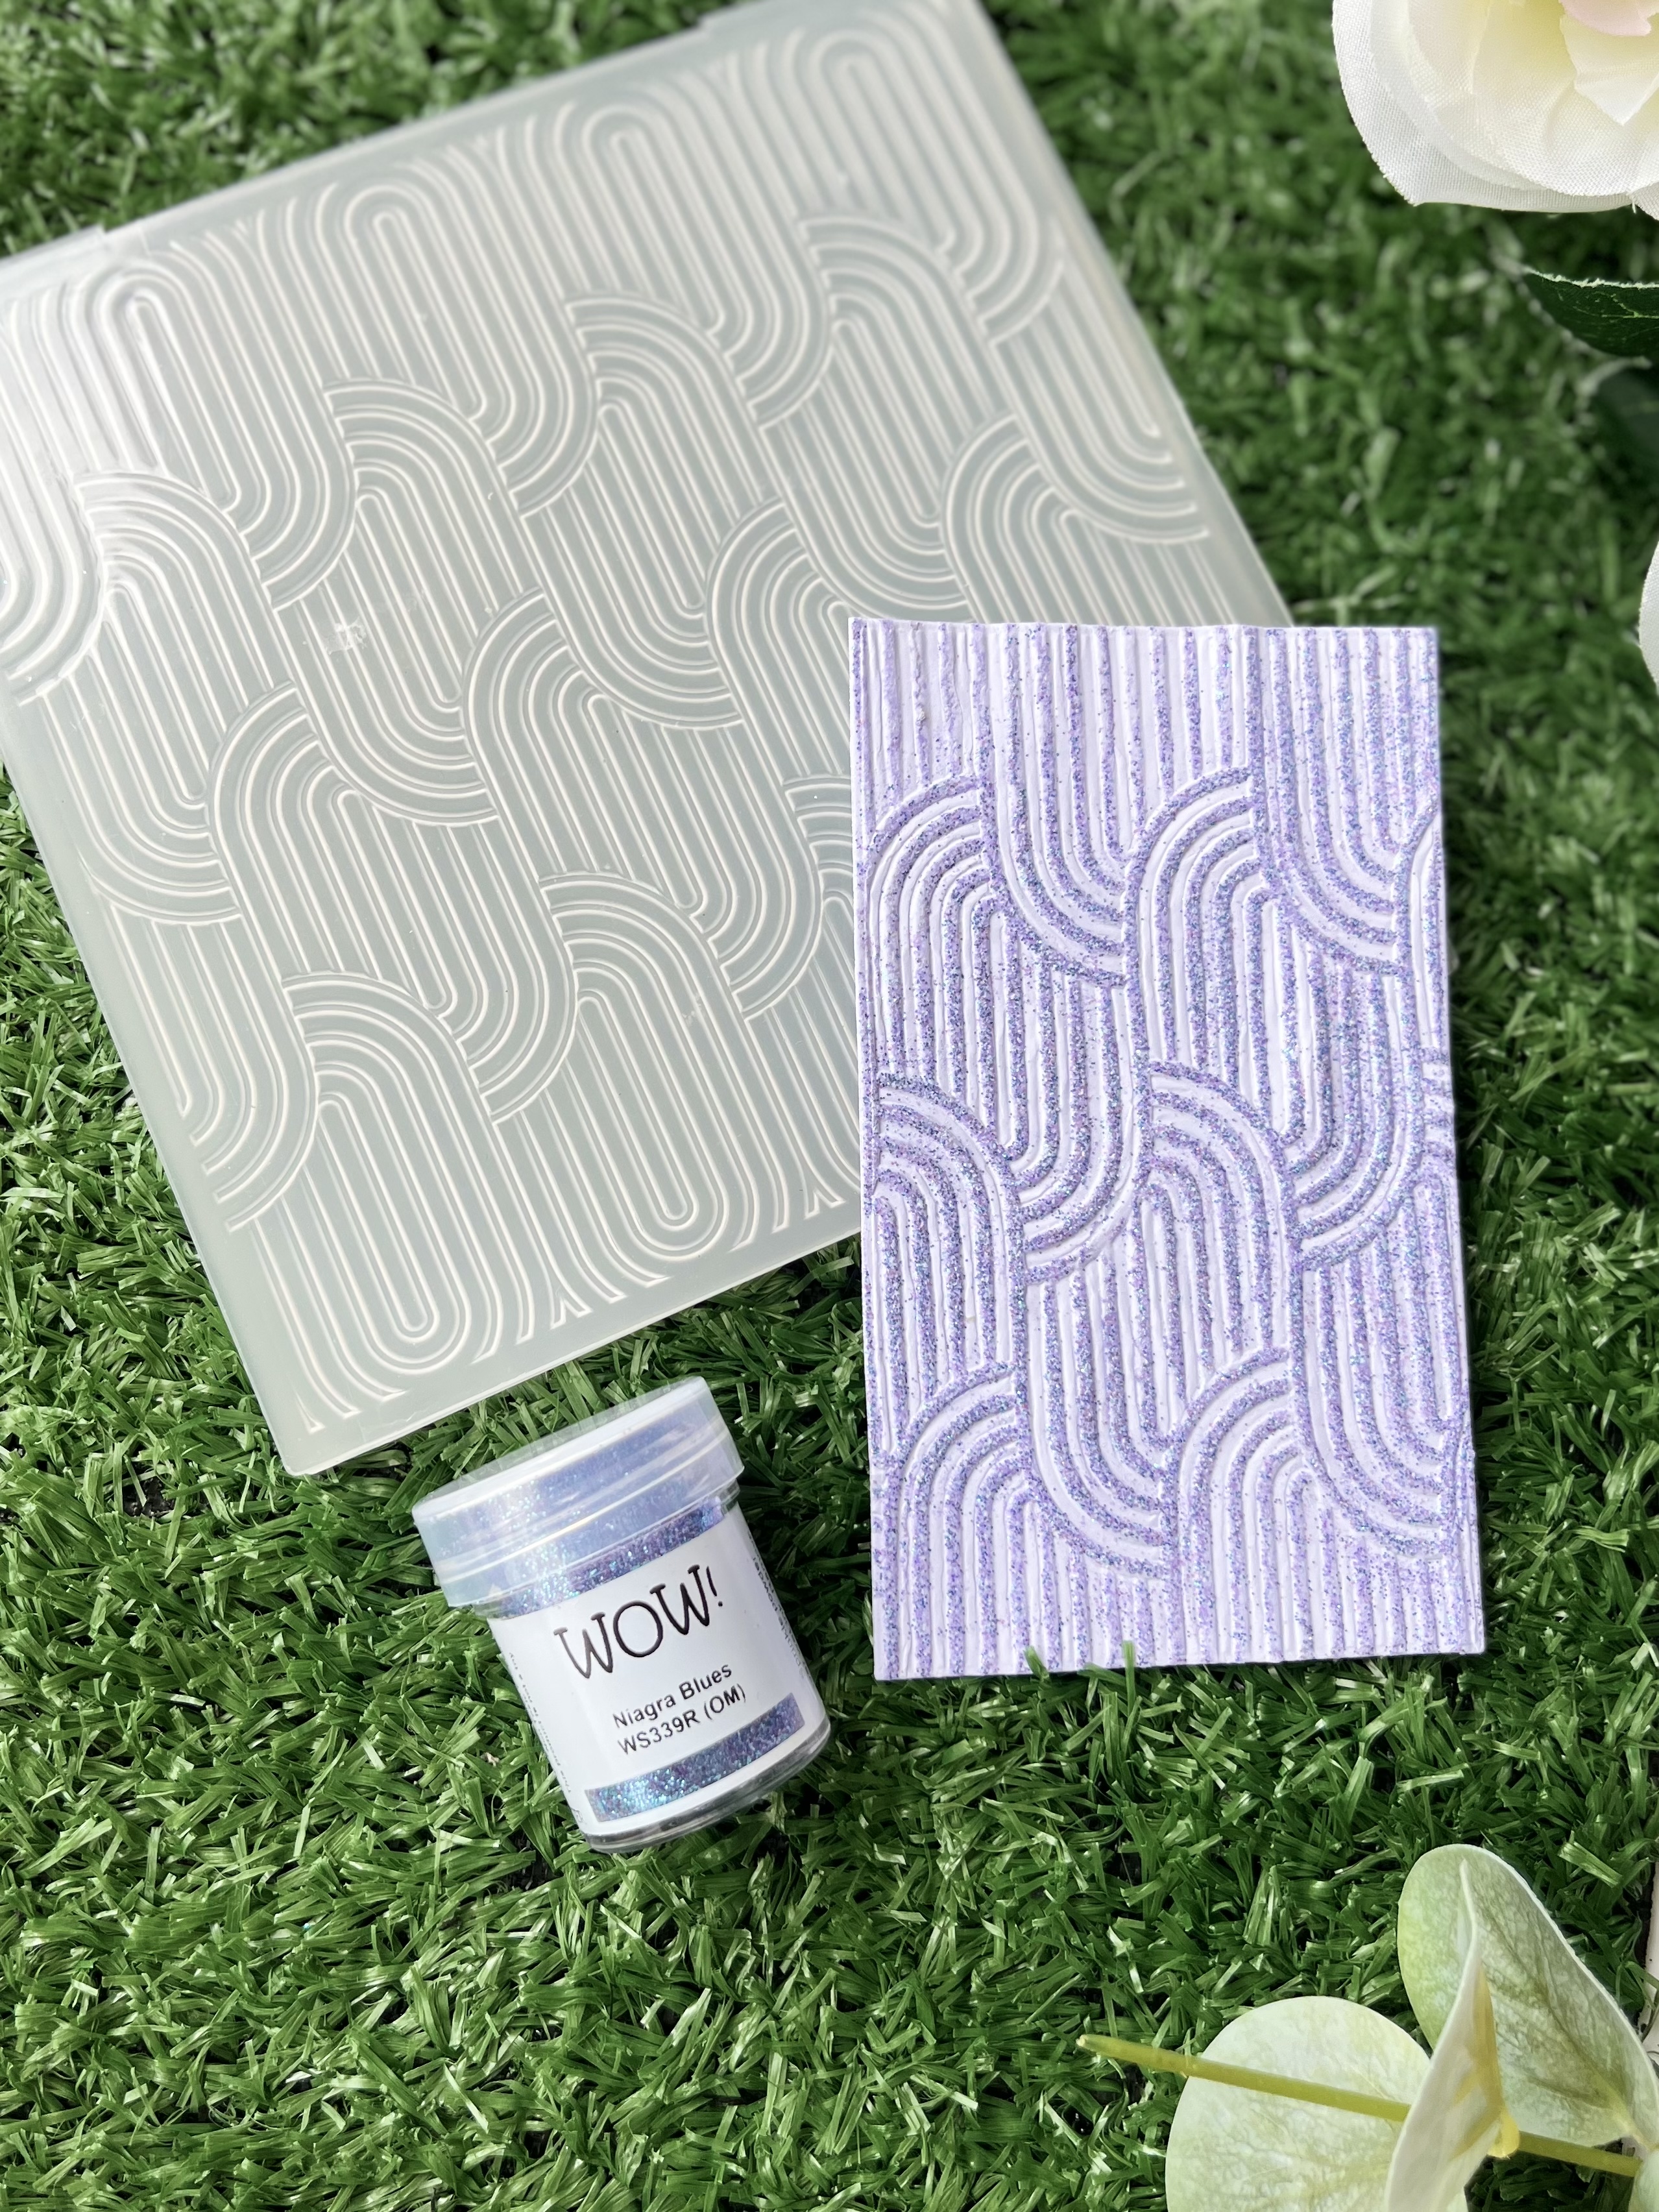
To make the background for our card, I used a 3d embossing folder to add pattern to my cardstock. I then rubbed my ink pad on the raised edges of the pattern and embossed it with Niagra blues powder. I cut the panel down to 5” x 4.5” then propped it up on some foam tape before sticking it down to a 3.5” x 6.5” card base.using some redline tape, I stuck down my butterflies.

I hope you really enjoyed this process as much as I did and I definitely cannot wait to see what kind of embellishments you will make so don’t forget to tag WOW! Embossing Powder on your social media posts.
Crafty hugs till next time.
Sasha x

This is absolutely gorgeous and I adore the colours and that embossing folder is so pretty as a backdrop to your beautiful butterflies, and wonderful finishing touches with the pearls and sequins. x
ReplyDelete