Hi everyone, Colleen here on the blog today! I'm going to show you how to take your everyday, ordinary dry embossed images and add color and shine using ink and WOW! embossing powders! Your cards will go from everyday to WOW!!!
UK https://www.wowembossingpowder.co.uk?aff=11
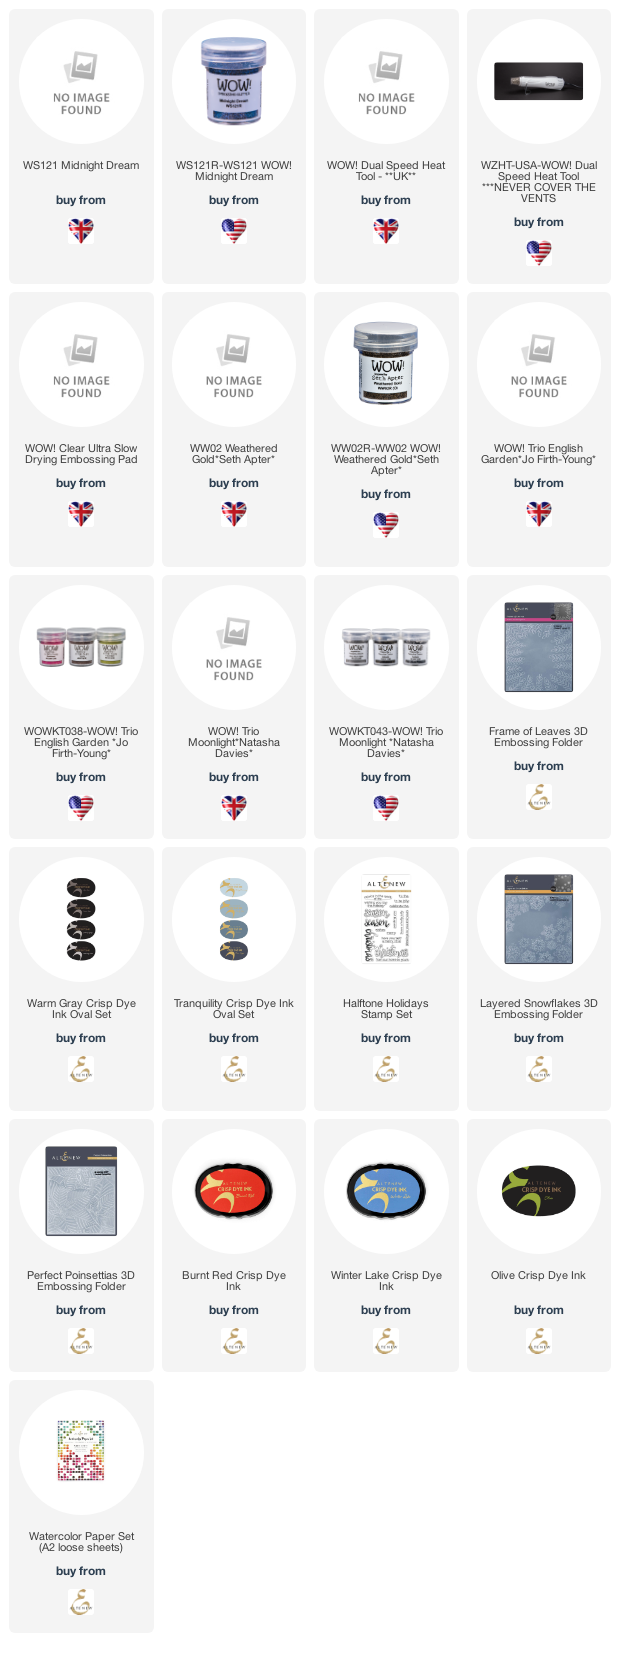
My first card is probably my favorite because of the embossed image, called Perfect Poinsettas by Altenew, and those colors and shine that only come from WOW! embossing powders! Here are the steps to achieving this look:
1) Add 3 shades of your favorite ink colors directly to the debossed side of a 3d embossing folder.
2) Spray an A2 sized piece of watercolor cardstock with water and insert the wet card panel into the embossing folder with the wet side facing up. Close the embossing folder with the inked up area over the wet card panel, and run through the die cut machine.
3) Remove the embossed image and dry any remaining wetness with the Wow! Dual Speed Heat tool.
4) Go over the top layer of the embossed image with Wow! Ultra Slow Drying Embossing Pad and then add embossing powder. Heat with WOW! Dual Speed heat tool.
I have a great video tutorial up showing this process in detail below!
Here I've used WOW! Midnight Dreams embossing powder over the colored and embossed image. I love how this turned out!
Card #2 is a little different in that I used regular cardstock and did not spray it with water. Instead, I did some easy ink blending with 3 shades of grey inks. Then I inserted the inked up panel into the embossing folder, called Frame of Leaves by Altenew, and added WOW! Ultra Slow Drying Embossing pad over the embossed side of the folder. I closed the folder over the card panel, inked side facing up, and ran it through my die cut machine.
Next, I added 3 colors of embossing powder - Fresh Stem, Bella's Forest, and Twilight. I had to use my WOW! Embossing Pen to add a little more embossing powder in the nooks and crannies that I missed with the first run through. But that's what this pen is meant for, to touch up those missed areas! The Embossing Pen works just as the embossing pad does, only it's a pen so you can get into those tight areas!
My 3rd card is a repease of card #1 only I used blue inks and Weathered Gold embossing powder. The embossing folder is called Layered Snowflakes by Altenew. I absolutely adore how this turned out!
I added alot more water to the watercolor cardstock with this one, so the end result is more of a distressed look. But, if you don't like that look, you can easily do some ink blending on regular cardstock just as I did with card #2! Another option to gold embossing powder is silver! Or combine both!
I'm so grateful you joined me today and I hope that you have been inspired to grab your embossing folders, inks, and WOW! Embossing Powders and add color, depth and texture to your embossed images!
Connect With Us:
Powder Arts Thermography Warehouse LTD, Caslon House, Lyon Way, St Albans, AL4 0LBUK https://www.wowembossingpowder.co.uk?aff=11


Great techniques and three fabulous cards Colleen. I particularly love the layered look of the leaves on the first..really striking, but they all have great dimension and the powders certainly add the WOW factor..lol. x
ReplyDelete