
Hello everyone!
It's Colleen here and today I'm sharing tips and tricks to heat embossing on vellum using WOW! powders and WOW! Dual Speed Heat Tool! I'm also including a helpful You Tube video demonstrating the process.

Tip #1: Use good quality, thick vellum
Vellum is a a unique type of paper made from cotton and wood pulp and is translucent (which means you can see the color beneath it). It's used frequently in the crafty community, but I don't use it enough, which is why I'm sharing these tips with you!
In my You Tube video below, I recommend two brands of vellum that I use in general, but there are several brands on the market in which to choose. Jsut be sure that the quality is high and the paper is 27 - 40 lbs. The thicker the paper, the less warping that will occur. And play with the wide variety of styles and colors of vellum out there on the market!

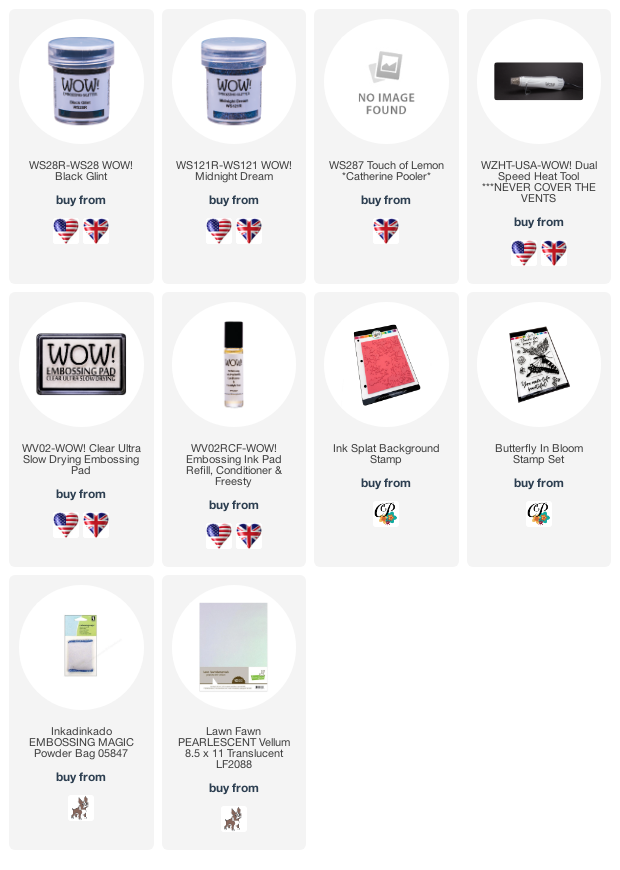
In my card above, I heat embossed the butterfly from Butterfly In Bloom stamp set by Catherine Pooler Designs on Pearlescent Vellum from Lawn Fawn. I used Black Glint powder and my Dual Speed Heat Tool. You can see by the photo above that there was no warping to be found! Speaking of heat tools, this brings me to Tip #2.
Tip #2: Use a high quality heat tool
WOW! sells THE BEST quality heat tool on the market, hands down. I have used at least 3 heat tools in my crafty career, and WOW! has been the most impressive. What I love about this heat tool is that there are Dual Speeds, low and high. To heat emboss my butterfly, I started on the low setting and, as the paper got hot, moved it to high. This significantly reduces the amount of warping.
In my 2nd card below, I used vellum for the cardbase as well as for the butterfly because I wanted to demonstrate to you how durable vellum material is for everyday cardmaking!

Tip #3: Every few seconds, remove the heat from the vellum
This little trick helps alot! Although it makes the drying time slower than heating on standard cardstock, the end result is well worth the extra effort! With card #2, I heat embossed the butterfly and the front panel of my vellum card base using this technique. I used Chocolate Caramel on the butterly and Touch of Lemon powder on the card panel with Ink Splat Background stamp by Catherine Pooler Designs.

Tip #4: If your vellum warps, run it through you die cut machine to flatten it out
Let's face it, even if you follow every tip listed here, you still may get some warping. So this tip works like a charm every single time!

In my You Tube video, I run the card panel through my die cut machine along with my butterly. Both were flat as a pancake! I have one final tip to share with you on choosing your WOW! powder on vellum.
Tip #5: If your stamp is detailed, stick with the fine embossing powders. If your stamp is large and not detailed, you can use the ultra high chunky powders.
Keep in mind the drying time with this last tip. It will take longer to dry vellum in order to reduce warping, so chunky powders may be a challenge to use on vellum. However, I encourage you to give it a try becuase that's how we learn!

Below is my You Tube video that demonstrates the 5 tips I've shared with you today!
Thanks for joining me today, I hope that you walk away from this tutorial with a few more tips under your belt and that you grab your WOW powders, Dual Heat Tool, and favorite vellum and have some fun! For more inspiration, visit the WOW! Instagram page or Facebook Fan page! The list of supplies used in this post are below.
Connect With Us:
Powder Arts Thermography Warehouse LTD, Caslon House, Lyon Way, St Albans, AL4 0LB
UK https://www.wowembossingpowder.co.uk?aff=11
Very pretty results using that beautiful butterfly and ink splat background on the pearlescent vellum Colleen, and thank you for the tops of how to minimise or flatten out the warping if it occurs. Terrific EP colours too. x
ReplyDelete