
Hi guys!


UK https://www.wowembossingpowder.co.uk/
It’s Erica back on the WOW! Blog and YouTube channel today, with some back to basics tips and more DIY glitter card stock.

Right, so first things first: I grabbed my Embossing Pad and the reinker tool, and made sure my pad was nice and juicy. This is definitely right up there in Heat Embossing Tricks 101, it’s amazing what a difference it will make to your images with a properly inked ink pad. Especially when you have small details and fine lines.

This stamp, the Fresh Citrus Bold Print, is one of my fave background stamps from Hero Arts, and it has got all those things: fine lines, tiny details and it’s big too so you are going to want to make sure to get a good impression with your ink. I did use my MISTI to make sure it was nice and even, before using Opaque Bright White Super Fine powder all over it.

I did use my anti-static tool all over this water colour paper before I did any stamping, that always helps me get fab results on the first try. With the heat tool pre-heated on setting one, I melted the powder with the help of my cork trivet. Start by melting a corner, let that cool enough so you can hold it, then proceed to do the rest of the panel.

I coloured it in with Daniel Smith water colours, and this time I coloured all of the fruits in as lemons. Usually I mix and match them with limes, but as I had an idea for the sentiment it had to be just lemons.
For my DIY glitter card stock I used Sorbet, but I should maybe have gone for a more yellow one.
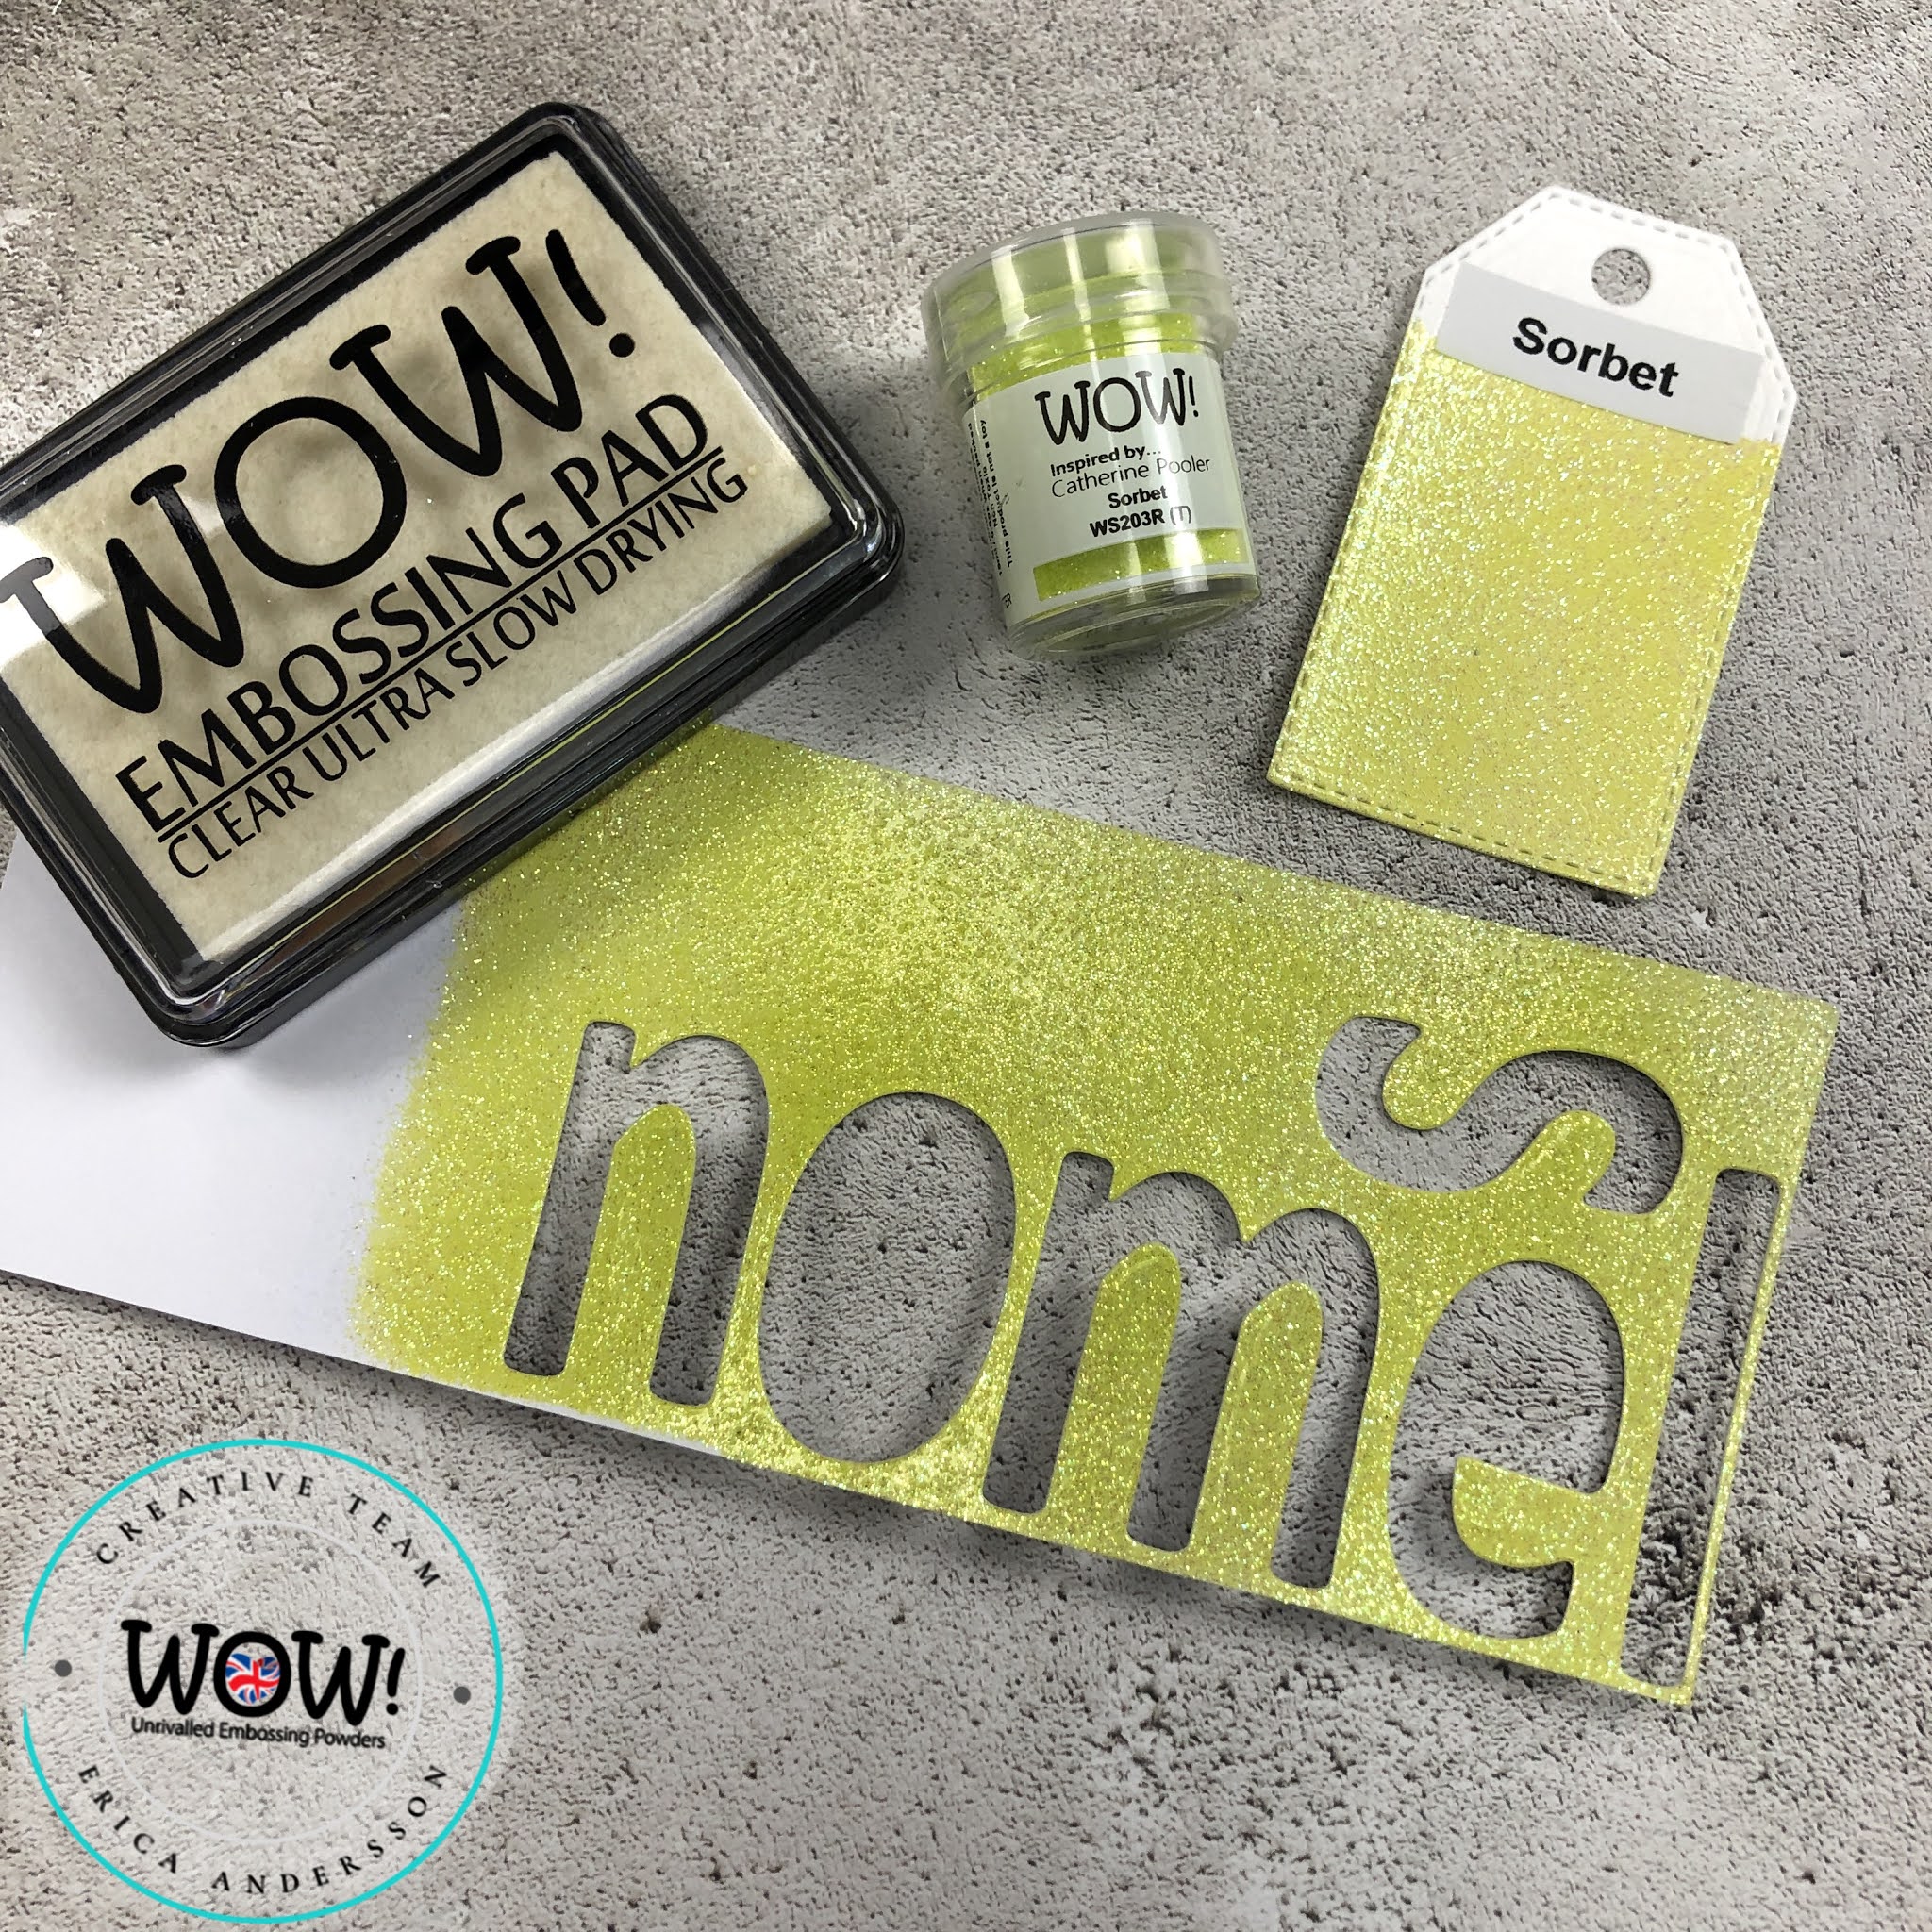
To make this, I dabbed my Embossing Pad VERY generously onto a strip of WOW Smooth White Card stock, and then added the Sorbet glitter powder. This I then set by heating it from underneath, to keep as much of the glitter on the paper as possible. This is another Heat Embossing Tricks 101 tip. Any time you heat set glitter, heat from under the panel instead of using your heat tool on top as you will blow away a lot of it before it gets a chance to melt.
Out of this glitter cardstock I cut out the word lemons using some alphabet dies, I also ended up cutting them out of green and black card stock as well. In the end, I used the black ones and layered the letters up slightly off-centre to create that shadow look.

The entirety of the sentiment reads ‘You’re going to lemonade the heck out of those lemons’, and I masked off the lemons bit on the stamp before stamping it with Buttercup ink from Concord & 9th on white card stock. I also layered it up with some Sunflower and black card stock, by cutting out squares with the nesting squares, also from Hero Arts. The reason I added the black behind the yellow, was again to create that shadow look, only more subtle.

Once the lemons letters were adhered to the card, that was it. All done! You can find the video for this over on the WOW! YouTube channel too, if you want to have a look at that.
Thanks for stopping by today, lots of love and happy crafting from Erica
Connect With Us:
Powder Arts Thermography Warehouse LTD, Caslon House, Lyon Way, St Albans, AL4 0LB
UK https://www.wowembossingpowder.co.uk/
I love your fruity lemon background Erica with wonderful white embossing and some very pretty colouring, and a lovely large sentiment too which looks great cut from a piece of glitter embossed cardstock. x
ReplyDelete