

Hello, it's Verity with another video and blog post as a Creative team member for WOW! Did you know that you can stamp into your heat embossing? Say what?! Yes, you read that right. This is an amazing way to step up your backgrounds, die-cuts of the focal point of your card. I'm showing you three (well 4, ones a tow-fer!) cards with this technique, so hopefully, this will inspire you to try and give it a go!
Impression heat embossing with stamps Video Tutorial:
Check out the video over on the WOW! YouTube Channel here.
Impression heat embossing with stamps Tutorial:
To create the cards, you need to make heat embossed panels. First, ink smoosh your clear embossing ink down onto a card panel and make sure you get good coverage of ink. Next cover with an embossing powder of your choosing. 
For these first two cards which are a two-fer, I used Judith's Blush which is in collaboration with Alexendre Renke. For each heat embossed panel in today's post, you need to repeat this to add about 5 layers of embossing powders.

Now the next step requires a stamping platform as you need to keep stamping in the same position. If you're using a red rubber stamp, remove the foam pad add your background. These two cards feature the Lover note stamp from Catherine Pooler Designs.


Next, heat a portion of the embossed panel to melt and rewarm the powder. Quickly, close your MISTI door and apply a large amount of pressure to press the stamp into your embossing.

When you open the door, you'll see an impression where you melted the powder. Now keep repeating this, moving where you heat up and stamp until the background is complete.

When you use your heat gun, make sure you move it and it is heated up before you bring it to the panel in your MISTI. Also, make sure you have removed your foam pad as you don't want to melt this. You're not keeping the heat on your MISTI long enough to cause any damage, but you might want to risk assess it. 

Make sure you watch the video to find what mistake I made with this background, yet carried on with it anyway!

To turn this background into two cards, I die-cut the panel with the Simply Diamond Pink Freshstudio die and used both the positive and negative parts on each card. These cards were finished off with a layered die-cut using the Happy Birthday Sentiment Suite die set. 
 As we will need to heat without the foam pad, you need to do a little preparation first. Position the hearts onto the panel with the foam pad in. Next, remove the foam pad.
 In order for the photopolymer stamps to stamp into the panel, we need to raise the panel back up, but with some cardstock stacked up.


Lastly, after finish the sentiments off with corresponding stamped sentiments, I added a few blue sequins to contrast with the soft pink embossing.
For this card, I embossed a card panel with 5 layers of In The Navy embossing powder. Instead of using a rubber stamp with this card, I'm using the WOW! Layered hearts stamp set.


Repeat as with the previous two cards but melting and warming the embossing and then stamp the hearts down.

The photopolymer stamps will release from the heat embossing, though may need slightly more help compared to a red rubber stamp.

In addition, I also stamped a few of the hearts into the heart impressions and heat embossed with Rose Gold embossing powder. The panel was trimmed down and a sentiment added from the Round & Round stamp set from WOW!
For this last card, I've kept it simple and again use a red rubber stamp. I used Oiled Slate embossing powder used to create the heat embossed panel.

To create texture, I've stamped with the Painted Stripe background from Catherine Pooler design. This impression is subtle with the Oiled slate embossing powder but works well!
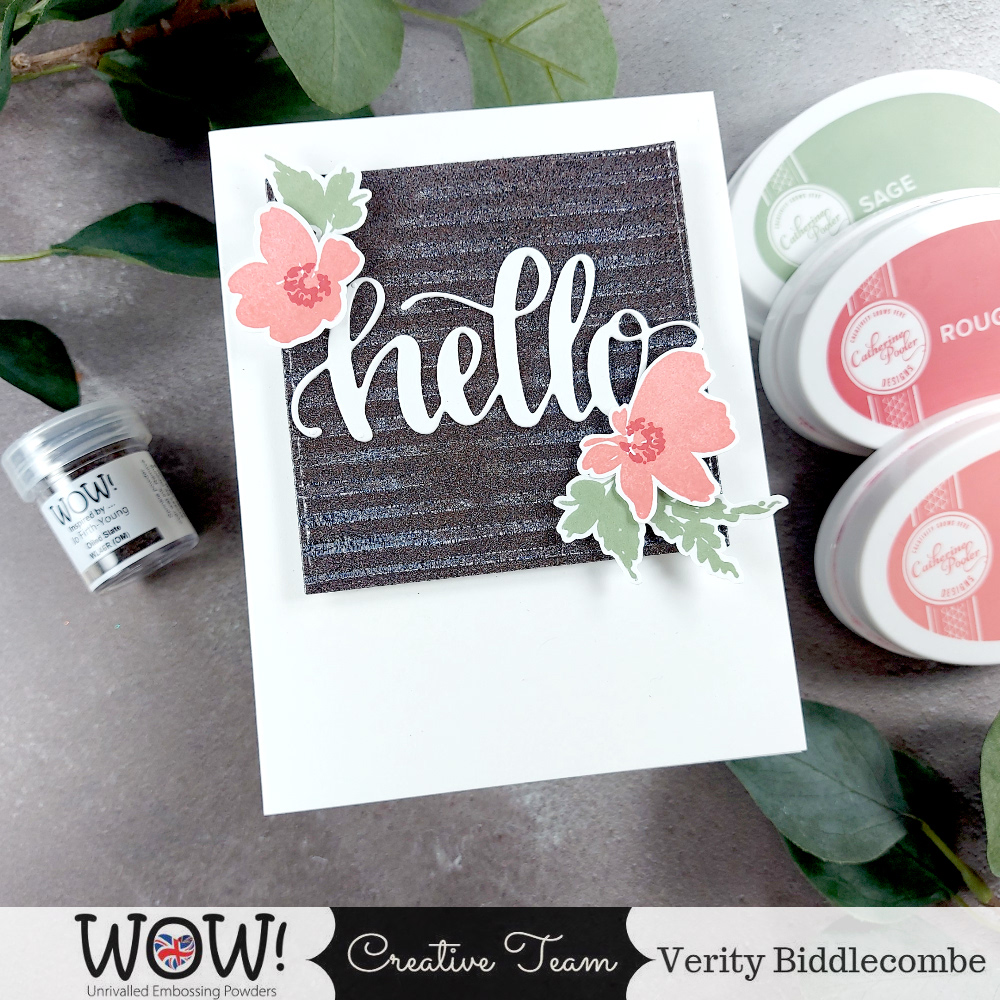
Once the panel was complete, I used a nesting square die to trim this down and foam mount it onto a card.

To complete the card, I added a Hello die-cut from Catherine Pooler designs as well as some stamped floral images. The stamp set used is Altenew Willowing Blossom and I use a selection of Catherine Pooler inks.

Impression heat embossing with stamps Supplies:
WOW! Supplies:
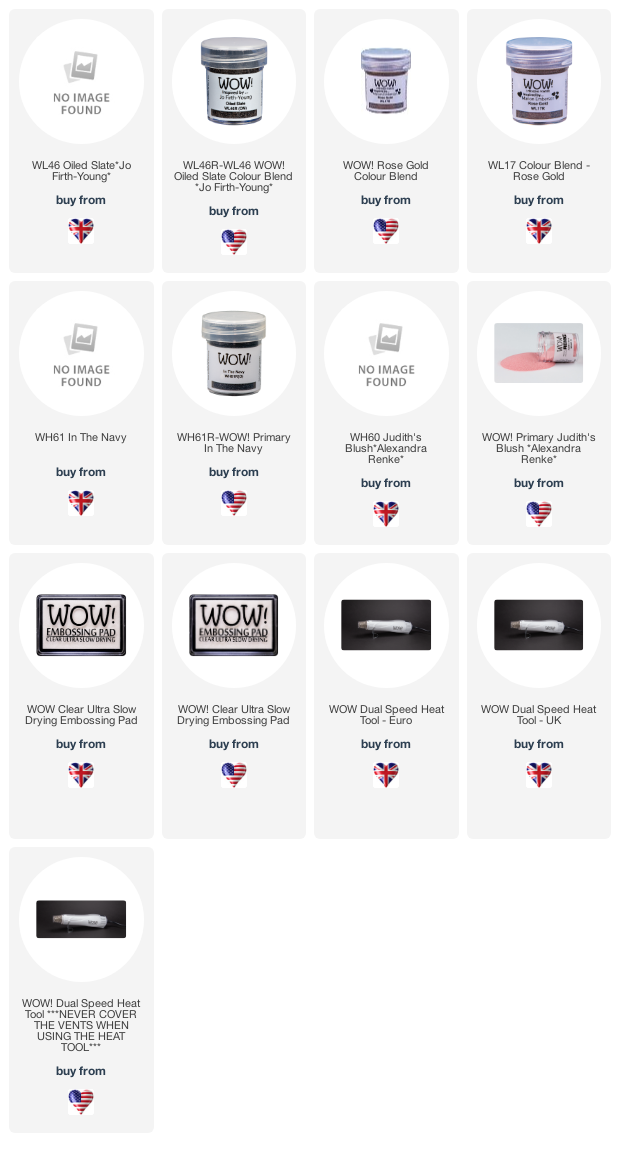
Other supplies:
Affiliate links used: Altenew (ALT), Catherine Pooler Designs (CPD), Scrapbook.com (SB), Hero Arts (HA), Craft Stash UK/US (CS / CS US) and Picket Fence Studios (PF).
All other links are not affiliate: Bumbleberry Papercrafts (BP) and Hixeysoft.com (HS)
 Billowing Blossom - Altenew Shop at: ALT |
 Love Note Backgroud - Catherine Pooler Designs Shop at: CPD | SB |
 Painted stripe background - Catherine Pooler Designs Shop at: CPD | SB | LPT |
 Hello die - Catherine Pooler Designs Shop at: CPD |
 Simply Diamonds - PinkFresh Studio Shop at: SB | BP |
 Sentiment suite: Happy Birthday - PinkFresh Studio Shop at: SB | BP |
 Juniper Mist Ink - Catherine Pooler Designs Shop at: CPD | SB | BP |
 Juniper Mist Reinker - Catherine Pooler Designs Shop at: CPD | SB | BP |
 Juniper Mist Bundle - Cathering Pooler Designs Shop at: CPD |
 Sage Ink - Catherine Pooler Designs Shop at: CPD | SB | LPT |
 Sage Reinker - Catherine Pooler Designs Shop at: CPD | SB | LPT |
 Sage Ink Bundle - Catherine Pooler Designs Shop at: CPD | LPT |
 Polished ink - Catherine Pooler Designs Shop at: CPD | SB | BP |
 Polished reinker - Catherine Pooler Designs Shop at: CPD | SB |
 Polished ink Bundle - Catherine Pooler Designs Shop at: CPD | BP |
 Rouge Ink - Catherine Pooler Designs Shop at: CPD | BP |
 Rouge Reinker - Catherine Pooler Designs Shop at: CPD | BP |
 Rouge Ink Bundle - Catherine Pooler Designs Shop at: CPD |
Premium White Cardstock: 8.5" x 11 - Catherine Pooler Designs Shop at: CPD | LPT |
 Original MISTI 2.0 - My Sweet Petunia Shop at: ALT | CPD | SB | HA | BP |
 Gina K Designs - Connect Glue Shop at: BP |
 Scrapbook Adhesives 3D foam squares 1/4" white Shop at: CPD | SB | BP |
 Powder Tool Aplicator - EK Success Shop at: CPD | SB |
 Crafter's Essential Bone Folder - Altenew Shop at: ALT | SB | BP |
 Tim Holtz 8.5 Inches Comfort Trimmer - Tonic Studios Shop at: SB | CS (UK) | CS (US) |
 Trim and Score Board - We R Memory Keepers Shop at: SB | CS (UK) | CS (US) |
 Jewel Picker - Marvy Shop at: CPD |
I hope you enjoyed today's video and stay tuned for more to come. If you make a card with this technique, make sure to tag us #wowembossingpowder so we can check your creations out!
Till next week,
Verity
Connect With Us:

Powder Arts Thermography Warehouse LTD, Caslon House, Lyon Way, St Albans, AL4 0LB
Very clever technique using different embossing powders and the first three with more layers and impressing the stamp into it which looks great, and the first two using the positive and the negative of a die cut panel look terrific, then the pretty hearts impressed into the dark navy embossing and the added rose gold embossing looks so pretty over the top. Lastly the embossed background panel with the added stamped stripes of colour over the top and love the beautiful added flowers and large die cut sentiment in white which really stands out. A fantastic foursome Verity. x
ReplyDelete