

Hello, it's Verity with another video and blog post as a Creative team member for WOW! Who doesn't love to add a little sparkle to your cards right?! Well, I'm showing you how easy it is to do by adding a little sparkle in three different ways, whether you love to use glitter, foil or melt it there is a technique for you! Simple card making with sparkle & shine doesn't come much easier than this!
Add a little sparkle! Video Tutorial:
Check out the video over on the WOW! YouTube Channel here.
Add a little sparkle! Written Tutorial:
Add a little sparkle with WOW! Sparkles (Glitter)
Start off by adding double-sided adhesive sheets to a white piece of card. Next, peel the release paper off and add the Altenew Tiny Bubbles stencil over the top.

With the adhesive exposed through the stencil, cover the stencil with Graphite WOW! sparkles. Tap off any excess and burnish the glitter in through the stencil using the release paper.

Next, remove the stencil from the cardstock and cover the remaining adhesive with Brilliant Silver WOW! Sparkles. Again, burnish this down with the release paper to make sure the glitter stays.

To finish this card off, add a 'Cheers' die-cut and a small secondary sentiment. Having foam mounted the panel onto a white card base, add a few gold disc sequins to embellish the card.

Add a little sparkle with Fab Foil!
For this card, stamp the PinkFresh Studio Neste Diamon stamp in WOW! Clear Ultra Slow drying embossing ink onto black card. Next, cover this with bonding powder.

For a large stamp like this, it is best to heat and foil small areas at a time. Start heating the bonding powder and it should go clear and tacky. Place Silver Fab Foil over the tacky melted bonding powder and tap over the top.

After 5-10 seconds, burnish the foil with a bone folder. I wouldn't recommend burnishing the foil as soon as you put it on as the heat is still in the bonding powder and could smudge with the force during burnishing.

Keep heating and foiling until the whole image is complete. Add this to a card base along with a white die cut using the Waffleflower Oversized Thank You die. Lastly, embellish with a few gold sequins to finish the card off.

Add a little sparkle with Melt It! & Embossing Glitter
With a Melt It! case, add 5-8 spatulas of Melt It! powder - the amount you want to use will depend on the size of your moulds and how many embellishments you want to make. Next, add the same quantity of Black Twinkle embossing glitter.

With your dual speed heat gun, use heat setting two and melt the powder from beneath the case. Once all the powder is melted, pour the liquid into the moulds of your choosing. Here I went for a star mould.

In addition, use any of the last dregs of the melted liquid to drop small amounts onto the edge of the mould or a non-stick heatproof surface to create some round embellishments. Allow the moulds to cool and set before your remove them.

Adhere the stars down onto a white card base. Embellish the stars by scattering sequins and the handmade matching drops around the card.

Lastly, finish off the card with a gold heat embossed sentiment from the Altenew Thinking of You stamp set.

Add a little sparkle! Supplies:
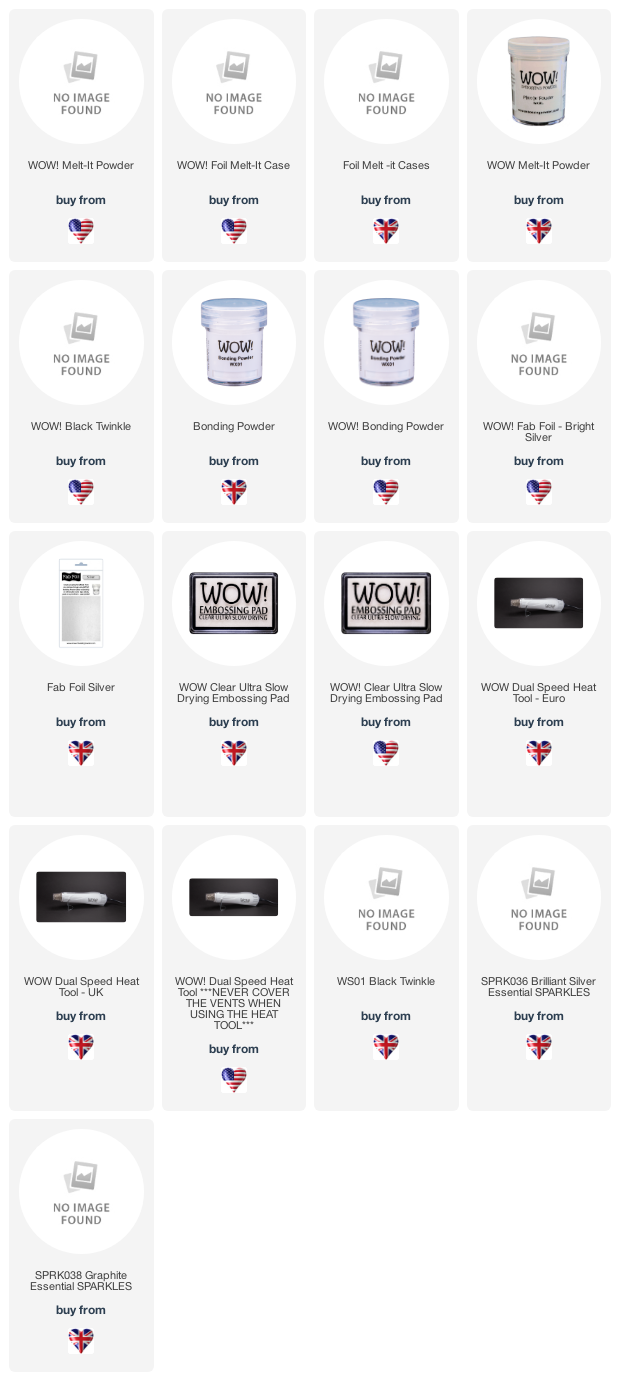
WOW! Supplies:
Other supplies:
Affiliate links used: Altenew (ALT), Catherine Pooler Designs (CPD), Scrapbook.com (SB), Hero Arts (HA), Craft Stash UK/US (CS / CS US) and Picket Fence Studios (PF).
For £1 off your order at The Little Paper Tree (LPT) use the code TLPTVERITY
All other links are not affiliate: Bumbleberry Papercrafts (BP)
 Thinking of you - Altenew Shop at: ALT |
 Nested Diamonds - PinkFresh Studio Shop at: ALT | BP |
 Cheers Layered Die - Paper Rose Shop at: SB |
 Oversized Thank You - Waffle Flower Shop at: SB | BP | LPT |
 Tiny Bubbles Stencil - Altenew Shop at: ALT | SB | BP |
Premium White Cardstock: 8.5" x 11 - Catherine Pooler Designs Shop at: CPD | LPT |
 Gina K Designs - Connect Glue Shop at: BP |
 Teflon Bone Folder - Lawn Fawn Shop at: CPD | BP |
 Tim Holtz 8.5 Inches Comfort Trimmer - Tonic Studios Shop at: SB | CS (UK) | CS (US) |
 Trim and Score Board - We R Memory Keepers Shop at: SB | CS (UK) | CS (US) |
I hope you enjoyed today's video and stay tuned for more to come. If you make a card with this technique, make sure to tag us #wowembossingpowder so we can check your creations out!
Till next week,
Verity
Connect With Us:

Powder Arts Thermography Warehouse LTD, Caslon House, Lyon Way, St Albans, AL4 0LB
Three beautiful looks Verity with the sparkles through a stencil, so glitzy, and then the black with the silver foil, really dramatic, and finally the pretty shapes made with Melt It and a mould and also cleverly made little round dots to use as enamel dots on the card...love the gold sequins too. x
ReplyDelete