Hi Everyone!
There have been some gorgeous layering stencils hitting the market recently and I decided to use them with WOW! Fab Foils to add foil accents to my layered stencil images. If you aren't familiar, these are stencils that come in sets of two, three or even more, that layer together to create a scene or 'color' in an image. I'm going to change up one of the layers and use foil instead ink.
I also have a video that you can check out here or over on the WOW! Channel.
My first card features two types of layering stencil to create a slimline shaker card. I trimmed down a panel of Grapefruit cardstock (from Concord and 9th) and overlaid the Pinkfresh Studio Argyle stencil first layer (the large diamonds). I ink blended Pinkfresh Passion Fruit ink over the top to get a tone on tone look. I used the second stencil layer to do my foiling.
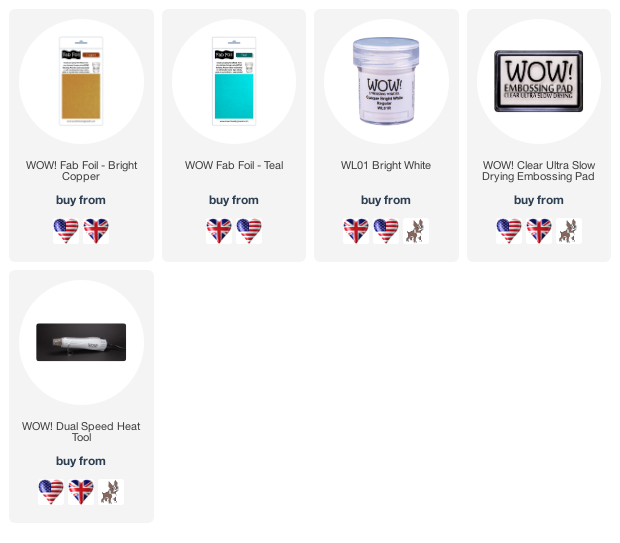
I'm using the Duo Foil Transfer Gel to add my foil. It's a paste that you can apply foil over the top and make permanent with either heat such as a laminator, or pressure (your die cutting machine). I used a palette knife to add the gel, and then set it aside to dry. When dry it goes clear (it takes about an hour). I then trimmed my WOW! Fab Foil down to size and overlaid it then ran it through my die cutting machine to add pressure, sandwiched between two plates. The foil I'm using is Bright Copper which pairs perfectly with the ink and cardstock.
You could create a card just using this panel, however I wanted to build it into a shaker and show you another way to add the accents. Using a panel of white cardstock I stamped the Pinkfresh Studio Be Courageous stamp set in black ink and die cut the centre with the coordinating die. I then 'colored' it in using the coordinating layering stencils. I ink blended PFS Meadow ink for the leaves, Marigold for the yellow flowers. For the third stencil layer I added the duo paste, let it dry, then added Copper Fab Foil again. This creates beautiful coppered flowers in the border! I added acetate, foam tape and created a shaker using the two panels, adding clear confetti sequins. To finish, I heat embossed a sentiment from the stamp set in WOW! Opaque Bright White on black cardstock.
Of course, you don't need to use layering stencils to add foil in this way - try it with any stencils to create bigger foiled patterns or images. I wanted to show you one more project that uses a silhouette type stencil to add foiled stripes to my card. I used the Concord and 9th In Bloom set for this and started by heat embssing the main image in WOW! Opaque Bright White embossing powder onto C9 cardstock in Oceanside. The white powder against the colored cardstock really shows how bright that white is!
I then used the coordinating stencil - there are several - this one has the image silhouetted like a mask, and striped openings. I overlaid it on my embossed image, then added the duo gel. When dry, I foiled it with WOW! Teal Fab Foil to create a tone on tone look with the cardstock. I didn't wait long enough for the gel to dry so got a little boo-boo which I hid with a confetti sequin! The sentiment is from the Just Wanted to Say stamp set from C9, stamped in C9 Oceanside ink to coordinate. I also stamped the sentiment inside the white notecard, and adhered the panel over the top to finish.
Enjoy your foiling and Happy Christmas!
Jenny
Supplies


Two beautiful looks using some prettily coloured foils Jenny and love the coppercolour on the background to the shaker, used a bit like grouting on tiles, and also added to the flowers on the top layer, and then the strips of blue on the second with the bright white embossing which stands out beautifully against it. The idea of stamping with a coordinating stencil is a great idea! x
ReplyDelete