Learn how to make WOW! Changers snow embossing powder. There are lots of specialty powders that puff up and are perfect for snow, but I don't have so I made an alternative.
All the details to create these easy watercolor backgrounds and WOW! Changers snow is in this short cardmaking video tutorial. Watch it here or in HD on YouTube. While you're there I'd love it if you like, subscribe, and share it with your crafty friends!
Winter Watercolor Backgrounds
Cut it to A2 size, 4.25 x 5.5-inches, and die-cut a scrap with a round rectangle die of your choosing. Wet the A2 size paper with clean water and paint wet on wet stripes with four different blue pigments.
Here I used Daniel Smith Watercolor Phthalo Blue Green Shade, Ultramarine, Mayan Blue Genuine, and Indigo.
While the paint is still wet, splatter on leftover paint from your palette with a watery brush. This will create diffuse snow-like marks in the background.
Ink smoosh the smaller die-cut panel with the leftover ink. Create as many panels as you desire with the remaining paint. Allow the panels to fully dry.
How To Make WOW! Changers Snow
If you have WOW! White Puff powder, that would create excellent fluffy snow. However, I don't have it in my stash, so I decided to make an alternative. I wanted my snow to be opaque and have sparkly glitter.
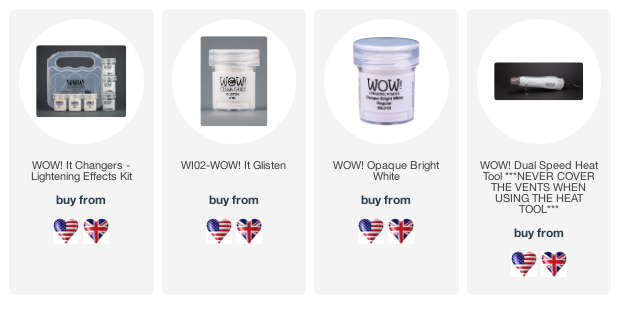
Simply mix equal parts WOW! Opaque Bright White with WOW! Changers Glisten to create the perfect opaque white glitter powder. Make sure your panels are completely dry before embossing your DIY snow.
Next, wet a large round brush. A #10 or #12 round brush is recommended to create large splats of snow. Splatter your panels with large drops of clean clear water.
Sprinkle with your DIY snow mixture and melt with your heat tool. I recommend melting the embossing powder from underneath the cardstock to prevent blowing away all that gorgeous glitter. Voila!
Winter Cards
To finish these winter cards, I used Altenew Hello Winter Stamp & Die Set. The white Winter sentiments are cut from Neenah Classic Crest Solar White and heat embossed with the DIY snow mixture.
The Winter shadow sentiments are die-cut from Curious Metallic Electric Blue cardstock. The sub-sentiments are stamped in Altenew Obsidian Pigment Ink.
The rounded rectangle panel is grounded with three strips of Curious Metallic Electric Blue cardstock. I added a few Pretty Pink Posh Marshmallow sequins and called it done!
That's all there is to creating simple winter wonderland cards with your own DIY snow embossing powder. Thanks so much for joining me and I'll see you soon with more inspiration! Happy crafting!
WOW! Products

Additional Products

UK https://www.wowembossingpowder.co.uk/


I love the blue tones on both these winter birthday cards Amber and the blended vertical stripes of colour on the first, and then the smooshed watercolouring over the strips of blue card with the white spatters on the second and the die cut and stamped sentiment looks great. x
ReplyDeleteAWESOME creations, thanks for the video!
ReplyDelete