Hello, it's Verity with another video and blog post as a Creative team member for WOW! Have you got lots of glitter stashed in your craft supply but unsure how to use it then this is the video for you. I've got three techniques for using glitter whether it's using up what you have or using biodegradable glitter to make your cards sparkle. So let's get started!Repeat heat embossed die-cut inlay Video Tutorial:
(You can view this directly on WOW! Embossing Powder YouTube Channel HERE)Repeat heat embossed die-cut inlay written tutorial:
Double-sided adhesive and Sparkles card:
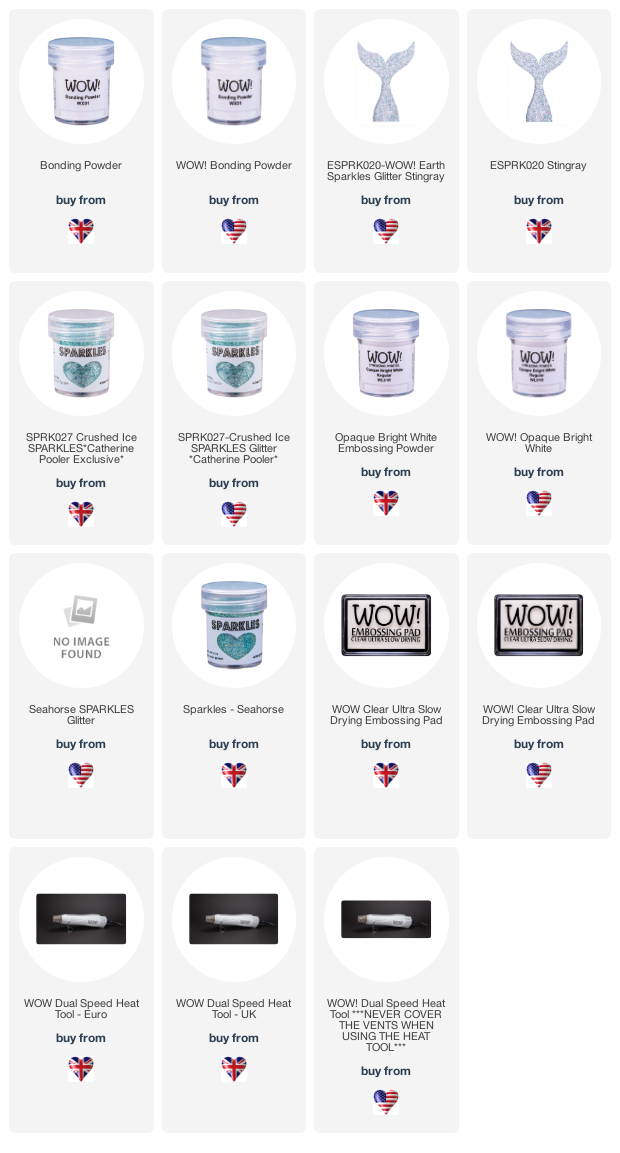
For the first technique, we are going to use double-sided adhesive to adhere the glitter down. Adhere some wide width double-sided adhesive tape down onto a piece of white card. Once you have a large enough area, remove the backing to the double-sided adhesive to expose this sticky surface.Now cover this with WOW! Earth Sparkles in Stingray. As the adhesive is sticky we can sprinkle the glitter over this and the glitter will stick to the tape. Use a bone folder to burnish the glitter down into the adhesive tape by sandwiching the cardstock between two sheets of paper.
Now you die cut from this, so the die-cut the Catherine Pooler Designs Circle Stripe die from your DIY glitter cardstock.
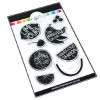
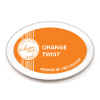
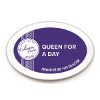
For the focal elements, stamp the orange from the Catherine Pooler Designs Sentimental Fruit stamp set. To begin with, ink this up in Tiki Torch Catherine Pooler Ink and to add a little bit more interest to the stamped image go in with Orange Twist CP ink around the edge of the stamp.Next, use a blending sponge to just soften up the edge of the ink will to prevent harsh lines. When stamped the inks blend on the card stock giving you some shading to your stamped images. In addition, stamp the blueberries in A Queen For A Day CP ink and use the coordinating dies to cut them out.To add a little bit more interest foam mount the glitter die-cut onto a piece of white card stock and then add the stamped images with foam as well for dimension. To finish off this card add some sequins from the Desert Sunset mix from Lucy's Cards.Bonding Powder and Sparkles card:
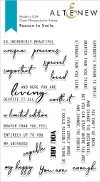
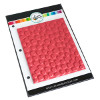
For the second technique, we are going to use bonding powder with the glitter. Start off by stamping the Spotted Background stamp from Catherine Pooler designs onto a white card panel.Ink up the stamp with WOW! clear ultra slow drying embossing ink and close the MISTI door to stamp the design down. Next, cover this with bonding powder and heat set. Bonding powder when heat set looks clear gloss however when its heat set it's tacky for around 10-20 seconds afterwards. As this is tacky, we can then adhere the glitter to this. Cover the embossed design in Catherine Pooler Crushed Ice sparkles.You may wish to heat the background and add the glitter in stages to get the best coverage when doing a large background design like this. Also re-heat the bonding powder to ensure that the glitter melts well into the bonding powder so it doesn't shed.If it looks like a hot mess, don't worry. Remove any excess glitter around the design with a brush. You can also use a sand eraser just remove any excess pieces of glitter that are really not budging with your brush.Adhere the background panel to a white card base and then adhere some Perfect Vined die cuts from Catherine Pooler Designs onto the front in two shades of grey. In addition, stamp and adhere a couple of sentiments from an Altenew stamp set Reason to Smile. Lastly, adhere a few matt silver sequins around the card panel.
Embossing Paste and Sparkles card:
For the last technique, we are going to use embossing paste with glitter. Temporarily adhere the Deco Fan stencil from Catherine Pooler designs down to a white card panel.It is a good idea to use a card panel that is 110 pounds card stock because we're going to be adding some moisture to it, we want to heavyweight card stock to reduce warping.Using a spatula, apply some Altenew embossing paste over the stencil. After you've applied enough embossing paste to the card panel, remove the stencil and clean these straight away.
As the embossing paste is tacky and wet we can apply glitter onto it. As that dries the glitter dries into the embossing paste. The glitter used here is the Seahorse sparkles.Once the panel is dry, add this to a white card base. Thes rest of the card was kept quite simple adding a black layered die-cut Love from Catherine Pooler Designs.This was adhered down to the front of card using liquid glue to ensure it adheres well to the glitter design. In addition, add a heat embossed sentiment from the Altenew Sentiment Strips 2 stamp set. To finish this card off, add some Starlight sequins from Lucy's cards scattering these around the card.
There are so many fun ways you can use glitter in your paper crafting projects and I hope these three ways show you just how easy it can be; there are some beautiful glitters out there! These are great ways to use up your glitter stash and there is a whole range of biodegradable glitters from WOW! called Earth Sparkles. So if you're wanting to use glitter more often but also be more eco-friendly, then this is the range for you.Repeat heat embossed die-cut inlay Supplies:
Reason To Smile - Altenew
Shop at:
ALT | CS (UK) | BP
Spotted Background - Catherine Pooler Designs
Shop at:
CPD | SB
Sentimental Fruit - Catherine Pooler Designs
Shop at:
CPD | SB | LPT
Sentimental Fruit Dies - Catherine Pooler Designs
Shop at:
CPD | SB | LPT
Perfect Vines - Catherine Pooler Designs
Shop at:
CPD | SB
Circle Stripe - Catherine Pooler Designs
Shop at:
CPD | SB
Love word die - Catherine Pooler Designs
Shop at:
CPD | SB
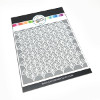
Deco Fan Stencil - Catherine Pooler Designs
Shop at:
CPD
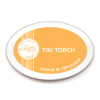
Tiki Torch Ink - Catherine Pooler Designs
Shop at:
CPD | SB | LPT
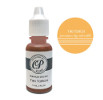
Tiki Torch Reinker - Catherine Pooler Designs
Shop at:
CPD | SB | LPT
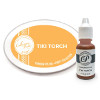
Tiki Torch Ink Bundle - Catherine Pooler Designs
Shop at:
CPD | LPT
Orange Twist Ink - Catherine Pooler Designs
Shop at:
CPD | SB | LPT
Orange Twist Reinker - Catherine Pooler Designs
Shop at:
CPD | SB | LPT
Orange Twist Bundle - Catherine Pooler Designs
Shop at:
CPD | LPT
Queen for a Day Ink - Catherine Pooler Designs
Shop at:
CPD | SB | LPT
Queen for a Day Reinker - Catherine Pooler Designs
Shop at:
CPD | SB | LPT
Queen for a Day Ink Bundle - Catherine Pooler Designs
Shop at:
CPD | LPT
Embossing Paste - Altenew
Shop at:
ALT | SB | BP
Premium White Cardstock: 8.5" x 11 - Catherine Pooler Designs
Shop at:
CPD
Soft Stone Heavy Weight Cardstock - Gina K Designs
Shop at:
BP
Slate Heavy Weight Cardstock - Gina K designs
Shop at:
BP
Stencil Pal - Therm O Web
Shop at:
SB
Original MISTI - My Sweet Petunia
Shop at:
ALT | CPD | SB | HA | BP
Gina K Designs - Connect Glue
Shop at:
BP
Scrapbook Adhesives 3D foam squares 1/4" white
Shop at:
CPD | SB | BP
Teflon Bone Folder - Lawn Fawn
Shop at:
BP
Tim Holtz 8.5 Inches Comfort Trimmer - Tonic Studios
Shop at:
SB | CS (UK) | CS (US)
Trim and Score Board - We R Memory Keepers
Shop at:
SB | CS (UK) | CS (US)
QuickStik - We R Memory Keepers
Shop at:
CPD | SB | CS (UK) | CS (US)I hope you enjoyed today's video and stay tuned for more to come.If you make a card with this technique, make sure to tag us #wowembossingpowder sowe can check your creations out!
Till next week,
Verity
Connect With Us:
Powder Arts Thermography Warehouse LTD, Caslon House, Lyon Way, St Albans, AL4 0LB
Comments








Three beautiful cards Verity and love all the sparkle and glitter and thank you for explaining the techniques so well. x
ReplyDelete