Hello, it's Verity with another video and blog post as a Creative team member for WOW! Today’s cards uses heat embossing with die-cut inlay. The die-cut inlay I have used on these cards has quite a simple shape as I wanted to create cards that provide inspiration for this months WOW! Embossing Fabs Facebook group challenge which is repeating patterns. However, you can adapt this technique for any die-cut inlay you have in mind, so do not be afraid to experiment. What’s more, to add a touch of sparkle, I’ve used an embossing glitter to add a little more shine!
Repeat heat embossed die-cut inlay Video Tutorial:
(You can view this directly on WOW! Embossing Powder YouTube Channel HERE)
Repeat heat embossed die-cut inlay written tutorial:
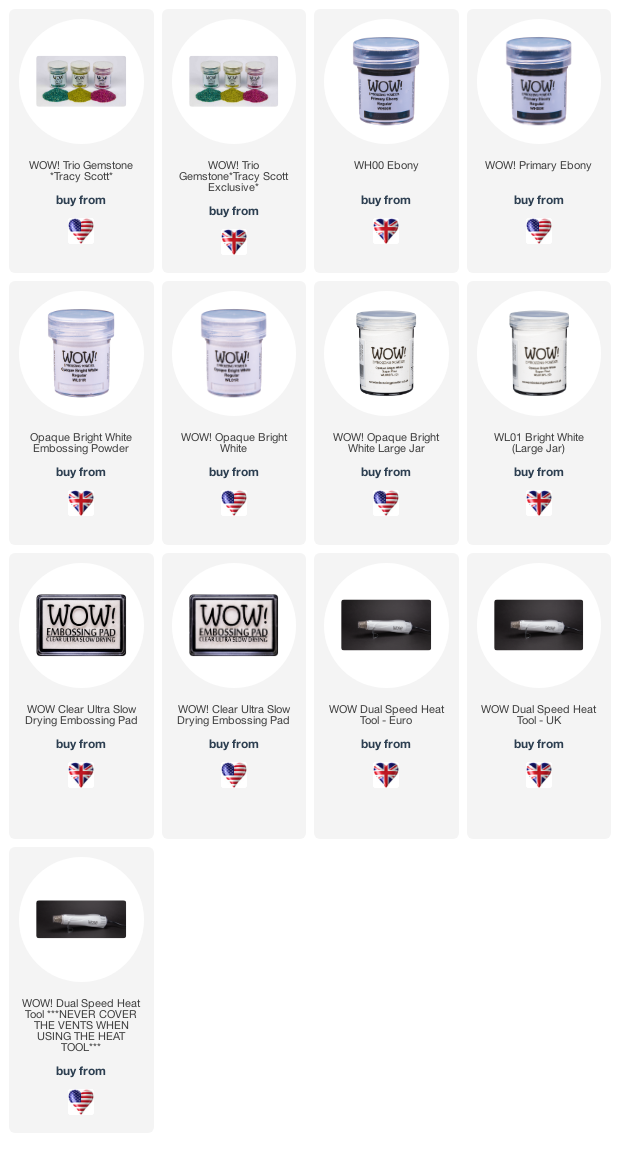
To create the heat embossed die-cut inlay, we need to first create an embossing glitter cardstock to die-cut from. First, use your WOW! Clear ultra slow drying embossing ink to apply ink directly to a piece of cardstock before covering it with Aquamarine embossing glitter from the Gemstone Trio from Tracy Scott.Heat set the powder from beneath the cardstock and if you want to intensify the colour, you can add another layer of powder.To create the die-cut inlay pattern, use the Altenew Nesting Frames die. Before die-cutting, place them on a mat with the cutting side facing down, and make sure they’re evenly spaced apart. Next use some low tack tape to temporarily attached them together so you can die-cut multiple times and ensure all the frames are the same size.Run the nesting frames through a die-cutting machine with your embossed glitter cardstock. Without removing the tape, run the dies through your die-cutting machine again, but this time with some white cardstock and teal cardstock as well.For the inlay, we need to adhere the die-cuts down, so add some double sided tape to a piece of scrap card. Next adhere the frames down, alternating between the heat embossed die-cuts and the white card. Once I have popped all the frames in, trim off any excess of the scrap card.For the floral stamps, use the Hero Arts Dreams Will Blossom stamp set, and heat emboss these in Opaque Bright White embossing powder onto watercolour cardstock. After it is heat set, you can colour the images in with Zig Clean Color Real Brush Markers.Before assembling the card, add a little more interest to the background by adding paint splatters using the Gansai Tambai Starry Colors palette.For these cards, add the die-cut inlay panels off to one side over hanging the edge and foam mount the florals onto the panels. Next, use a guillotine to them trim off the excess that over hangs. The sentiments on these cards are from the Dreams Will Blossom stamp set, heat embossed in Opaque Bright white and Primary Ebony embossing powder before fussy cutting them out.Lastly, the cards are finished off with Lucy’s cards Sprinkles Glamorous Circles in gold in a variety of sizes.Repeat heat embossed die-cut inlay Supplies:
 Dreams Will Blossom - Hero Arts Shop at: BP | SB | PF |
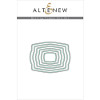 Nesting Frames Die - Altenew Shop at: ALT | BP | SB |
 Dreams Will Blossom Die - Hero Arts Shop at: BP | SB | PF |
 Opaque Bright White -WOW! Embossing Powder Shop at: CS (UK) | CS (US) | WOW (UK) | WOW (US) |
 Primary Ebony - WOW! Shop at: WOW (UK) | WOW (US) |
 Adriatic Hero Hues Cardstock - Hero Arts Shop at: BP | SB | PF |
 Neenah Classic Crest Solar White 110lb Cardstock Shop at: BP | SB |
 Neenah Classic Crest Solar White 80lb Cardstock Shop at: BP |
 Original MISTI - My Sweet Petunia Shop at: ALT | BP | SB | PF |
 Gina K Designs - Connect Glue Shop at: BP |
 Scrapbook Adhesives 3D foam squares 1/4" white Shop at: BP | SB |
 Inkadinkdoo Stamping Mask Paper Shop at: BP | SB |
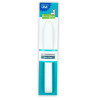 Teflon Bone Folder - Lawn Fawn Shop at: BP |
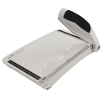 Tim Holtz 8.5 Inches Comfort Trimmer - Tonic Studios Shop at: SB | CS (UK) | CS (US) |
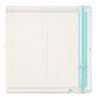 Trim and Score Board - We R Memory Keepers Shop at: SB | CS (UK) | CS (US) |
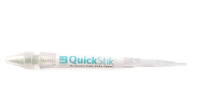 QuickStik - We R Memory Keepers Shop at: SB | CS (UK) | CS (US) |
I hope you enjoyed today's video and stay tuned for more to come. If you make a card with this technique, make sure to tag us #wowembossingpowder so we can check your creations out!
Till next week,
Verity
Connect With Us:
Powder Arts Thermography Warehouse LTD, Caslon House, Lyon Way, St Albans, AL4 0LB



I love the look of the nesting frames with every other one sparkly heat embossed in that pretty colour Verity, and the flowers and leaves look beautiful over the top, and finished with a lovely sentiment too. x
ReplyDelete