

Hello, it's Verity with another video and blog post as a Creative team member for WOW! In today’s video, I have 3 cards where Glintz embossing powders have been added to the backgrounds, adding a touch of style sophistication with the stunning pearl shine. I have 3 different cards showing you ways to step each background up and can easily be incorporated into a variety of projects.
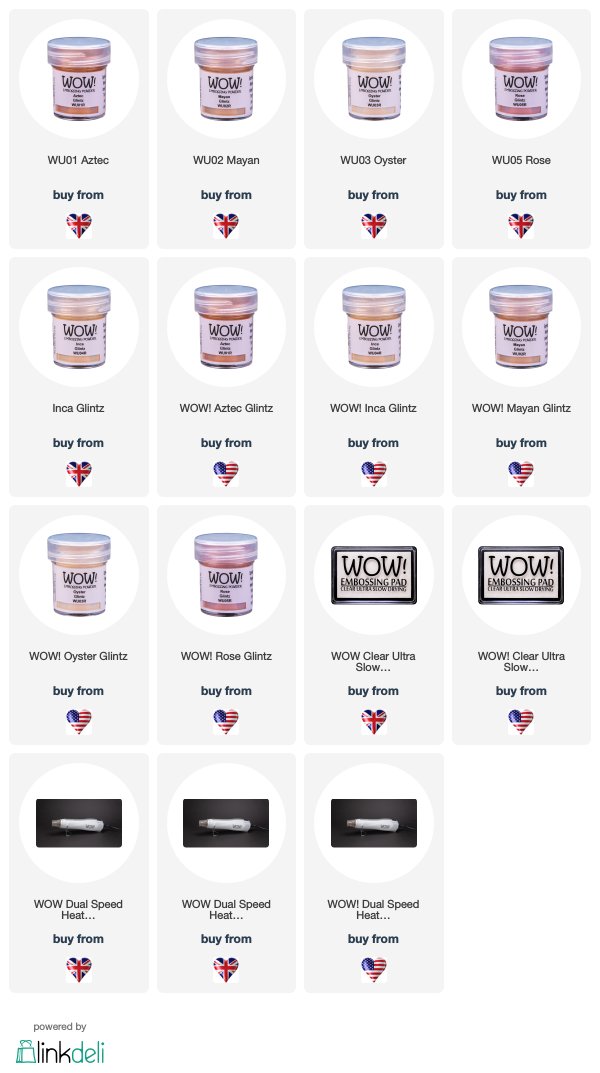
WOW! Has 5 glintz powders, and these are translucent powders with a beautiful soft pearlescent shine to the colour, ranging from a soft cream for the oyster to burnt orange with the Aztec. I’m going to use all five colours in today’s cards.
Adding Glintz to your backgrounds Video Tutorial:
Adding Glintz to your backgrounds written tutorial:
Stamped background:
For the first card, we’re going to create a custom stamped background using the Altenew Engraved Flowers stamp. Position the stamps onto a piece of Gina K Edible Eggplant cardstock and for a more natural background, allow the stamps to hang off the edge of the paper. Next, stamp these in Clear Ultra Slow drying embossing ink from WOW! before covering it in Oyster Glintz embossing powder. As you heat set this, the powder melts and as it’s translucent it takes on the softer pearlized colour of the cardstock underneath with a cream accent to it when it shines in the light. Reposition the card back into your MISTI to add more stamping to the areas that are still blank, repeating the stamping heat embossing.

To step the background up a notch, use emboss resist to add colour to the edge of the cardstock. So using an ink blending brush and blend on Royal Treatment Catherine Pooler Designs ink with a circular motion and then go in with BlackJack ink just to darken the edges slightly more, and this can just add a little depth to the colour in the background.
For the focal image on this card, stamp the stemmed flower from the stamp set onto Vellum and covering this with the same Oyster Glintz powder and fussy cut this out. To allow this to stand out from the dark background, add colour with Copic markers. To do this, turn the vellum piece over and using a selection of pinks and purples to colour the image in.

For the sentiment, a sentiment from the Engraved stamp set was heat embossed onto a strip of Soft stone Gina K cardstock and foam mounted onto the card. The vellum flower was adhered using clear foam pads and hidden behind the heat embossed lines.
Stencilled background:
For the second background, we’re going to use a stencil. So tape down the Altenew Feathered leaves stencil to some Gina K Cherry Red card stock, and using your embossing ink pad, apply the ink with the direct to paper method. Once you’ve got a good coverage, remove the stencil in order to add the powder. For this card, we’re using Inca Glintz which is a soft vanilla colour. As you heat set this, it has a lovely warm tone to it, and with the translucent nature of the powder, it has an almost caramel tone to it over this colour of cardstock.

To step the background up a notch, we’re using emboss resist again to create a ombre look to the background. Once more, use your ink blending tool again, to add Peppermint Scrub Catherine Pooler ink from end, fading the colour out as I move up the card. Then blend this out with Party Dress two thirds of the way up the card. Lastly, to darken out the bottom more, go in with BlackJack ink.

For the main focal element of this card, die cut the Waffle Flower Oversized Thank You die 3 times out of Gina K Soft Stone cardstock and layer this up for dimension. For the sentiment, heat emboss this in Opaque Bright white embossing powder on black cardstock. This sentiment comes from the Altenew Sentiment strips stamp set.
Die-cut background:
For the third card, we’re going to create a background and die-cut into this to make a focal element for the sentiment to sit on. Trim a piece Neenah Classic Crest Solar White cardstock to 5.5. x 4.25 inches. Next, use Hero arts nesting circle dies selecting 3 dies from the set missing out a die in between each circle to create a thicker ring, secure these together with tape so don’t move when they’re run through a die cutting machine.
For the stamping, add some low tack tape to the back of the circles, adhering them together. Now, place the background panel and insert the circle into your MISTI and there will be less movement for the pieces of card. Next, stamp the Whimsy Stamps Spiral Roses Red rubber Background in clear embossing ink. Now, the plan is to cover each piece of cardstock in different embossing powder, so you need to carefully remove a ring from the tape.

For the first ring, cover with Maya Glintz – which is a stunning honey gold pearlescent colour. The inner ring, is then covered with Rose Glintz and this almost a Pink gold colour which is beautiful. The inner circle is then covered in the Aztec Glintz, which is a beautiful pearlescent orange, like a burnt orange.
In addition, also cover the background panel in the Oyster Glintz, which gives a stunning tone on tone background which catches the light beautifully.

Again with this card, we are using emboss resist to make the focal element stand out more on this card. For each ring, use your blending tool to add ink; for the inner circle use colour Royal Treatment, for the outer ring use Sugared Lavender, and for the inner ring blend a combination of both colours to get a colour in between to create a more ombre look.
The background was adhered to a card base, and the rings where added with dimension, each ring increasing the depth of dimension to create stepped up focal element. For this card, another sentiment from the Altenew Sentiment strips stamp set was added to the front.

If you’ve not got any of Glintz powders in your collection, I highly recommend picking up one or two as the pearlescent shine and the soft colours add a touch of elegance to your embossing. Let me know in the comments below which powder you’d love to try and which was your favourite card!
Adding Glintz to your backgrounds Supplies:
WOW! Supplies:
Other supplies:
All other links are not affiliate: WOW! UK/US, Bumbleberry Papercrafts (BP)
 Sentiment Strips - Altenew Shop at: ALT | BP | SB |
 Engraved flowers - Altenew Shop at: ALT | BP | SB | CS |
 Engraved Flowers Die - Altenew Shop at: BP | SB | ALT |
 Engraved Flowers Stamp & Die Combo - Altenew Shop at: ALT |
 Nesting Circle Infinity Dies - Hero Arts Shop at: BP | SB | HA |
 Oversized Thank You - Waffle Flower Shop at: BP | SB | WF |
 Feathered Leaves Stencil Shop at: ALT | BP | SB |
 Peppermint Scrub - Catherine Pooler Designs Shop at: SB |
 Peppermint Scrub Reinker - Catherine Pooler Designs Shop at: SB |
 Party Dress - Catherine Pooler Designs Shop at: SB |
 Party Dress Reinker - Catherine Pooler Designs Shop at: SB |
 Royal Treatment Ink Pad - Catherine Pooler Designs Shop at: SB |
 Royal Treatment Reinker - Catherine Pooler Designs Shop at: SB |
 Black Jack Ink - Catherine Pooler Designs Shop at: SB |
 Black Jack reinker - Catherine Pooler Designs Shop at: SB |
 Sugared Lavender Ink - Catherine Pooler Designs Shop at: SB |
 Sugared Lavender Reinker - Catherine Pooler Designs Shop at: SB |
 Soft Stone Heavy Weight Cardstock - Gina K Designs Shop at: BP |
 Edible Eggplant Cardstock - Gina K Designs Shop at: BP |
 Cherry Red - Gina K Designs Shop at: BP |
 Neenah Classic Crest Solar White 110lb Cardstock Shop at: BP | SB |
Neenah Classic Crest Solar White 80lb Cardstock Shop at: BP |
 Original MISTI - My Sweet Petunia Shop at: ALT | BP | SB | HA |
 Gina K Designs - Connect Glue Shop at: BP |
 Scrapbook Adhesives 3D foam squares 1/4" white Shop at: BP | SB |
 Mini Ink Blending Tool - Ranger Tim Holtz Shop at: BP | SB | CS | CS US |
 Mini Ink Blending foam replacements - Ranger Tim Holtz Shop at: BP | SB | CS | CS US |
 Teflon Bone Folder - Lawn Fawn Shop at: BP |
 Tim Holtz 8.5 Inches Comfort Trimmer - Tonic Studios Shop at: SB | CS | CS US |
 Trim and Score Board - We R Memory Keepers Shop at: SB | CS | CS US |
 QuickStik - We R Memory Keepers Shop at: SB | CS | CS US |
Purple Tape - 0.5" - Thermoweb Shop at: BP | SB |
Till next week,
Verity
Connect With Us:

Powder Arts Thermography Warehouse LTD, Caslon House, Lyon Way, St Albans, AL4 0LB
Lovely creations! My favorite is the card with the vellum flower!
ReplyDeleteThree great looks Verity and the Glintz EP's look fabulous on all three beautiful designs. Thanks for the inspiration. x
ReplyDelete