

Hello, it's Verity with another video and blog post as a Creative team member for WOW! It's that time of year where we crafters need to start making our Christmas cards and tags as the time will creep up on us. Well today, I'm showing you three ways to create quick sparkle Christmas tags that will look amazing hen adorning your beautifully wrapped gifts. They are perfect for making multiples of the same time, so if you prefer to bulk make your tags these may just be right up your street.
Quick Sparkle Xmas Tags video:
(You can view this directly on WOW! Embossing Powder YouTube Channel HERE)
Quick Sparkle Xmas Tags written tutorial:
For the first trio of tags, I'm using double-sided tape to adhere the sparkles down. I've trimmed a piece of Kraft card down to A5 and placing strips of the double-sided tape horizontally across the card. To add a little more interest to tags, I'm using two widths of tape -1/4" and 1/8" wide. You can keep it simple by just using one width if you prefer.

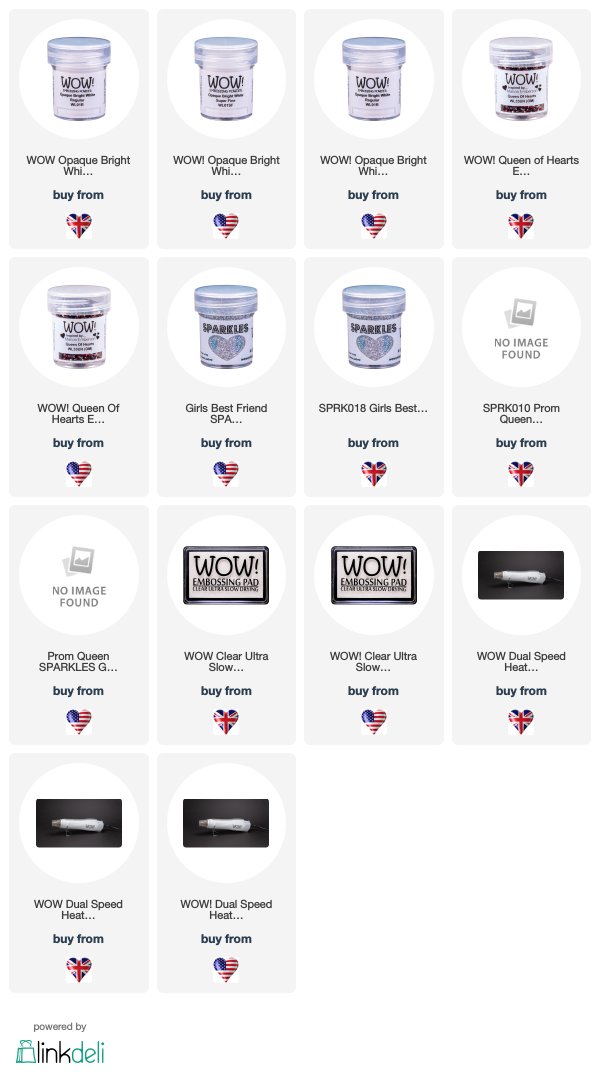
For these tags, I'm using the Celebration Sparkles which is a mix of different size Gold sparkles and A Girls Best Friend Sparkles which is made up of fine silver sparkles. Now you'll want to put lots of paper underneath your card to catch glitter that comes off. Start by removing the release paper before pouring the sparkle pot over the top. You can either do this with your finger or a tool like a bone folder but want to just press the glitter into the tape and really burnish it.

Now, go in with the silver mix for the remaining strips to give a lovely classic silver and gold colour combination. Just repeat the same steps of removing the release paper and cover with the Girls best Friend Sparkle mix. Again, once all the strips are covered, just use your bone folder to really burnish the glitter into the tape.

The second method is very similar but uses double-sided adhesive sheets allowing you to customise the width or even shape as you can die cut a shape and adhere this to the tag.
For these tags, trim the sheet down into thin and thick strips, making sure you get a variety in widths. This time, position the strips on a diagonal across a piece of kraft card.

For the Sparkles on this card I've used Prom Queen - this is a lovely fine pink glitter with chunky silver glitter intermixed. Again, remove the release paper on the stick it! Adhesive strips pouring the sparkles over the top. With the same process, you just want to make sure you burnish the glitter down into the adhesive to make sure it doesn't shed. I've also used the girls best friends sparkles on this card, as it ties in beautifully with the chunky silver glitter in the Prom Queen sparkles.

For the last trio of tags, I'm using one of the colour blend powders and all though there's no glitter in it as this one isn't an embossing glitter it still has shine from the metallics in the mix.
These tags were the quickest to make as they are so simple. Using your Clear Ultra slow drying embossing pad, use the direct to paper method to apply ink to the bottom of a kraft card panel. Next, cover with the Queen of Hearts embossing powder and heat set. What I love with this powder, is as you heat it up those big chunky bits of powder melt and blend with the colours around it giving a lovely marbling look to the surface. You may wish to add a couple of layers of the powder to the tag to get good coverage as well as a smooth surface.

From these 3 panels, die-cut 9 tags using a stitched tag die as well as the Waffle Flower Colour Combo Tag die. Next, trim down some black ribbon to add a decoration to the tops of the tags and adhere these with coloured staples.
For the colour blend tags, stamp 'The stars are shining brightly' sentiment from the Altenew Starry Night stamp set in Versa fine onyx black pigment ink. This set of tags is perfect for bulk making as they take no time at all to make.

For the gold and silver tags, heat emboss in Opaque bright white onto black card 'Wish you a Merry Christmas'. This comes from the Catherine Pooler Merry Christmas Angel stamp set. These were trimmed into thin strips and foam mounted onto the tags.
For the last trio of tags, heat emboss in white the sentiment from the Altenew 'Sweet Season' stamp set, again foam mounting these onto the tags.
These tags were so
quick and easy to make but really make an impact because of all the sparkle and
shine they have. There is a whole host of colours in the sparkles range so no
matter on your colour scheme for your gift wrapping, you're bound to find a sparkle
to suit!
Quick Sparkle Xmas Tags Supplies used:
Other supplies used:
Stamps used: Merry Christmas Angel - Catherine Pooler, Sweet Season - Altenew, Starry Night - Altenew
Till next week,
Verity
Connect With Us:

Powder Arts Thermography Warehouse LTD, Caslon House, Lyon Way, St Albans, AL4 0LB
What pretty sparkly striped tags Verity and love all three ways of making them and the different words you have added too. x
ReplyDeleteLocal UK Swing & Hang Tags Supplier Available in any size, for all our personalized clothing & Shirt Tags and swing tags that are complemented. Call us 07360238910.
ReplyDeleteRead More: The Complete Guide to Kraft Swing Tags in the UK (2025 Edition)
Guide to Water Bottle Hang Tags: Custom Wine Bottle Hang Tags in the UK and London
The #1 Custom Swing Tag supplier online. Affordable clothing & apparel tags made of premium or recycled materials. Fast turn around & delivery. Call us Now. 07360238910
ReplyDeleteIf you are Looking for Custom Bottle Neck Hang Tags from London UK supplier. we are here for you. Call us Now on 07360238910 or Chat with us.
ReplyDeleteRead More: https://www.tagsandbags.co.uk/custom-bottle-neck-hang-tags-london/