

Hello, it's Verity with another video and blog post as a Creative team member for WOW! Heat embossing can be easily be combined with stencils to great stunning designs that can set your cards off. Whether you use the stencil for the whole card or use small elements of a stencil design on your cards, you can combine it with a whole range of powders for many different looks. This video shows you two ways to use your powders with stencils and I'm featuring to gorgeous embossing glitters too.
Heat embossing with Stencils video:
(You can view this directly on WOW! Embossing Powder YouTube Channel HERE)
Heat embossing with Stencils written step-by-step tutorial and photos:

The first technique
is the easiest of the two and you'll most likely have the supplies to hand if
you already heat emboss as will be using embossing ink to paper method. I've
applied my Altenew Broken Chevron stencil to a white card panel using washing tape
to keep it in place. Next, using my clear slow drying wow embossing pad, I'm
pressing the pad down onto the card over the stencil. As this is a delicate
stencil and' I over adhered down the edges with washi tape, it is better to use
the pouncing method with your pad. This will prevent the stencil from moving,
or for ink moving under the stencil.

Once I've got good
coverage, I'm removing the stencil and then covering with powder. For this
background, I'm using the beautiful Under the Sea embossing glitter from WOW! It
has a lovely teal green powder base to it with flecks of gold glitter in it. As you heat set this, the gold glitter really shines. To reduced your glitter from
flying off the panel before it is heat set, you may find it easier to heat set
from beneath and then finish setting it at the end on the top.

Now, I like to go
back over and apply another layer of ink and powder over the top to get good
coverage and it is quite easy to do with this stencil design. Bear in mind, you
may get a little glitter on your pad - for this reason, I have two pads, one for
messy embossing like this where I don't mind it a little glitter transfers.

The second technique
for heat embossing with stencils uses textured paste. The textured paste acts
as a sticky surface for the powder to adhere too for which you can then heat
set. The stencil I'm using for this card is the Serene Stripes stencil from Newton's
Nook and this was again adhered down to a card panel with washi tape. The
textured paste I'm using on this card is from Altenew, but there is a variety
out there that you can use with this technique. Using a palette knife apply the
paste over the stencil covering as much of them as you wish. For this card, I'm
creating the whole background panel.

After you happy with
your coverage of the paste, remove the stencil and make sure you was this
immediately or leave it in water to soak to prevent it drying on your stencil.

Whilst the paste is
still wet, cover the design with embossing powder. For this card, I'm using
Whirlpool embossing glitter which is a gorgeous bright blue powder a blue
glitter mix. For the next step, you can do it in two ways. If you're like me and
inpatient you can heat set the powder whilst your paste is still wet. However,
depending on the paste it can bubble so make sure you keep moving your heat gun
around to prevent this. Whatsmore, you can use the slower speed on your dual
speed heat gun though it will take a little longer to melt.

Alternatively, leave
the panel once covered with powder to dry completely before you heat set the
powder. Either method work just as well. Using the texture
paste with embossing glitter traps the glitter well and you'll find that the
glitter won't shed when you run your finger over it.

For the cards, I
heat embossed a couple of flowers from
the Altenew Smiles & Hugs stamp set and Rosie Posy stamp set as well as a
couple of the leave stamps. These were heat embossed in Metallic Platinum
embossing powder and this paired beautifully with the embossing glitter. I
coloured these off-screen with my Zig clean colour real brush markers and fussy
cut out the images or used the co-ordinating dies when I had them.

I wanted to show you
that you can use elements of a stencilled design, and they don't just have to
be a full background panel. Using a square die, I die cut a square window out
of the Under the sea panel and used the two elements to create two cards.

All the stencilled
designs were adhered onto white card bases with the floral elements foam mounted
onto the panels. For the textured paste panel, I fiddled with the layout of the
elements for quite some time and then decided I need more leaf elements to fan
around the sentiment.

The sentiments are
from the Altenew sentiment strips stamp set and these were heat embossed in
Opaque Bright White WOW! Embossing powder onto strips of black card as I love
the contrast of colour with the rest of the card elements. After all the
elements where adhere down with Gina K Connect glue, I add a selection of Soapy
Bubbles Confetti mix from Trinity stamps to embellish the cards.

Stencil head
embossing is a very easy technique to do, and when you combine it with
embossing glitter like I have here you can get stunning results in no time. The
shine and glistening from the glitters are beautiful and really allows the
floral elements to pop of the card. I can't decide which of the two powders is
my favourite. Let me know below in the comments which you prefer, Whirlpool or
Under the sea?
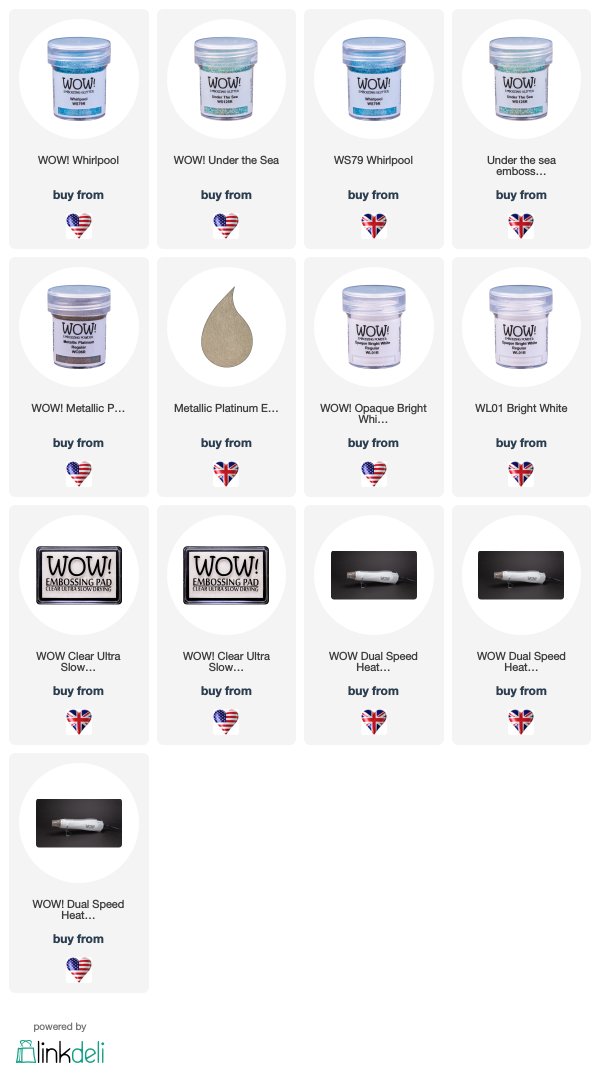
Heat embossing with Stencils Supplies used:
Other supplies used:
Stencils used: Broken Chevron (Altenew), Serene Stripes (Newton's Nook)
Stamps used: Smiles & Hugs, Rosie Posy, Sentiment strips (Altenew)
Dies used: Smiles & Hugs (Altenew)
I hope you enjoyed today's video and stay tuned for more to come. If you make a card with this technique, make sure to tag us #wowembossingpowder so we can check your creations out!
Till next week,
Verity
Connect With Us:

Powder Arts Thermography Warehouse LTD, Caslon House, Lyon Way, St Albans, AL4 0LB
I so enjoyed the video, thank you and learnt lots. Fabulous cards and love the technique with the stencil and those fantastic glitters.....Nope no favourites love them both x.
ReplyDeleteThe technique of using embossing powders/glitters through a stencil has worked beautifully on all the cards Verity, and love the prettily coloured flowers and leaves too. x
ReplyDeleteWOWzers! These are GORGEOUS glitter backgrounds!
ReplyDelete