Hello, it's Verity with another video and blog post as a Creative team member for WOW! Have you got a few pearl embossing powders in your stash but unsure how to use them? I'm showing you with two cards how to use the pearl embossing powders to create stunning pearlized embossing on your cards. These differ from regular powders as these work best and transform when you use them on coloured and dark cardstock. The darker the card the more intense the colour of the powders. I'm showing you two ways, so if you don't have dark coloured card, stick around for card number 2 to see how you can use them on white card too.
How to use Pearl embossing Powder video:
(You can view this directly on WOW! Embossing Powder YouTube Channel HERE)
How to use Pearl embossing Powder written step-by-step tutorial and photos:
To make the first card, we are going to dry embossing the Altenew Striped Leaf cover die with some Edible
Eggplant card stock from Gina K Designs. To dry emboss the die, make sure you
are using an embossing mat and set up your die cutting machine according to
the manual for dry embossing. So for a Sizzix big shot, use the platform,
adapter B, a regular cutting plate, the embossing mat, cardstock, the die
and then the Sizzix impressions pad. This will leave the design debossed into
the cardstock without cutting the card.
To add the
embossing powders to the just leaves, die-cut the cover die normally out of
white card to create a stencil. To selectively add the pearl colours to
different leaves, use a small sponge finger dauber and clear ultra slow drying embossing pad
to add ink over certain leaves of the design.
The first pearl colour used is Violet pearl. The beauty of this powder comes to life when you heat set it and it transforms from white to purple. And the pearl shine is stunning.
Next, reapply the stencil again, and once more add ink to a few of the other leaves. The next colour used is the Silver pearl powder and then repeat the step of applying the stencil, inking some of the leaves again and cover with the Blue pearl powder- this pairs beautifully with the violet pearl powder once heat set.
For the last few leaves, use white pearl embossing powder. This is not as bright as normal white embossing powder, and has a lovely shine to it. It is very similar to the silver pearl embossing powder, but it is a little darker and almost looks more like a slight gunmetal colour next to the silver pearl. It's easier to see the difference in real life between the two powders then it is on camera or in photos.
For the second card, use the stencil die-cut piece with the embossing powders. Now, with this being a white card it won't show the pearl colours up very well. To transform the card to ensure the colours show, apply black ink over your cardstock using the direct to paper method. Here, I have used black pigment ink, so it remains sticky and the embossing powder will adhere to it. If you only have dye ink, still ink the card stock up and then cover with embossing ink before adding the embossing powders.
Add silver pearl, then blue pearl and lastly violet pearl over the stencil for a gradient look to the die-cut panel. Once heat-set, apply embossing ink to the die-cut panel and covered with the colours again to create a smooth look to the panel. So even if you don't have any dark coloured cardstock or you change your mind whilst making your project, you can still use white card with the pearl embossing powders - all you need to do is add ink to change the colour of the cardstock.
The first card the panel was trimmed it down and foam mounted it into onto a white card base. For the stencil die cut panel, adhere it to a white card base using Gina K connect glue on the back of the die-cut, all around the intricate areas and then place a few acrylic blocks on top and leave it to dry.
To finish the cards, add a couple of sentiments from the Altenew Sentiment Strips stamp set using Versafine Onyx black ink onto white cardstock, foam mounting these onto each of the panels. Lastly, use a selection of sequins from Lucy's cards Aurora Borealis sequin Mix and Trinity Stamps Rock Candy Confetti Mix to embellish the cards.
Pearl embossing
powders have such a beautiful shine to them and there are a variety of colours
available from WOW! I love the colour combo used on these two cards, but I
cannot decide if I like to the violet or blue powder more! Which is your
favourite and let me know in the comments below!
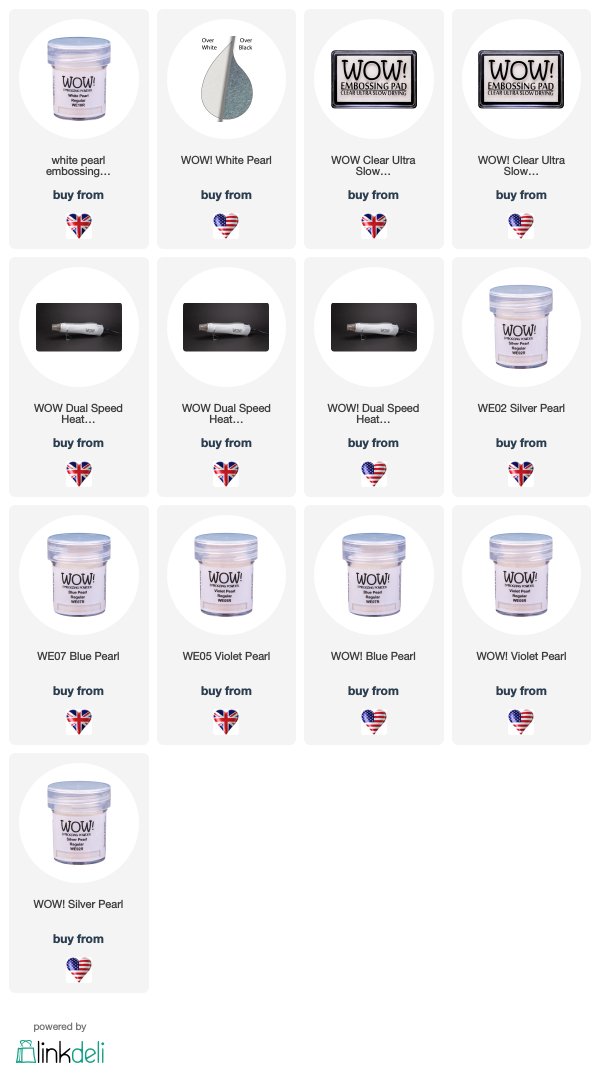
How to use Pearl embossing Powder WOW! Supplies used:

Other supplies used:
Dies used: Striped Leaf Cover Die (Altenew)
Stamps used: Sentiment strips (Altenew)
I hope you enjoyed today's video and stay tuned for more to come. If you make a card with this technique, make sure to tag us #wowembossingpowder so we can check your creations out!
Till next week,
Verity


These cards are beautiful. Love the colors. [Bunny]
ReplyDeleteThanks Bunny, glad you love the colours! They're stunning aren't they?!
DeleteTwo beautiful ways of using the pearlescent embossing powders Verity and definitely look more intense on the dark card. I love the leaf shapes die cut cover plate and the different colours added to the leaves on the first, and to the background shape on the second, and both work beautifully. x
ReplyDeleteThanks Pat, glad you love the cards and the different looks on white and dark card :)
Delete