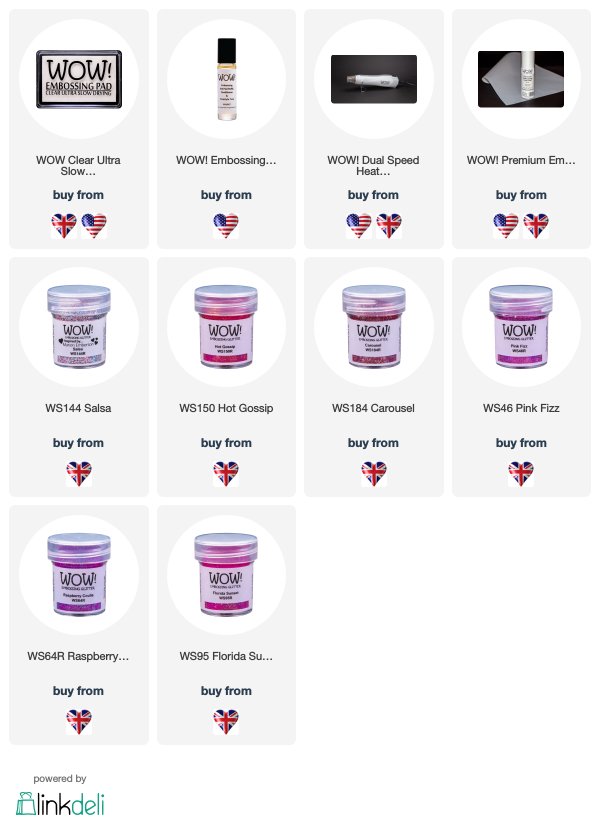
I started with the top of the lid and generously pushed it around on my embossing ink pad placed it on my craft table on a piece of copy paper as usual and poured the glitter all over it. I then carefully picked it up using the side as I wasn't embossing these yet. I cleaned up the extra embossing glitter and then placed the lid on the paper again. I ran my heat tool over it until it was all set. I repeated this process twice on each of the surfaces I embossed, which was the top and side of the lid and the side of the base being careful to not get any glitter stuck where the lid goes over the top of the box.
I completed my box with several paper roses from my stash and a butterfly I created by covering some vellum with the embossing ink and then sprinkling the same embossing glitter on it and heat setting. I used an old butterfly punch from Stampin' Up to cut out my critters and die cut the center from my Pippi Butterfly die set from Memory Box Company. I layered the two butterfly shapes, adhereing them only the center and then placed the body in the center. I cheated with this little bit and cut it from some gold glitter paper.
I do hope you enjoyed my posts this month. It was so much fun to create these projects and share them with WOW fans. Please don't hesitate to reach out to me on my blog at www.perkypennypaperarts.com if you have any questions about these projects. I am always happy to help if I can :)
Cheers for now and happy Crafting,
Joanne
Perky Penny Paper Arts

Connect With Us:
Powder Arts Thermography Warehouse LTD, Caslon House, Lyon Way, St Albans, AL4 0LB


What a pretty box Joanne and I love the butterfly and flowers on the lid. I would never have thought that you could heat emboss straight on to a tin like that, a great idea. x
ReplyDeleteWow, sparkly fun. Love it. Hugz
ReplyDeleteWhat a fantastic idea. The little tin is
ReplyDeletegorgeous. Love the butterfly
embellishment. thanks for sharing.
txmlhl(at)yahoo(dot)com
Super creative and just the perfect little sparkly box!
ReplyDelete