

Hello, it's Verity with another video and blog post as a Creative team member for WOW! We
use it all the time to heat emboss, but do you know you can use your embossing
ink in other ways on your card making projects and papercrafts? Don't get me
wrong I love to heat emboss nearly everything - it's one of my favourite
techniques, but why not stretch your supplies to get even more out of them. So,
today I'm showing you 4 creative ways to use your embossing ink with a variety
of different tools and mediums.
Creative ways using embossing ink video:
(You can view this directly on WOW! Embossing Powder YouTube Channel HERE)
Creative ways using embossing ink written step-by-step tutorial and photos:
Technique 1: watermark stamping
For the first
technique, we are going to create a watermark effect with your stamps. Now you
can use this technique with a variety of stamps, and I have chosen to use the Bamboo Rrose set from Altenew. With this first card, I'm placing Soft stone
cardstock from Gina K in my MISTI and positioning a variety of the stamps over
the top. You can also do this with a background stamp, but watermark stamping
with smaller stamps is a great way to produced subtle backgrounds for your
focal elements to sit on.

Once you're happy with the layout, ink up the stamps with Clear Ultra Slow drying embossing ink from WOW and stamp this onto the cardstock. When you lift the door of the MISTI up you're left with tone on tone stamping as the embossing ink acts as a watermark. If you stamped this again, this would darken and intensify your watermark.

Now, I want to show you can do this on dark coloured cardstock as well. Here I'm using Eggplant cardstock from Gina K Designs. This embossing ink shows up brilliantly on dark cardstock as well. As you can see side by side, both cards show up the background design but can give two different looks based on the intensity of the coloured card.

For the Eggplant card, I added a white outline die cut from the Altenew's Layered Rose die set along with a heat embossed 'birch press designs hugs' die cut sentiment in Metallic platinum embossing powder. I did several layers on the embossing powder to give a smooth and 3D look to the sentiment.

For the soft stone card, I trimmed this down and added a white strip along with a glitter strip made using Seaglass embossing powder from WOW!. I also added a Happy die cut sentiment out of matching glitter cardstock.
Technique 2: watermark stencilling
The next technique
uses the watermark qualities on the ink but with a stencil. I'm using a Tribal
stencil from Kesi'art over some Tranquil teal cardstock from Gina K Designs. To
apply the ink you can do direct to paper or like I am here you can use a blending
tool with a clean sponge on it. This allows you to control where you add the
ink.

Alternatively, you could use a sponge dauber as well through the area of ink applied will be smaller. Personally, I prefer the blending tool as you are less likely to get harsher edges when applying the ink. Of course, the best part is lifting the stencil off to reveal the design.

The card was finished with the second layer of the Altenew layered Rose die set which was cut out of white cardstock, along with a heat embossed the sentiment from the Bamboo rose stamp set. Again, I used the stunning Metallic Platinum embossing powder for the sentiment and added some white acrylic paint splatter to the background.

Technique 3: watermark resist
For the third the technique, we are going to do a watermark resist. Using one of the stamps from
the Mama Elephant Wild meadows stamp set, I'm stamping in the clear ultra slow
drying embossing ink onto Neenah Solar white Classic crest card. Rotate the
card to stamp the same design on the opposite side of the card.

Next, you need to make sure the ink has dried. Now, you can set this to one side to dry naturally or use your dual speed gun to speed up the process. I prefer using the slow setting of the gun for this to reduce the amount of warping. Once the ink has gone from shiny to matt, you are ready for the resist part of the technique.

I'm using two distress inks, Milled lavender and seedless preserves to ink blend over the designs. Distress inks work well for this technique, but you may need to experiment with other inks you have. As you start to blend over the ink, the watermark stamping will start to resist the ink. The design then starts to come to life.

For more intense appearance, you can blend on more ink to show up the stamping, or initially when stamping the design, stamp it several times to apply more ink to saturate the area. This card was kept simple with a stamped sentiment from Avery Elle Thinking of you in versafine onyx black ink and mounted onto an Eggplant card base.
Technique 4: watermark with mica powders
The last technique
uses the sticky nature of embossing ink to allow us to add mica powders to the
stamped design. I'm stamping the outer mandala from the Concord and 9th many
mandalas stamp set onto tranquil teal cardstock in the embossing ink.

Before stamping the next layer, I'm adding mica powder over the top with a dry paintbrush. The first powder I'm using is the white perfect pearls from Ranger. As you add the powder, it will stick to the embossing ink, but at this point, you're probably thinking it looks a mess. However, once it is all covered, buff away any excess powder with a dry cloth to clean the design up.
I recommend keeping a brush allocated just for this technique as you want a dry brush, and the mica powders will get in the bristles so saves you cleaning and wetting the paintbrush.

Place the panel back into your MISTI and continue stamping the next few layers. I used two other Mica powders from Cosmic Shimmer - these were Lime Frost and Black Pearl. However, the lime frost doesn't look that different on this card stock from the perfect pearls. For the last layer, I just left it showing as a watermark. Now when you move the image around, the light catches the mica powder and shines - it is stunning in real life. Waft the card through a fine mist of water to set the Mica powder.

The card was finished by mounting onto a soft stone card panel, which I had scored vertical lines on it for texture. The birthday sentiment comes from the same stamp set and was heat embossed with Metallic Platinum embossing powder.
The powders have a
gorgeous shine to them when the light catches them and this technique is a
great way to add a subtle shine to a card without it being too overpowering.

Hopefully, this video today has either shown you a new technique to use with you Clear Ultra Slow drying embossing ink or it has reminded you of an old technique you use to enjoy. Of course, the embossing ink will always serve as a staple for heat embossing, but why not combine one of these techniques on your next card along with heat embossing. Don't forget the share your creations in the WOW! Embossing powder fans facebook group. We run monthly challenges there where you can win a gift card, and the current theme is embossing glitter.
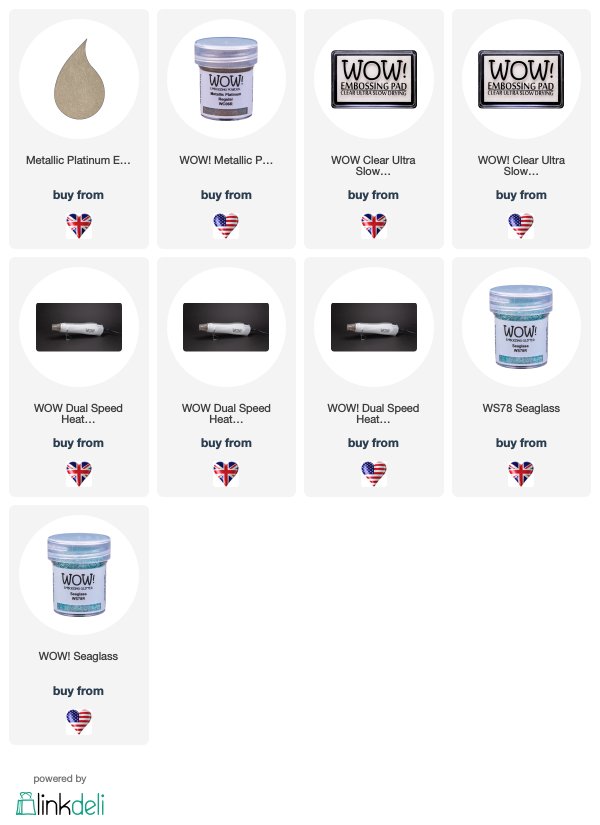
WOW! Supplies used:
Other supplies used:
Stamps used: Bamboo rose (Altenew), Thinking of You (Avery Elle), Many Mandalas (Concord & 9th)
Dies used: Layered Rose (Altenew), Hugs Sugar Script (Birch Press Designs), Fine Alphabet (Altenew)
Mica Powders: Perfect Pearls (Ranger Ink), Lime Frost and Black Pearl (Cosmic Shimmer)
I hope you enjoyed today's video and stay tuned for more to come. If you make a card with this technique, make sure to tag us #wowembossingpowder so we can check your creations out!
Till next week,
Verity
Thankyou!
ReplyDeleteFive fabulous cards Verity using embossing powders and just the embossing ink for the resist and as a base to add the micas too. Thank you for showing and reminding us of these great techniques. x
ReplyDeleteWow, this looks wonderful and this is good for gifting. I really like it. Thanks. We offer custom embossing die sets. Contact us for details.
ReplyDelete