

Hello, it's Verity with another video and blog post as a Creative team member for WOW! Do you love to create backgrounds using stencils, but want to step up your stencilling? Why not try adding foils to you stencil designs for beautiful striking backgrounds. Fab foils work so well for this technique, pairing with an array of ink colours and stencilled designs.
Stepped up stencilling with Fab Foils video:
Stepped up stencilling with Fab Foils photos:
The stencil I am using for all three cards today is the Handpainted Chevron from Thirsty Brush and & Co - a fairly new stamp, die and stencil company here in the UK. I'm combining this with three Fab Foils colours and using the bonding powder from WOW! to adhere to the foils.

For the first card, I'm ink blending through the stencil like you normally would using Rose petal and peppermint scrub Catherine pooler inks for an Ombre look. Make sure the ink is dry before you move onto the next part of the card.

To give the background some variation and interest, I'm going to offset the stencil from the ink blended background and adhere this down - moving it slightly to the side and up. Using the Clear Ultra Slow drying embossing pad from WOW! I am smushing the ink pad down through the stencil. Once all of the background was covered with ink, you need to remove the stencil.
Next, cover the panel with bonding powder from WOW! You use the bonding powder just like an embossing powder, sprinkling it over the wet ink. Make sure you wipe off any stray powder and then heat set this with your dual speed heat gun.

There are several tips I picked up whilst making these cards and using the bonding powder for foiling. For the first card, I heat set the background all in one go, and this was a big background. So by the time it was completely heat set and I put the Rose Gold Fab foil down, the melted powder had cooled quite a bit and not as much foil was adhering. Don't worry though, you can reheat the melted powder and then reapply the foil.

Burnish the foil down over the powder - you may wish to use a tool to do this to protect your fingers, but I didn't find the powder too hot. Allow the powder to cool slightly before you peel the foil off. In the end with the large background, I heated and added the foil in smaller areas moving around until I had covered the background completely.

Now if you get any stray foil in areas you don't want it, you can easily remove it with a mono sand eraser.
For the second card, I rotated the stencil and ink blended Juniper mist and All that Jaz Catherine pooler inks, masking off a little section two-thirds of the way down. This time, I added the clear ink using a sponge dauber - allowing you to add the ink in smaller areas.

I used the Teal Fab foil for this card, heating the powder and applying to foil in small sections for a smoother foiling. You will find you get a more distressed look using the bonding powder compared to other methods of foiling.

For the last card, I went for a more grungier look with the stencil and positioned it at a diagonal across the card. The ink colour selection I used was Twilight, stone blue and seafoam Catherine pooler inks and I didn't completely fill the panel with my ink blending. I wanted to emphasise the distressed look, and therefore add the clear ink with my small sponge dauber randomly across the panel.

After heat setting the bonding powder, I also added more texture and distressing by applying the Silver Fab foil in a more haphazard way. This silver worked really well with the colours used for the ink blending.

To finish the cards, I added heat embossed black sentiment strips using my favourite white powder - Opaque bright white embossing powder by WOW! Along with a selection of sentiment dies. For the teal fab foil card, I used a Lil' Inker DesignsThanks die, with a black offset shadow to make it pop out from the background. The card was finished with Caribbean ocean Nuvo drops.

For the more Grungier background, I added a happy die cut sentiment using the Altenew Fine alphabet die set and a selection of Nuvo drops in Blue babe, faded denim and liquid mercury. For the last card, I added a stitched vellum rectangle over the top with an MFT friend dienamic sentiment. The vellum adds a different texture where it overlays the foiling.
I hope today's video has shown you three ways to step up your stencilling with fab foils, whether you go for a more feminine look or if you prefer the grungier style. There are some fantastic colours in the Fab foil range so make sure you check them out.
Stencil: Handpainted Chevrons - Thirsty Brush & Co
Stamps: Mr Snailman (Trinty Stamps), Leaf Canopy (Altenew) and Birthday Builder (Altenew)
Dies used: Thanks (Lil' Inker Designs), Friend (MFT Dienamics) and Fine Alphabet Dies (Altenew)
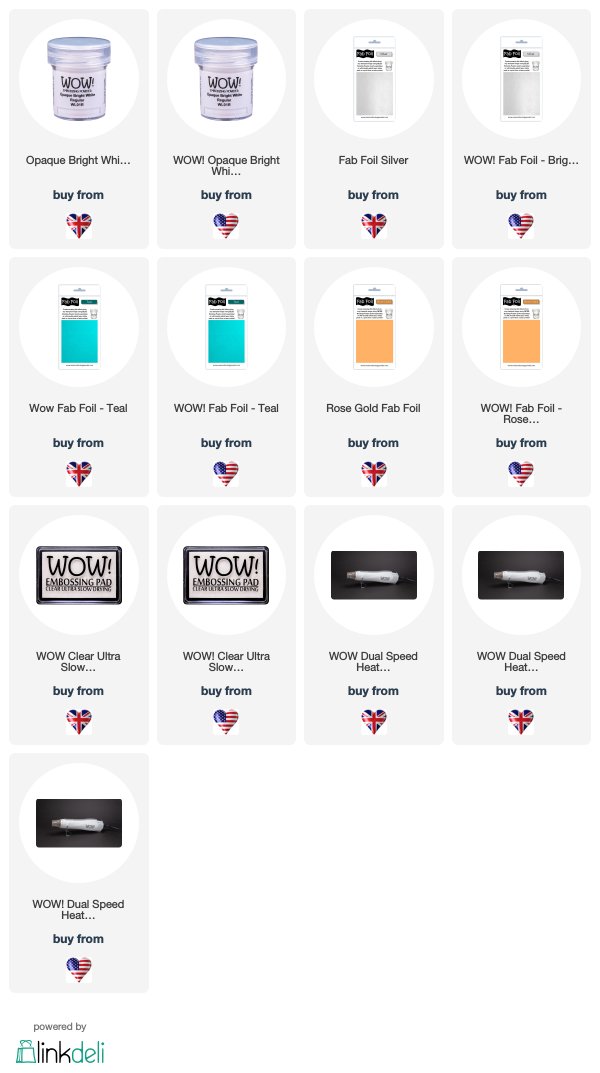
WOW! Supplies used for Stepped up stencilling with Fab Foils:
I hope you enjoyed today's video and stay tuned for more to come. If you make a card with this technique, make sure to tag us #wowembossingpowder so we can check your creations out!
Till next week,
Verity
Three beautiful similarly stencilled cards Verity and love all three colours and the foils really add that extra bit of glitz. x
ReplyDelete