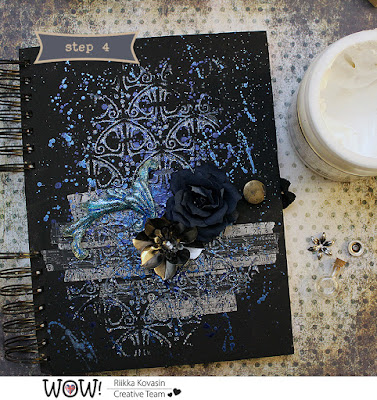
Hi there! It's Riikka here today to share a sparkling creation with you! It's a dark but glimmering cover with mixed media touches.
You all know that the theme this month is the Sparkles and Christmas? I went just with the first one. My original idea was to incorporate the two but then I get carried away with my idea of the glitter paste and how marvelous that would look on top of black and... well, you can see the result. Not so much "Christmassy", yes? Although the glitter I used in the background is called "Stroke of Midnight" so maybe this cover is my interpretation of the winter night sky during Christmas?
I keep telling that I'm not a glitter person as such, but who am I kidding?! A bit of glitter and shine fits to most projects and like I wrote in the beginning, pairing it with black usually does the trick. A black surface makes the colors sing and lets the glimmer sparkle even more. It's all got to do with contrasts - a dark shadow lets the light shine even brighter.
I prepared a step by step for you in case you want to create something similar. I've used a blueish color scheme in my project and did it on top of a journal, but following the same steps and just alternating the colors you can create any colored canvas or card as well!
Step 1. Start by painting the cover of your album with black gesso. You can also use matte acrylic paint but I highly recommend gesso as it's a primer. Let the layer dry or use the heat tool to speed things up.
Step 2. Start building layers to the cover. Add a few strips of washi tape to the cover horizontally. Mix "Stroke of Midnight" Sparkles glitter with glossy thick gel medium such as 3D Gloss Gel. Apply the glitter paste to the cover through a stencil.
Step 3. While the glitter pattern dries a little, make an embellishment for the cover. Melt "Melt-It" powder in a foil case and pour into a silicone mold. Let the shape cool and mind your fingers. Take the shape out, put on top of the craft mat and then heat the surface of the pattern using the heat tool. While it's still hot and molten, sprinkle some "Santorini" glitter on top. The glitter will stick to the embossing powder. While the shape cools again, add gently some metallic acrylic paint to the cover as splashes.
Step 4. Start to make your main composition on top of the cover. Use gel medium (3D Gloss Gel) as your adhesive. Add the glitter shape you made, embellish with a flower and use metal embellishments to fill the composition. Be careful you don't drag the embellishments from place to place if the glitter pattern at the back is still wet. If you think you can't make the composition as you go along, let the background dry thoroughly before adding things on top.
Step 5. Use you heat tool and heat the metal embellishments. While they are still hot, sprinkle some "Lagoon" powder on top and melt it. This way you can add color and blue hues on top of the metals using embossing powders. Be careful not to boil the gel medium nor melt the glitter embellishment you did!
Step 6. Finish the piece with some added glitter. Touch the high points like the edges of the flower using embossing ink pad and sprinkle "Stroke of Midnight" on top. You can use glue, too. Take a spool of blue thread and add some thread to the composition. Glue with little drops of glue here and there but mainly let the thread to be loose and fluffy.
Here you have the cover ready, all the mediums dried. As you can see, the gel medium dries clear and really reveals the glitter pattern after drying thoroughly.
To keep up with the glitter theme, I added a little glass bottle filled with glitter to my project. I secured the cork on top with the gel medium so there's no glitter accidents! I also used some crystals in my project to really make it "bling".
Thank you so much for stopping by today! Wishing you a wonderful, glitter-filled day!
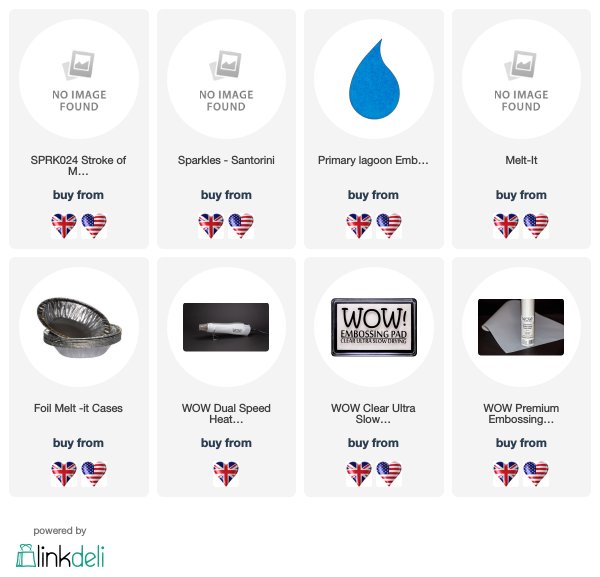
Products used from Wow Embossing Powder:


This looks fabulous on the black, and you have got lots of sparkle and some pretty embellishments too Riikka. Thanks also for the in depth 'how to' to. x
ReplyDeleteThank you Pat <3
DeleteWowsers!!! This is stunning and love all the layers of gorgeousness
ReplyDeleteThank you Jordan!
DeleteSparkly & subtle at the same time - beautiful. Just wondering name & brand of that stencil if you could please?
ReplyDeleteThank you! The stencil is from Prima Marketing, quite new from Finnabair line. It's called Swirly Florals.
Delete