

A sparkling and shimmering hello! The theme this month is "shimmers" and that made me think about the glistening white snow. So, I decided to do a white on white styled canvas using different shimmering and glimmering supplies.

I really miss white winters! When I was small and even when my kids were small, we had a white winter even here in the southern Finland. But nowadays it's anyone's guess, if there's going to be snow or not. Usually it's the "not" option. But with this canvas, I can reminiscent those shimmering snowdrifts. If you'd like to a reminder of the snow as well, follow the steps underneath to create your own icy piece.

Step 1. Cover your canvas with glimmer and shimmer using embossing powders.First ink the canvas using the Wow embossing ink and sprinkle powders on top. I mixed "Clear Sparkle", "Vanilla Sparkle" and "White Pearl" in mine. Do a couple of layers to get a thicker layer on embossing to the background.

Step 2. Add a pattern to the background using a stencil and pale colored powder. I used "Metalline First Frost" embossing powder. Use the Wow ink through a stencil and then emboss. The pattern layer will submerge to the already existing layers of embossing powder. If you are new to this, please see here (link) for the steps of using a stencil with embossing powders.

Step 3. Heat the background and use a knitting needle or equivalent to draw to the embossing powder layer. You might need to do this in sections. Draw a loose circle and then add to the effect with thread. Heat the embossing powder layer again slightly to adhere the thread in place here and there.

Step 4. Add some color to the background using a metallic acrylic paint. Use a silicone brush or a piece of cardboard to form lines. Die cut a branch out of chipboard and emboss it using "Bright White" and "White Pearl". Start with the "Bright White" and build a couple of layers, then add "White Pearl" for the top layer.

Step 5. Make your composition. Add the branches you embossed to the canvas and fill the design using flowers and rhinestones. Coat also a lock embellishment with "Metalline First Frost" embossing powder to bind the background and layers on top together. Make also some icy, silvery buttons for the composition using "Melt-It" powder and "Metallic Silver". If using Melt-It is new to you, please check here (link) for a moulding tutorial. Use gel medium as you adhesive. Let dry overnight or at least as long that the composition feels sturdy.

Step 6. Make a glimmering frame to the piece. Melt some "Melt-It" powder in a foil cup, add some "Girls Best Friend" glitter to the powder and pour the mix onto the craft mat to a swirl format. Let cool and then carefully lift the frame off the mat. Place the frame on top of the composition and adhere here and there.

There you have it, just six easy steps and a white canvas is ready! I added the numbers 1 and 8 to my piece in hopes that this canvas would somehow turn this winter into a white one. We'll see if that's true later this year! In the meantime, let's enjoy the warm and colorful autumn!
Thank you for stopping by today! I'll be seeing you again next month!

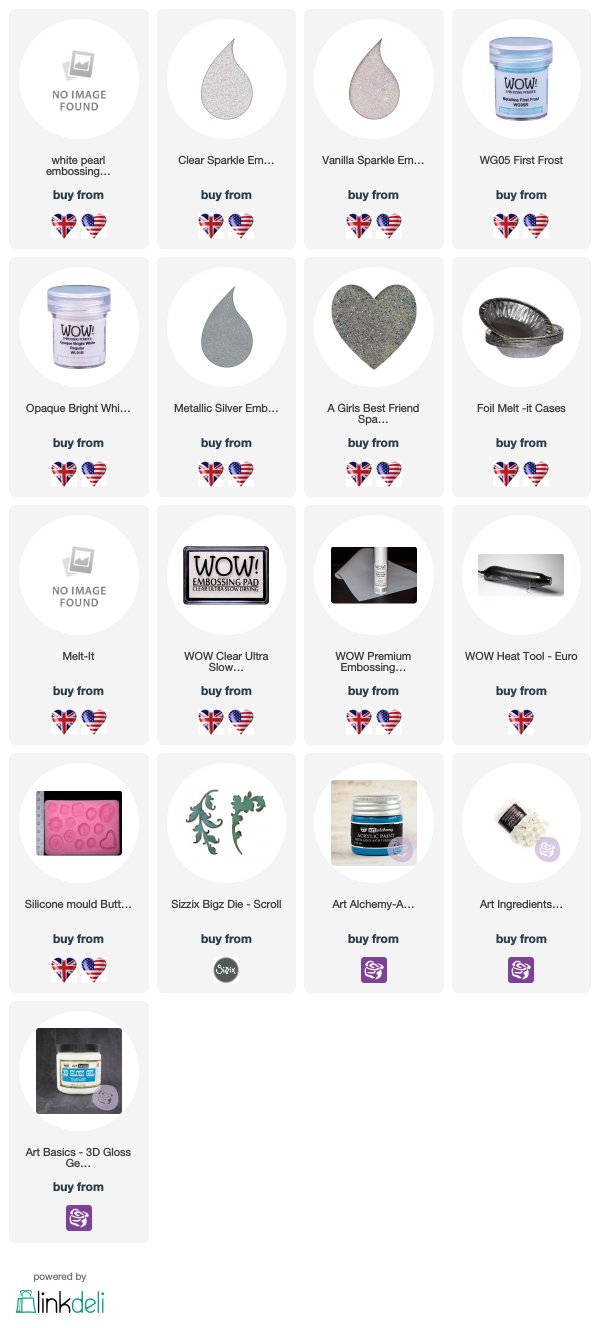
Materials used in the canvas:


This is gorgeous Riikka and love the soft icy blue and white flowers and scrolls and other softly coloured embellishments. The snow like background with that added blue stencilling looks great too. x
ReplyDeleteThank you so much Pat!
DeleteThis is absolutely gorgeous, and I really appreciate you taking the time to add the step by step instructions. I see some colors of embossing powders that I need to add to my wish list. :) Thank you for the beautiful inspiration with this amazing canvas!
ReplyDeleteThan you so much Jennifer!
DeleteStunning! You made such a beautiful piece of art and have my imagination going wild! Thank you so much for sharing!
ReplyDeleteThank you Debbie <3
Delete