I recently rediscovered my packets of oven bake clay (following a clear out, as one does) and thought about creating some one-off pieces of jewellery with it. The theme this month is 'Metallic' which made me wonder how it would look if I used embossing powder to metalize some clay embellishments?
The first experiment went horribly wrong which I'm showing you here just so you know what not to do! This is embossing powder on raw clay then baked in the oven. The temperature was way too high causing bubbling and separating of the powder, and before you ask no I didn't get rid of it. I may do something with it in the end.
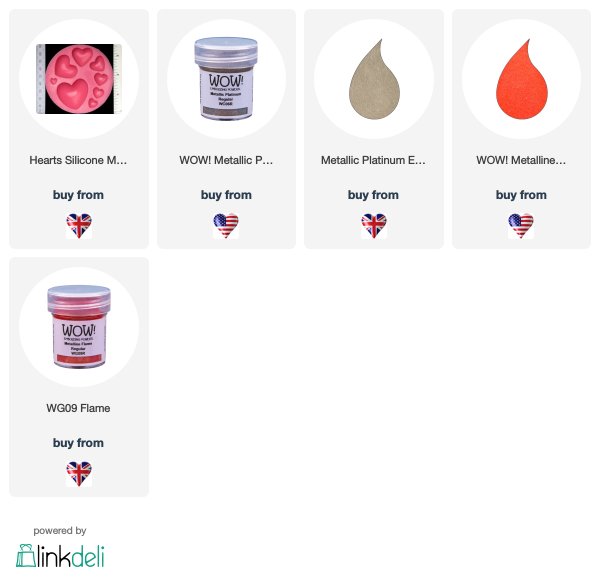
Experiment two went much more smoothly. I made a couple of organically shaped circles and pinched up the edges. I used the heart mould to press some clay into one of the smaller hearts.
I baked the clay as it said on the packet and when it was cool enough to handle I used a sponge to apply some embossing ink over the top. The sponge allowed me to get into the little crevices and under the folds.
After adding and heating the embossing powder I went in with a little more ink and powder to catch the areas I'd missed.
The finished effect is so realistic I think.
I used a glue gun to layer up the pieces along with some scraps of fabric and leather. By the way, the little one in the middle was only embossed on the edges just to see how it would look. It gives a different finish to the others and could be the centre of a flower perhaps.
Why not have a go at creating some jewellery pieces with clay and embossing powder, it's a lot of fun.
Jaine x


What a great idea and super results heat embossing over the clay Jaine. x
ReplyDeleteThank you Pat. The clay is great for shaping and forming and the powder provides the finish.
DeleteGenius idea Jaine! I have a one or two packs of clay in a box somewhere around here lol. This will work great for a few upcoming mixed media projects I have in mind. Thank you for sharing your technique and the inspiration. Now off to find THAT box hehe.
ReplyDeleteThanks for the how to and how not to! They’re so great!
ReplyDelete