Hiya, it's Riikka here to share a peachy layout with you with a lot of golden accents. The warm and sweet palette seemed just the thing for this page.
I'm the only child and naturally I wished for a sister or sibling when I was little. My two daughters are less than two years apart and they seem most of the time almost inseparable. As my older one is drawing nearer to teens, she requires more personal space than before, but usually then play together and even read together.
I started doing the layout from the background upwards and like so often, started by adding mediums to the background and transforming it to something of my own. Please see the step by step tutorial below, should you want to know how I made the layout.
Step 1. I started the page with a glue pen and golden foil. As the foil sticks to anything sticky, I added the glue pen here and there in the background and then pushed the foil on top. The outcome is vintage looking, almost like aged gilding or old wallpaper.
Step 2. Next step was to add some color and then lighten the background with embossing. So first I used watercolors to add peachy and pink tones to the paper. As the glue residue from the pen resists the colors a bit, the end result was almost marble looking. To hide the edge of the color area I used splashes. After the watercolor had dried I added stamping with the "love you" and script stamps and then embossed them with white.
Step 3. After the background started to be ready I then made a foiled vellum of my own using the different word stamps from the "Big Words" set, some Bonding Powder and the golden foil. I first stamped the words randomly in lines to the vellum, then added the Bonding Powder on top and heated it in segments to get the words gilded with the foil.
Step 4. Using the same technique I made also gilded words on top of a transparency. If you are new to use foil in your embossing, there's this video tutorial (link) for example to get you going.
Step 5. Time to bring them all together. I first added some white splashed with white gesso to the background to blend the embossing to the color part more. Then I cut pieces out of patterned papers and also from the self made vellum and layered these behind my photo. I then mounted both the photo and the whole cluster to the background using foam dots.
Step 6. I really wanted to make a sweet page, so I wanted to add paper blooms to embellish the page. To give those ready flowers an extra touch, I added some glimmering gold to the edge. First I squeezed some glue to a piece of plastic, watered it down a bit and gently pushed the flower to the mix. This way I got the glue only to the edge of the petals. Then I added the embossing glitter on top. As I was going for a grainy, glitter look, I didn't heat the powder.
Step 7. When the blooms had dried, I added them to the page and also adhered a foiled piece of transparency as the part of the title. The other part is made using sticker alphas.
Step 8. To finish the page I added a sticker near the title and balanced the composition with a tiny cluster near the right corner. I also added some crystals here and there flowing from top left corner to bottom right. Lastly I wrote the journaling by hand and doodled little hearts using black and golden gel pen.
I really think gold goes to any color palette but this kind of warm scheme really makes a sweet and cuddly looking wholeness with a regal touch. Gold is good as a little detail or then on a bigger surface to bring the project to another level. Somehow I also connect gold with love and important people so adding gold to this page was a no-brainer.
Whats your favorite golden product from Wow's selection? Foils, metallic embossing powders or glitter?
Thank you for stopping by today! Wishing you a sparkling, sweet day!
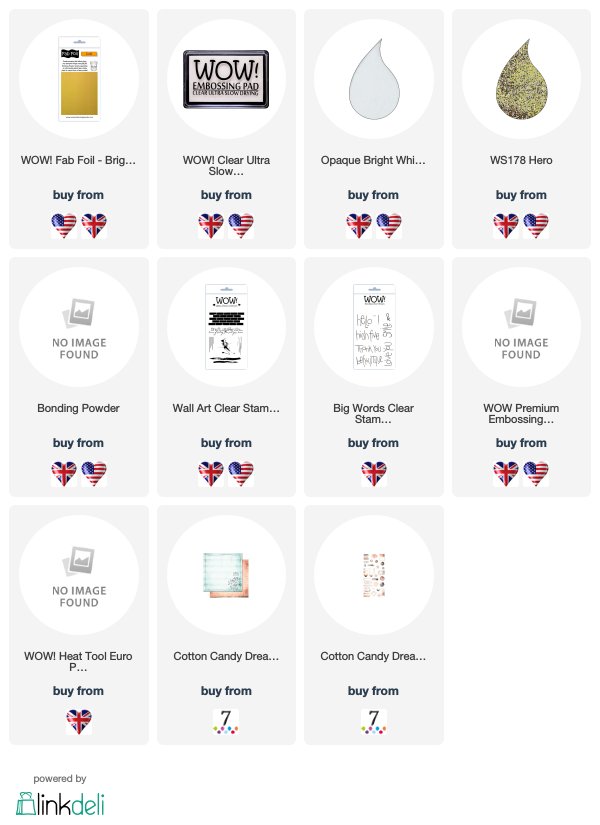
Materials used:


This is beautiful Riikka and a lovely photo of your girls. I love all the texture you have given it with the flowers and the bits of gilding which give it lots of shine. x
ReplyDeleteThank you so much Pat! <3
DeleteThat is gorgeous! The pink and gold is such a good combo!
ReplyDeleteThank you <3
Delete