Hello!
It’s Rosali
from ilovestamping again! I am here with my second post as WOW’s guest designer
for June! :-)
For today’s
post I really wanted to try out foiling because – believe it or not – I have
never tried it out before! That needed to change asap, hah! WOW has a lot of
gorgeous colors in their line of Fab Foil but since the design team is focusing
on everything GOLD this month I thought I’d join them in doing so! Besides
gold, I also added green and kraft to my color scheme – I have seen others use
this combo and I thought it was lovely.
My
technique to add foil to my cards today is based on WOW’s Bonding Powder. It
makes it possible to add foil to any stamped images – but without having to
have a foiling machine or laminator. Here is how it works:
Bonding Powder is a powder that you use like embossing powder and it gets sticky when you heat it up! As my stamp image I used a leaf from MFT Stamps’ “Sketchy Flowers” set. As usual, I used an antistatic powder tool first, then stamped the leaf with WOW’s Clear Embossing Ink onto cardstock and put the Bonding Powder all over the stamped image:
Before
heat-setting the image it’s important to let your heat gun heat up for at least
30 seconds before you put it to the paper - especially with this kind of powder
as you want to heat it a little longer than you would do with embossing powder.
You want to melt it really good! Once the powder has turned from white to
transparent and is melted you have to act rather fast. It’s best to have your
piece of foil out already so you can lay it over the melted image right away.
You can then use your fingers to carefully press the foil down onto the powder.
I have also used a bone folder but only from the backside of the paper. You can
now already see the stamp image through
the foil:
After letting
the bonding powder cool down for another bit you can carefully remove the foil.
You get this beautiful shiny image:
I repeated
the process with gold foil and also with another leaf image. I did end up with
some sprinkles of foil around my stamp images (probably because tiny bits of
the bonding powder stuck down where I didn’t initially wanted them to) but I
didn’t mind too much. I actually incorporated them into my design by adding more
splatters with black watercolor paint to my foiled panels! :-D
To put my
two cards together I die cut panels from white and kraft cardstock using MFT
Stamps’ “Inside & Out Stitched Rounded Square” and “Wonky Stitched
Rectangle” dies. For the sentiments I chose WOW’s “Metalline Green” and “Pearl
Gold Sparkle” embossing powders. To make the gold sentiment stand out on the
black cardstock I used white pigment ink instead of clear ink for embossing.
It’s actually the first time I have tried that and I like how it turned out!
Here are my
finished cards:
And
look how amazing the foiled image looks reflecting the light from the side:
I hope you
liked my cards and tutorials this month! I’d love for you to visit me on
Thanks
again to the WOW team for asking me to guest design!!
Have a
great day! ♥
Rosali
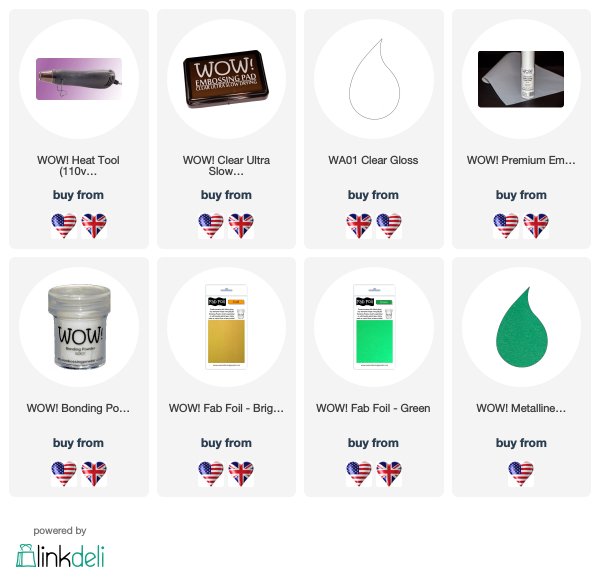
Used
supplies:
WOW – Heat
Tool
WOW – Clear
Embossing Ink Pad
WOW – Premium
Embossing Craft Mat
WOW – Bonding
Powder
WOW – Fab
Foil Gold
WOW – Fab
Foil Green
MFT Stamps
– Sketchy Flowers Stamp Set
WOW –
Metalline Green Embossing Powder
Tsukineko –
Brilliance Moonlight White Ink

Powder Arts Thermography Warehouse LTD, Caslon House, Lyon Way, St Albans, AL4 0LB


How PRETTY!
ReplyDeleteTwo very pretty cards Rosali and thank you for the great tips on using the Bonding Powder. I think I am just too impatient to see the result and haven't heated the gun enough, and also tried to lift the foil too soon so I didn't get the best results, but will take your advice on board. x
ReplyDeleteVery pretty! Thanks for showing this technique! I like to see ways I can use the foil once in awhile but not have to
ReplyDeletebuy a foiling machine.