Hello there and sweet day! It's Riikka here today with a heart shaped card. Love is in the air as Valentines Day closes in, but on the other hand, there's always a good day to spread some love! Don't you think that too?
I have to confess something. Before my two girls I disliked pink. Even as a child I wanted to have the blue versions of everything as in my youth it seemed that everything came in either pink or blue. I can even remember having an argument with my mom about a jacket she was buying to me as she suggested this pale pink, like a cotton candy color and I insisted of having the jeans blue one. So yes, pink has never been my favorite. Even when my girls were small, they were rather clothed in blue than pink - and I heard quite a few times what lovely little boy I had. But when my older one turned three, everything changed. She insisted on having everything in pink and in glitter. So I just had to learn to live with it. And slowly I started first to endure pink and then even to love it. So nowadays you'll see quite a lot of pink in my crafts! But blue is still my favorite, by far.
But when it comes to hearts and Valentines, there's only one color to use and that's the once dreaded pink! If you wish to see how the card was made, please see the step by step below!
Step 1. Start by "painting" with the embossing powders. Prepare your card base. I cut the card base and the patterned paper using a Sizzix die and then trimmed the patterned heart smaller by hand. I then attached the layers together. Now that the base was ready, I first sprinkled some powders to the base and then carefully lay a piece of baking paper on top and heated the powder from the top.
Step 2. When I had my first, base layer done it was time to do another layer. Take a stencil with a small, repeating pattern, ink through it and emboss the design using same powders you used for the first layer. I chose to go with Opaque Bright White and Sweet Cheeks.
Step 3. Next up adding some glimmer and prepare embellishments. I cut some leaves using a die and then added some gold to them using Fab Foil. First I rubbed some paper glue to the leaves and then pressed the foil on top to attach some weathered looking gold to them.
Step 4. Onward with the embellishments! I used the Melt-It foil cups and also Melt-It powder together with some embossing powder to make a heart using the heart mould. Let the residue of the powder harden inside the cup and by crunching the cup a little, make the residue crack. Spare the cup for now.
Step 5. Add your embellishments to the card. I started by adhering the leaves in place and then added some golden thread to soften the look. On top of the frame created with the leaves I then adhered the molded heart and some paper roses.
Step 6. Add a sentiment to your card. I used the same patterned paper I had used to the card base and stamped the "Love You" phrase on it. I then used the Bonding Powder together with the Fab Foil to create a golden greeting or declaration of love. I then cut the strip into a flag shape and adhered it to the card.
Step 7. Last but not least, finish the card with some Sparkles, Mica flakes and also the residue from the Melt-It cup! I first added some glue near the composition and then sprinkled the Sparkles on top. Next I pushed some pieces of the mold residue to the mix and then finalized the card with a couple of golden Mica flakes.
Here you have it again - the finished card with the sparkling and golden touches! A great little something to be given to a loved one with a box of chocolates or a nice bunch of flowers!
Thank you for stopping by today! I hope the card inspires you!
Hugs,
Riikka
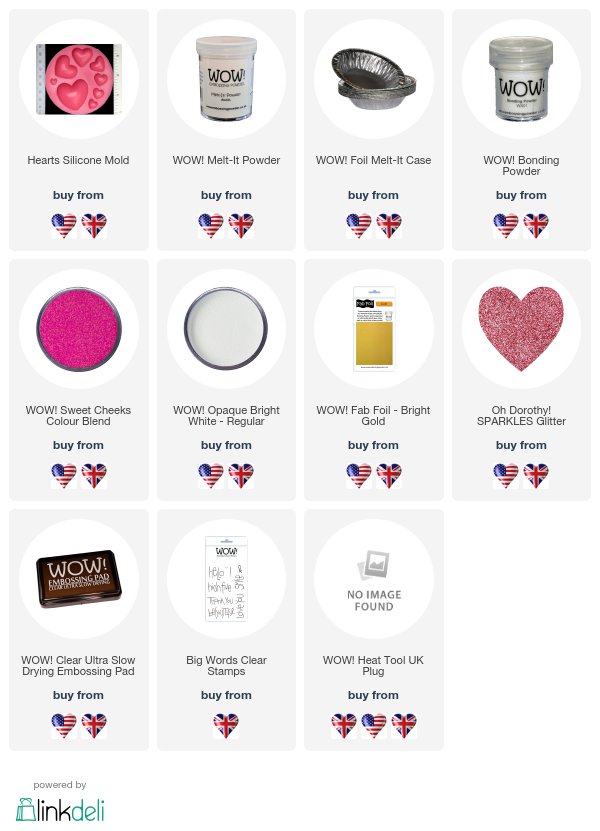
Want to make Riikka's fab project… Here's what she used :-


This is such a lovely creation !! I love your mould heart !
ReplyDelete[margessw(at)icloud(dot)com]
What a pretty heart shaped card Riika and love the colours and texture with the EPs, moulded heart and flowers. x
ReplyDelete