
Hello lovely crafty friends, it’s me Sasha from Love Builds Up Crafts here with another CARD MAKERS DELIGHT. We all know that WOW! Embossing powder have the most beautiful marbling embossing powders but today we are going to use one essential powder to create wonderful marbled backgrounds.


UK https://www.wowembossingpowder.co.uk/

The finished product of this technique reminds me so much of beautiful porcelain tiles so please check out this Video tutorial here because pictures don’t do it justice really. You will be blown away!

So start of by taking a 5x 7 inches panel of white WOW! Embossing powder cardstock and using a roughly 4x6 inches rectangle die to cut out the middle of your panel. Now grab the 4x7 inch piece and generously cover it with embossing ink. Once this is done cover it with the opaque bright white ultra high white embossing powder. I explain in this video here why it’s better to use this embossing powder over the regular or superfine one.

Heat your panel from the bottom so that the chunks don’t fly off the page, then cool your panel down. Repeat the steps above to add a second layer of embossing the white embossing powder. When you heat this you will instantly notice the embossing smoothing out as the 2 layers melt together. If it doesn’t smooth out don’t stress too much, you can always add another layer of embossing powder.

Once the panel is cool, grab some alcohol markers. The palette is absolutely up to you but I wanted to play around with some greens. Now keep in mind that the colours do fade out since you are adding them over some white so it won’t be the same exact shade that you began with. Draw some squiggly lines to mimic veining in marble. The trick is to have a reference picture that you can use, unless you are confident you know how you want your marble to look like.

Go ahead and heat up your panel, as the powder melt you will start to see the colours spreading out and blending with the embossing. You can direct your heat tool and create whatever pattern you want. If the colour is too faded out, then add some more colour after cooling down your panel. You might get warping because of the thickness of our embossing, all you need to do is turn your panel over facedown then emboss it from the back whilst it’s on a flat surface. You can do this as many times as you want to minimise the warping. In the YouTube tutorial , I share a tip on how to deal with bubbling and covering up patches, cracks and smudges.
To turn our panel into a card, I waited for it to cool down then I stamped a mermaid over it using my stamping platform and archival black ink. I was so nervous doing this step as I didn’t want to ruin all my hard work but it worked out so yay! The trick here is to use a really thick ink that will sit on top of all that gloss. Dye ink doesn’t work too well for this. I then took the other part of my 5x 7 panel we started with and ink blended some salvaged patina and lucky clover distress oxides onto it before splattering it with white acrylic paint. Once this was done I stuck it on a 5 x7 inch card base.
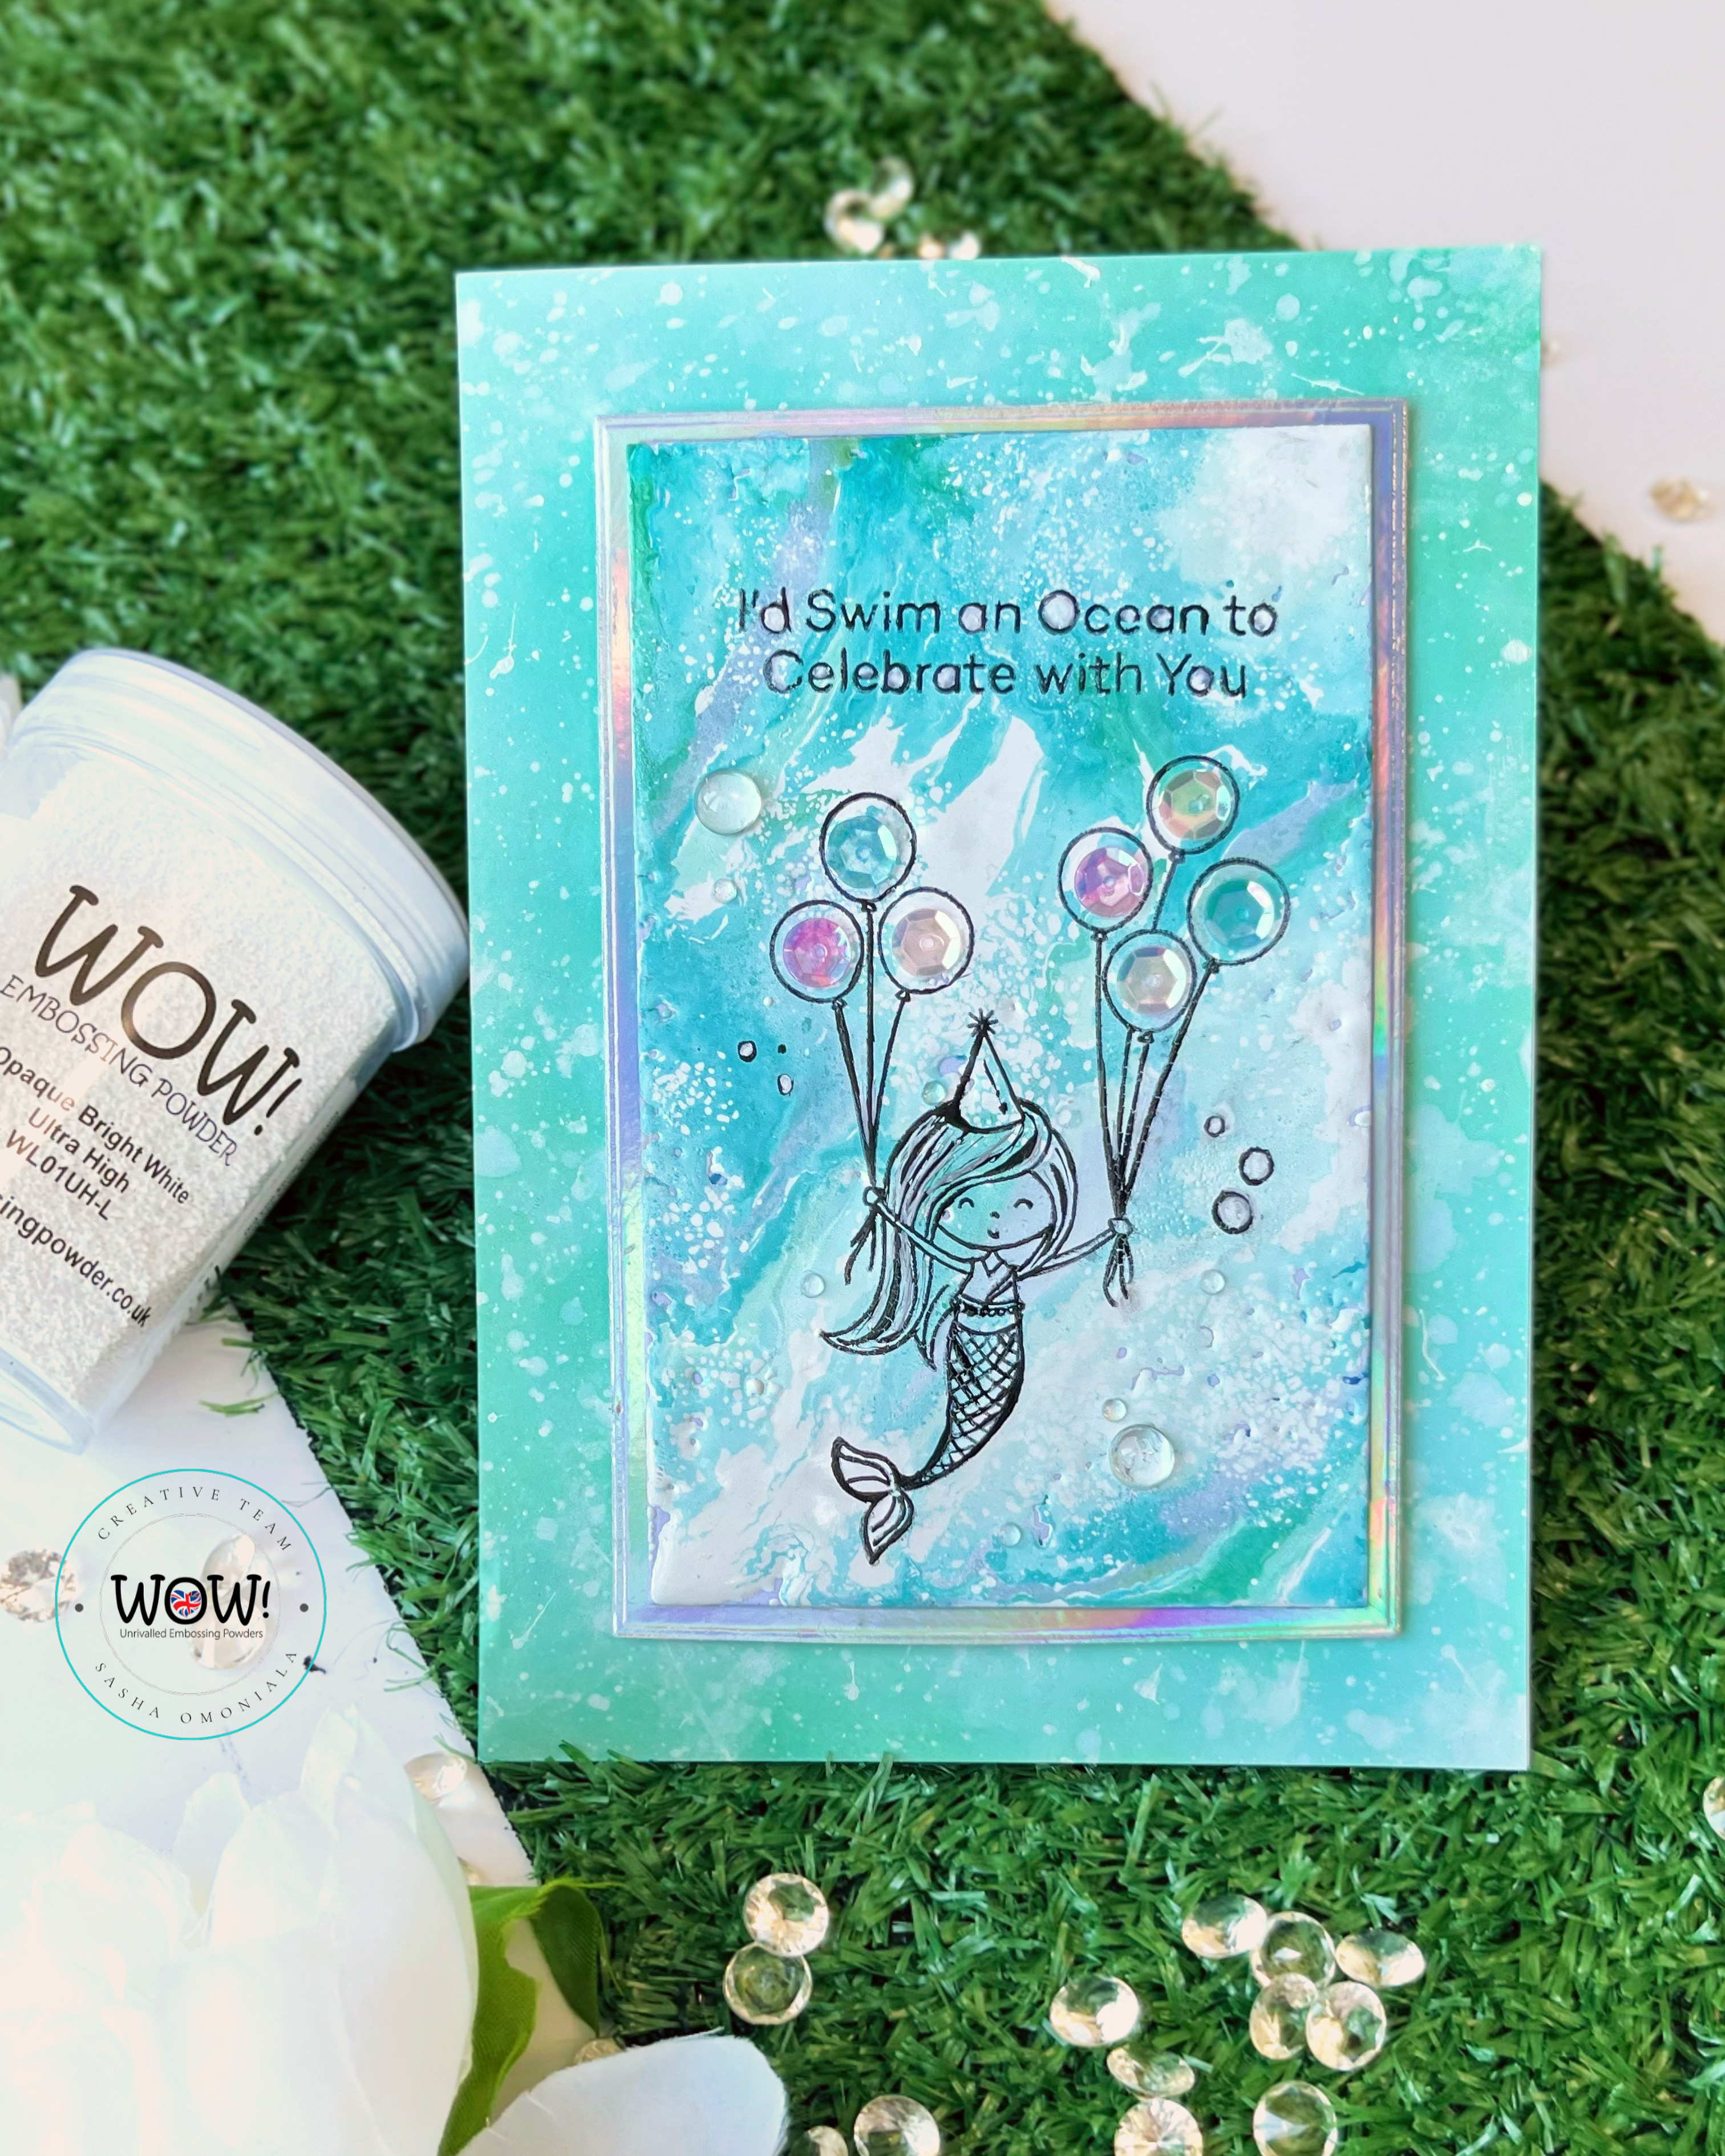
To finish off the card, I stuck my marbled panel to a slightly larger panel of holographic card stock and propped it up on some foam tape before sticking it into the card base. I used some water droplet gems and sequins to decorate the card.
Thank you so much for popping on by please make sure to check out the WOW! Embossing socials because there are tutorials, reels and all sort of other goodies waiting for you. Also if you do have fun with this technique then please tag WOW! Embossing and me on Instagram so that I can join in the fun!
Have a WOW! Kinda day,
Sasha x
Connect With Us:
Powder Arts Thermography Warehouse LTD, Caslon House, Lyon Way, St Albans, AL4 0LB
UK https://www.wowembossingpowder.co.uk/
Great embossed backgrounds and love the added colours and stamped images which go beautifully Sasha. x
ReplyDeleteCould you tell me what stamp was used on the card with the flower and the color of emboss
ReplyDeletewhat water droplets did you use, they look so realistic
ReplyDelete