
Hello friends! Today I’m over WOW! Embossing Powder blog sharing two cards using Altenew products and featuring the new WOW! Trio Summer Scoops inspired by Marion Emberson along with other embossing powders as well. On these cards I’m heat embossing layers of embossing powders, it’s definitely a fun technique with great results. The stamp set and dies I chose is Nature Blossoms from Altenew. It has different layers and works perfect for this technique.

Let’s shine! I started stamping these flowers using Altenew inks and my MISTI. I chose similar colors to the ones in the WOW! Trio Summer Scoops Embossing Glitters, like you can see in the picture below.

Next step, I stamped and heat embossed the following layer on each flower using Orangeade, Razzleberry and Lemon Sorbet embossing glitters from the WOW! Trio Summer Scoops.

For my next layer I have chosen these embossing powders that match my first layer of heat embossing powders like this:
- Orangeade —-> Metalline Flame
- Razzleberry —-> Cupcake Heaven
- Lemon Sorbet —-> Earthtone Honey

Bellow you can see a closer look of first and second layers of heat embossing. Additionally, i stamped the outline of each flower using WOW! Embossing Pad and then I heat embossed with WOW! Metallic Gold Embossing Powder each of them. This makes a third layer of heat embossing. Wish you can see how beautiful they create some dimension one on top of each other! Really awesome!

Also, I stamped some leaves and die cut them using the coordinating dies and I did the same with the flowers. So once I had everything ready I die cut the Nesting Labels Die from Gold Mirror paper and added to an A4 panel using glue.

On the right side of the label die I arranged all flowers and leaves. A white notecard was adhered at the back of this panel.
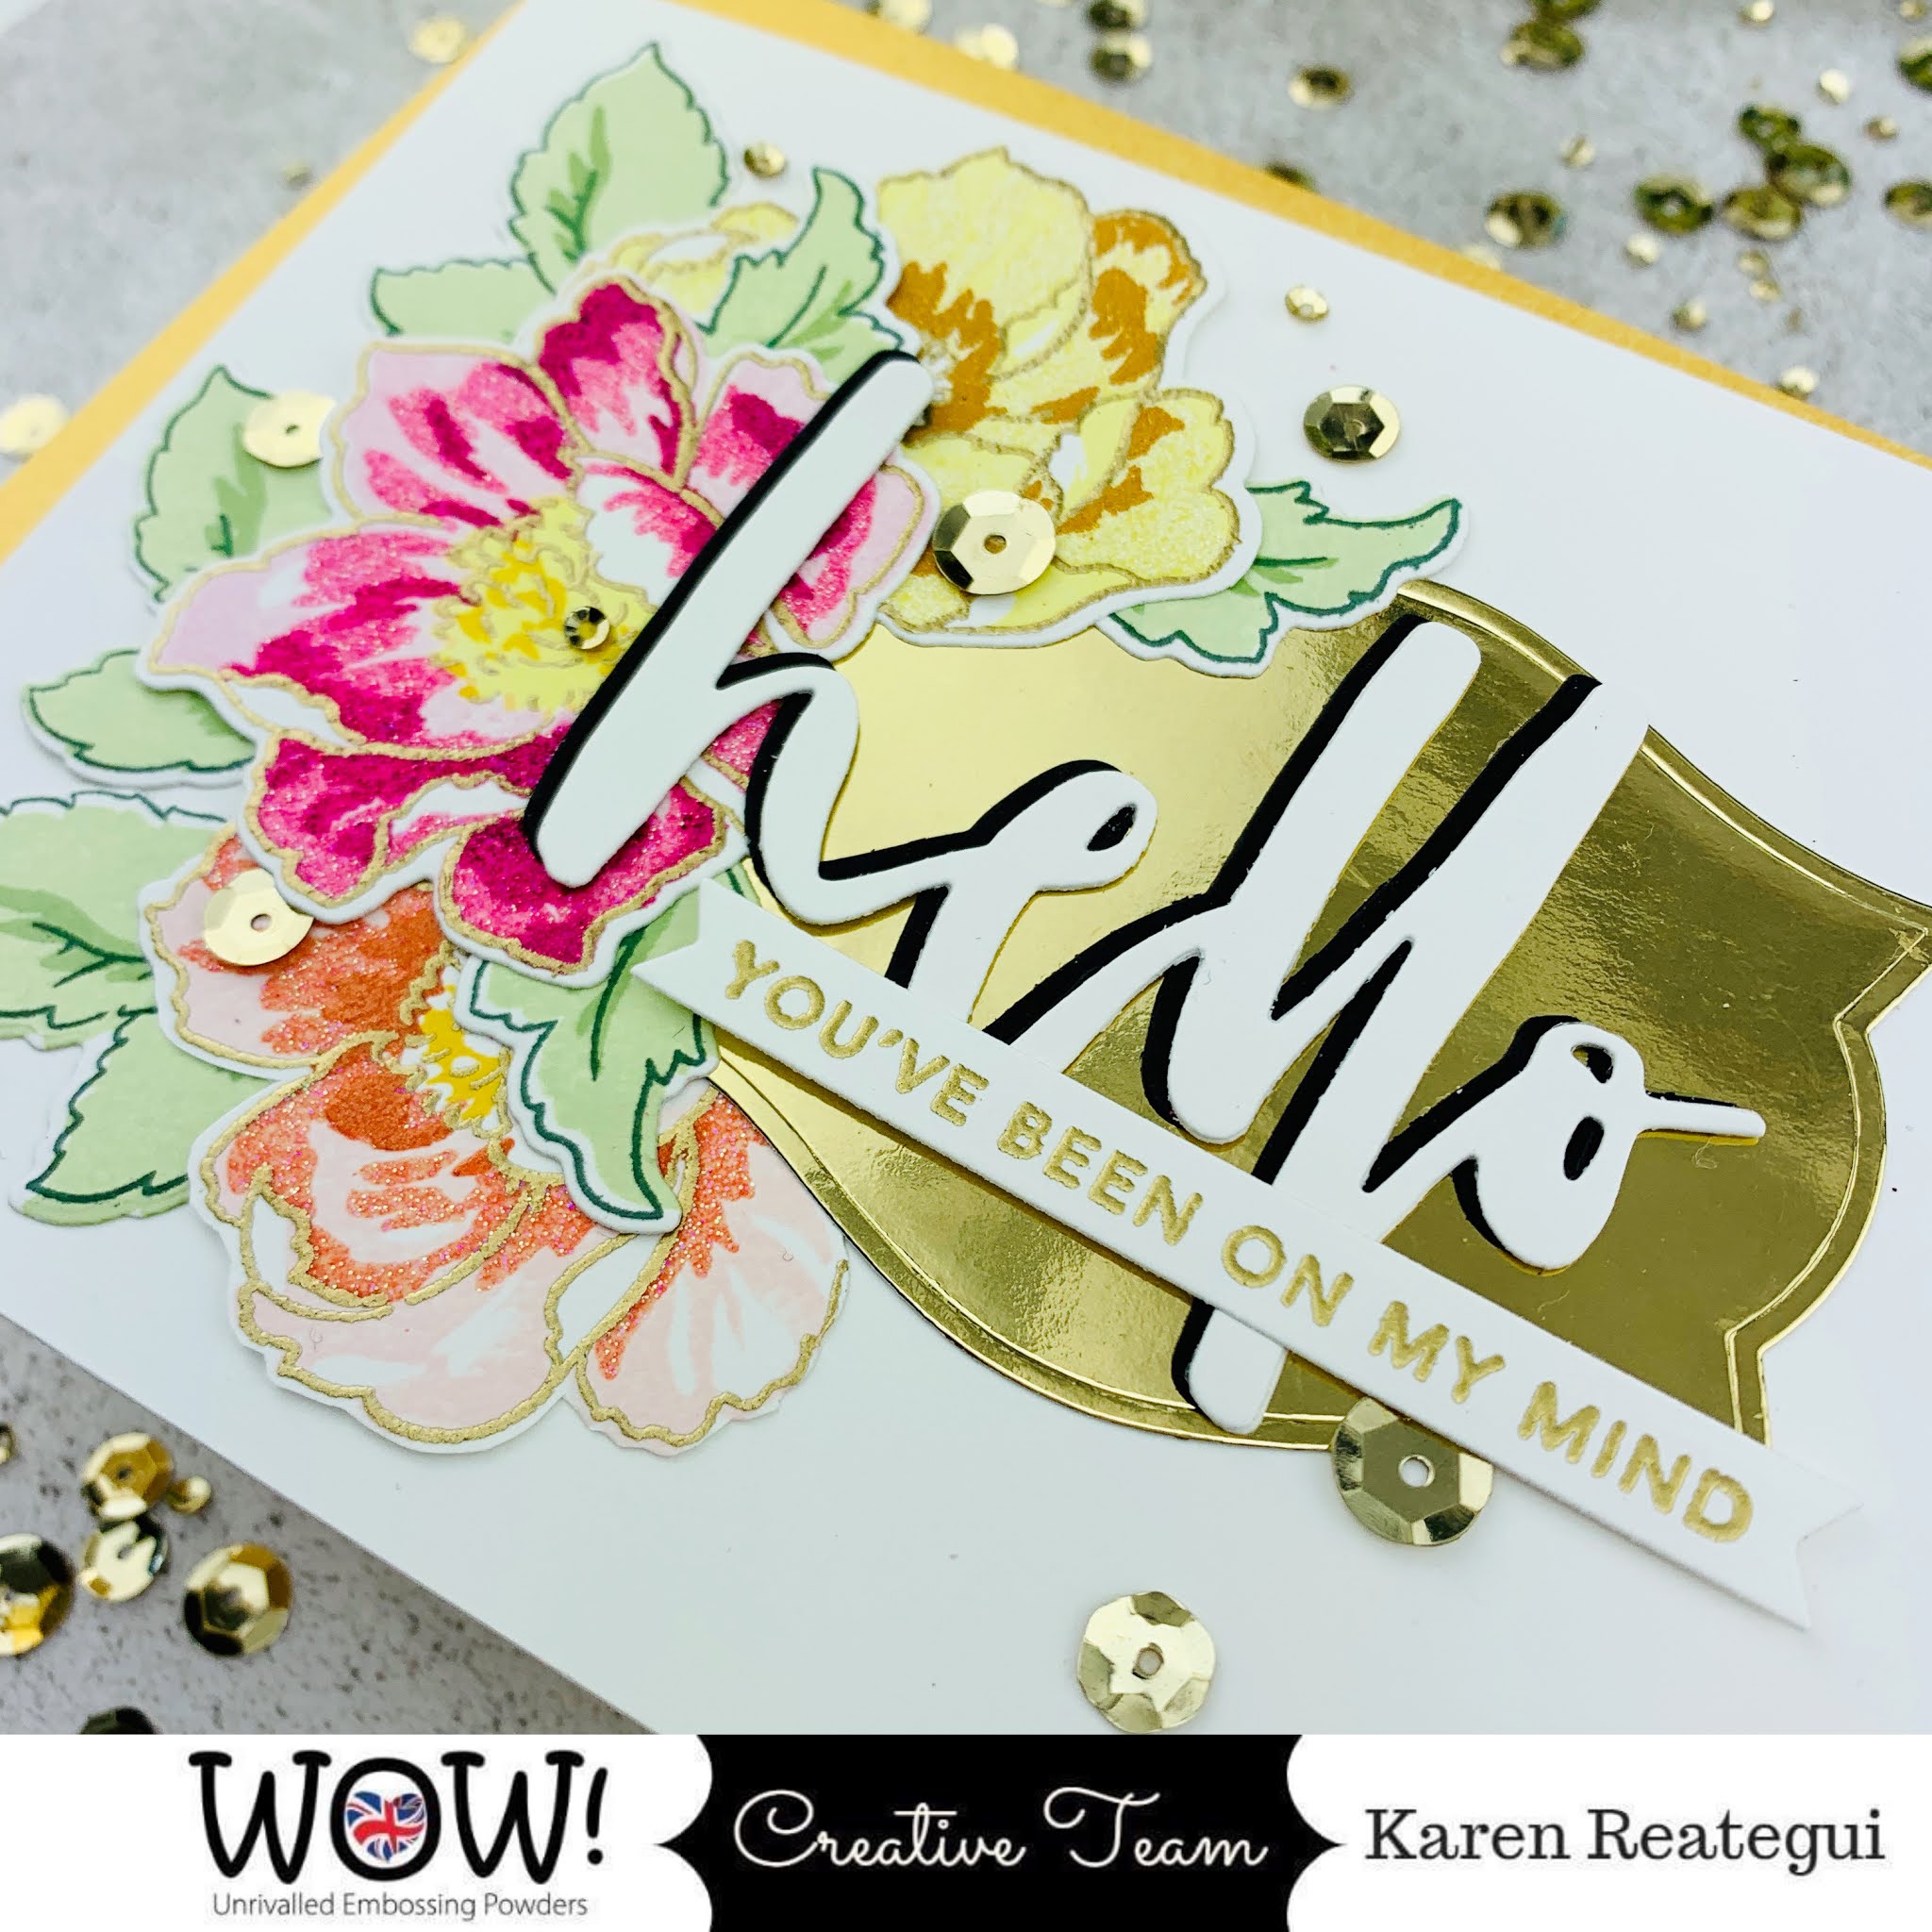
Then, I die cut the Altenew Waterbrush Hello Die our of black and white cardstock. I added the white die cut on top of the black one to create a shadow.


Here you can see those three layer of embossing powders. Let’s jump into my second card now. For this card I used the same flowers, leaves and embossing powders however I had some variations and additions to this second design.

As you can see in the picture below, I created a frame using the Nesting Labels Die using Gold Mirror paper too. And for the center of the frame I created a laminated sheet with WOW! Oh Gosh! Sparkles Glitter. This was really fun to create. Then, I die cut it using one of the Nesting Labels Dies.

Next, I adhered the gold frame to the laminated die cut. Added some glue to the back of it and placed it on top of an A2 panel.


This is another close up of this flower and the three embossing powder layers. It’s really amazing how you can create layers with these embossing powders.

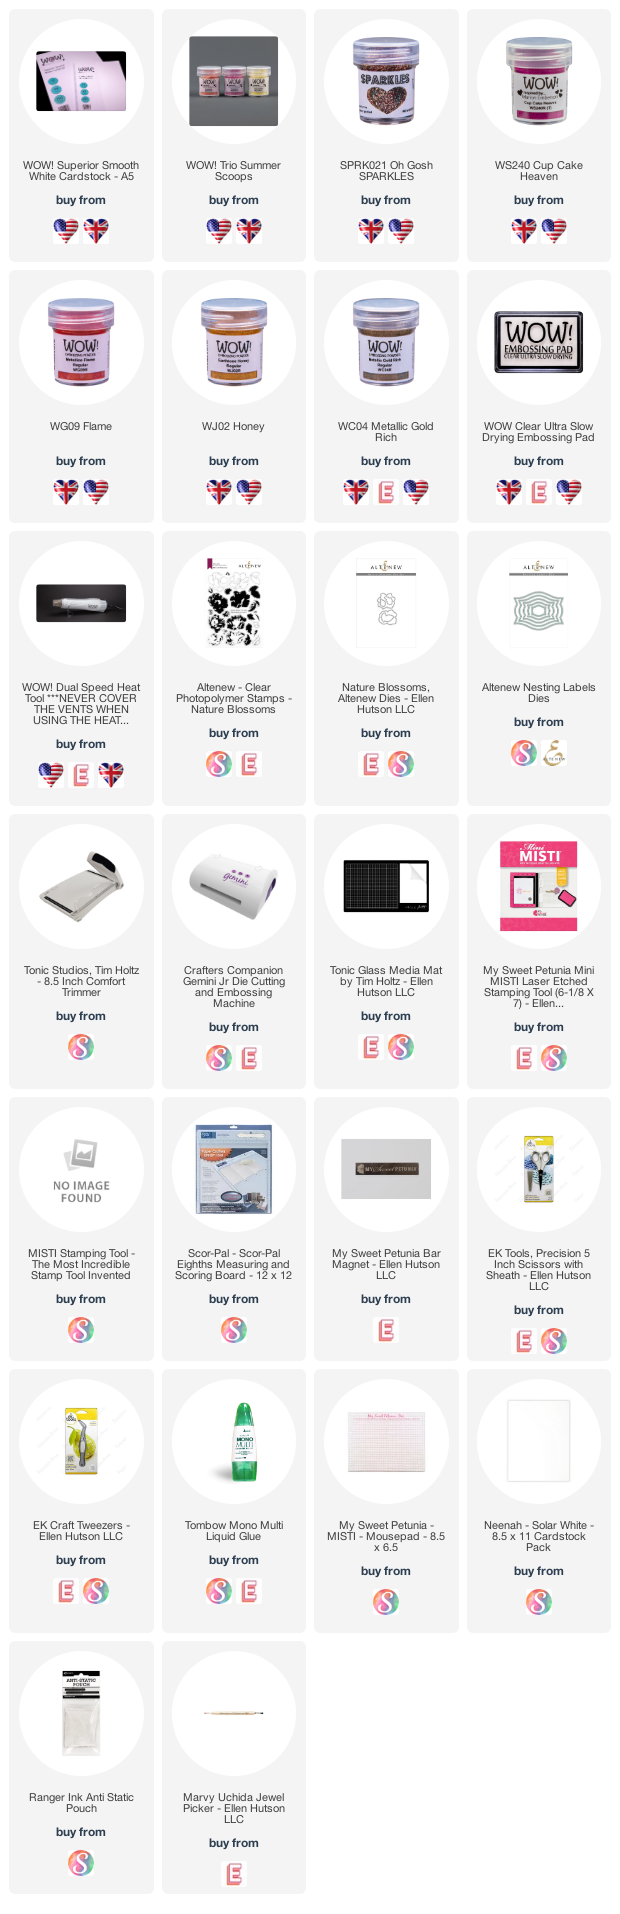
Here are all the embossing powders and embossing glitters used on these two cards. I hope you liked these creations and try this very awesome technique of creating layers with the embossing powders. Have a phenomenal weekend and see you next time!
Karen
Connect With Us:

Powder Arts Thermography Warehouse LTD, Caslon House, Lyon Way, St Albans, AL4 0LB
Two fantastic cards Karen and love the way you have replaced some of the layers of colour on the flowers with the beautiful glittery embossing, and the way you have them framing the pretty shaped sentiment mats with white/black layered sentiments, and finished with some lovely sequins too. x
ReplyDeleteThanks a million Pat 😍🙏🥰
Delete