

Creating Dip Dyed Heat embossing Video Tutorial:
(You can view this directly on WOW! Embossing Powder YouTube Channel HERE)
Creating Dip Dyed Heat embossing written tutorial:

Technique 1: Dip-dyed card


For the sentiment, die-cut the Heffy Doodle Thanks out of white card and layer this up 3 times. To add a little more interest to the sentiment, add clear hologram sparkle over the top to add a touch of sparkle. The embossed panel was foam mounted onto a white card base before the sentiment was added. Next, stamp a sentiment from Altenew Hello & Hugs stamp set in Hero Arts soft granite ink, trimming this down to foam mount onto the card front.

Technique 2: Dip-dyed sentiment
For the second card, we are going to create a dip-dyed look to a layered die-cut sentiment. To begin with die-cut the Altenew Fancy Thanks die out of Ocean Mist cardstock 3 times. Next, using liquid glue, adhere these together.
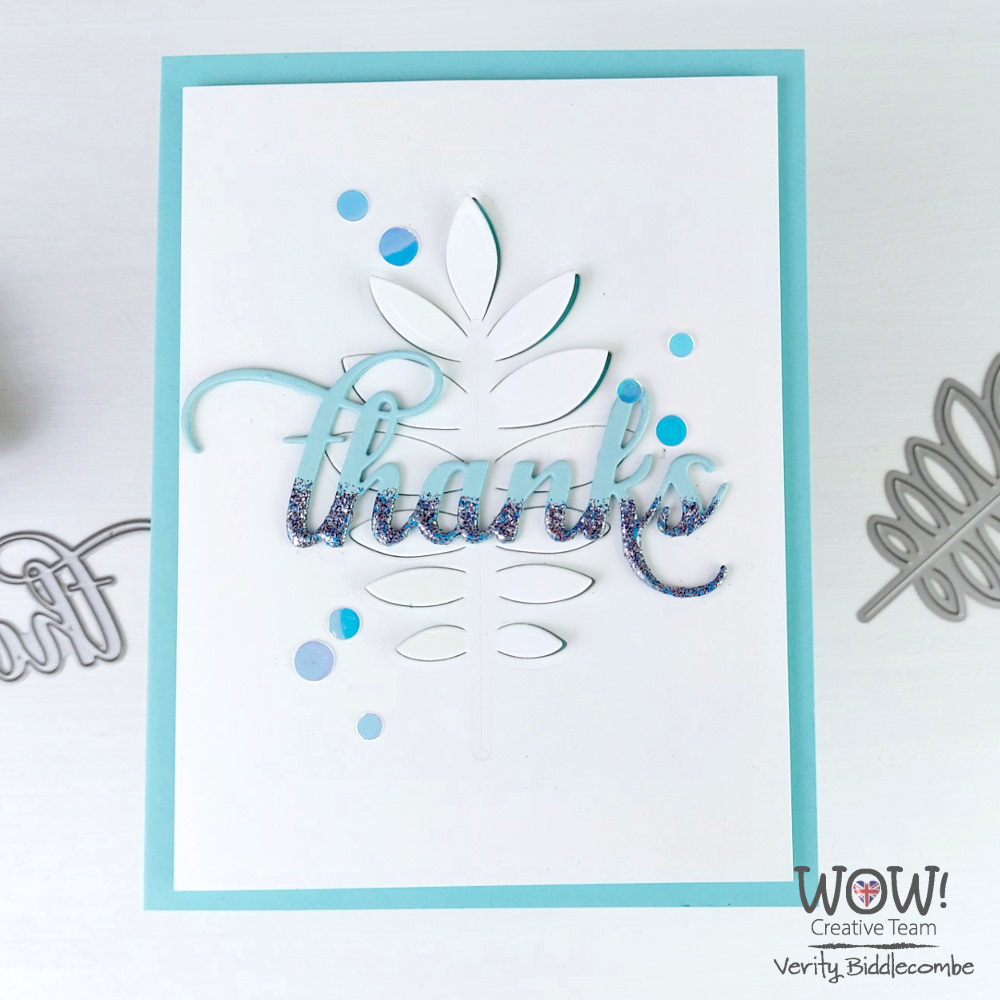
Once your layered die-cut is assembled, use your embossing ink again to use the direct to paper method to apply ink to the bottom half of the sentiment. Don’t worry about it being perfectly straight, the more organic it is the more it will look like it has been dip dyed.


To create the background panel, use the Altenew Pressed Leaf die on a white card panel. This does not cut the leaf design out, but partially cuts the leaves for texture. The panel was foam mounted onto a card base made from Gina K Sea Glass cardstock, and add a few foam pads behind the leaves to give definition. Just remember to not put foam pads behind the leaves where the sentiment will set.

Technique 3: Dip-dyed die-cuts
Start off by die-cutting the Altenew Monstera 3D die out of Ocean Mist cardstock To add a little colour to some of the pieces for more depth we can add some ink blending. Take you negative die-cut piece, flip it over and then use small pieces of purple tape to put on the back of the open spaces.

Now, when you flip it over again you can insert one of the die-cut pieces and you can easily ink blend onto the die as it is not longer fiddly. Next, use your blending brushes to apply the same colour inks as before to the die-cuts. Now, what’s great is you can get these smaller ink blending brushes, allowing you to add ink to smaller areas to create shading in smaller areas.

For the heat embossing, as these pieces are quite small and fiddly, get a piece of scrap cardstock and apply some repositionable tape. Next, place the die-cuts onto the card and you can now easily apply you embossing ink and powder before heat setting as you have a larger surface area to work with. Again, use the direct to paper method to apply ink before covering with Blue Moon Powder from the Comisc trio. This has lovely shades of dark blues with so clear powder mixed in too. Once they’re all heat-set, add small pieces of 3D adhesive foam pads behind the die-cut to layer up adding a little more dimension.


All 3 cards were then finished off using sequins from Lucy’s cards using Gina K Connect glue and my Pick-up-tool to adhere them down.
I had so much fun making these cards, and I love how they turned out. This Cosmic Trio has such beautiful colours, but then blue is my favourite colour so I could be a little bias there! So, do you like the dip-dyed look? Will you be giving it a go? Let me know and I’d love to know which is your favourite card!
Creating Dip Dyed Heat embossing Supplies:
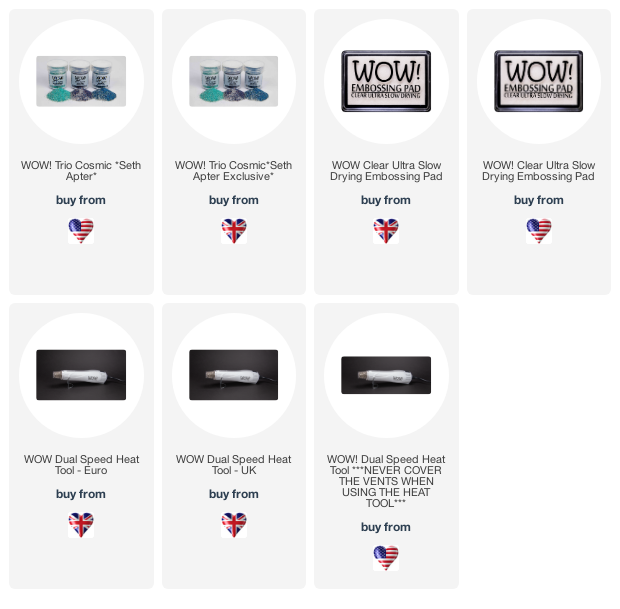
Other supplies:
All other links are not affiliate: Bumbleberry Papercrafts (BP)
 Pinstripe - Altenew Shop at: ALT | BP | SB |  Hello and Hugs - Altenew Shop at: ALT | BP | SB | CS (UK) | CS (US) |  Fancy Thanks - Altenew Shop at: ALT | BP | SB |
 Monstera 3D die - Altenew Shop at: ALT | BP | SB | CS (US) |  Pressed leaf die - Altenew Shop at: ALT | BP | SB |  Thanks Heffy Cuts - Heffy Doodle Shop at: BP | SB |
 Daydream Ink - Catherine Pooler Designs Shop at: SB |  Daydream Reinker - Catherine Pooler Designs Shop at: SB |  Aquatini Ink - Catherine Pooler Designs Shop at: SB |
 Aquatini Reinker - Catherine Pooler Designs Shop at: SB |  Mint to Be Ink - Catherine Pooler Designs Shop at: SB |  Mint to Be Reinker - Catherine Pooler Designs Shop at: SB |
 Soft Granite Shadow Ink - Hero Arts Shop at: BP | SB | CP |  WOW! Clear ultra slow drying embossing ink pad Shop at: CS (UK) | CS (US) | WOW (UK) | WOW (US) |  WOW! Clear ultra slow drying embossing ink refill Shop at: CS (UK) | CS (US) | WOW (UK) | WOW (US) |
 WOW! Clear ultra slow drying embossing ink pad & refill Shop at: CS (UK) | CS (US) | WOW (UK) |  Gina K Designs - Sea Glass Cardstock Shop at: BP |  Ocean Mist Heavyweight Cardstcok - Gina K Designs Shop at: BP |
 Neenah Classic Crest Solar White 110lb Cardstock Shop at: BP | SB | Neenah Classic Crest Solar White 80lb Cardstock Shop at: BP | Purple Tape - 0.5" - Thermoweb Shop at: BP | SB |
 Gina K Designs - Connect Glue Shop at: BP |  Scrapbook Adhesives 3D foam squares 1/4" white Shop at: BP | SB | "Life Changing" Blender Brushes 2 pack Shop at: BP | SB | CP |
"Life Changing" Blender Brushes 10 Pack Shop at: BP | SB | CP |  Teflon Bone Folder - Lawn Fawn Shop at: BP |  Tim Holtz 8.5 Inches Comfort Trimmer - Tonic Studios Shop at: SB | CS (UK) | CS (US) |
 Trim and Score Board - We R Memory Keepers Shop at: SB | CS (UK) | CS (US) |  QuickStik - We R Memory Keepers Shop at: SB | CS (UK) | CS (US) |
I hope you enjoyed today's video and stay tuned for more to come. If you make a card with this technique, make sure to tag us #wowembossingpowder so we can check your creations out!

I would be hard pressed to choose a favourite as they are all beautiful Verity and the blue tones with the partial embossing on the torn background, the sentiment and the cheese plant are all gorgeous. If I had to choose I think I would opt for the partially die cut leaves with the partial embossed sentiment as the leaves just lifting out of the card are so pretty. x
ReplyDelete