
Hey there my friend, welcome to the WOW! Embossing Powder Blog, this is Daniel with Del & Artie, back with another guest design to delight your senses. I hope you will take a moment to watch the process unfold in the video I created to accompany this post. You can find it here:
Throughout the post, you may encounter affiliate links to products I used. When you use these links, you help support my artistic efforts at no additional cost to you. Thank you for using them!
Today's project features a heat embossed background AND a heat embossed die cut focal point! So it seems I have built on the last two weeks. I have never used embossing powder so much in my life, and I really enjoy it.
To begin, I die cut the Lined You dies in two colors: Navy and White, to create a shadow YOU and a LINED YOU.

Next, I pressed the lined you die cut into my WOW! Embossing Ink and coated them with ink. I covered them with Oyster Glintz Embossing Powder and melted it completely.
Then, I prepared my stencil with Pixie Spray, a low-tack adhesive that helps stencils stay in place and does not tear paper when the stencil is pulled up. Next, I prepared the an A2-sized panel of Neenah Solar White 110lb cardstock with an anti-static bag. Then, I taped the stencil down over the panel and with a Picket Fence Blender Brush, I applied some WOW Embossing Ink over the top.
After lifting up the stencil, I poured some Oyster Glintz Embossing Powder over the stenciled design and with my tweezers I cleaned up areas where the stencil may have moved a fraction. Next, I melted the embossing powder with my heat tool, holding the panel down with my tweezers.
Then, I created a sentiment strip using the Taylored Expressions Simple Strips Background Stamp and a piece of scrap Navy cardstock. I inked up the stamp with WOW! Embossing Ink and melted some Opaque White Embossing Powder over it. Then, I trimmed down the sentiment to a thin strip, removing the word, "you," since I already have a huge YOU as the focal point.
To finish off the card, I stacked everything together using strong liquid adhesive and glued it on to the front of a card base. I didn't add any embellishments, since the whole card shines with embossing powder!

I hope you have enjoyed this project and that you feel inspired to try stenciling with your embossing powders. I like the creamy tone of the Oyster Glintz powder on the white cardstock. It adds a really nice touch without being too distracting from the focal point of the card.
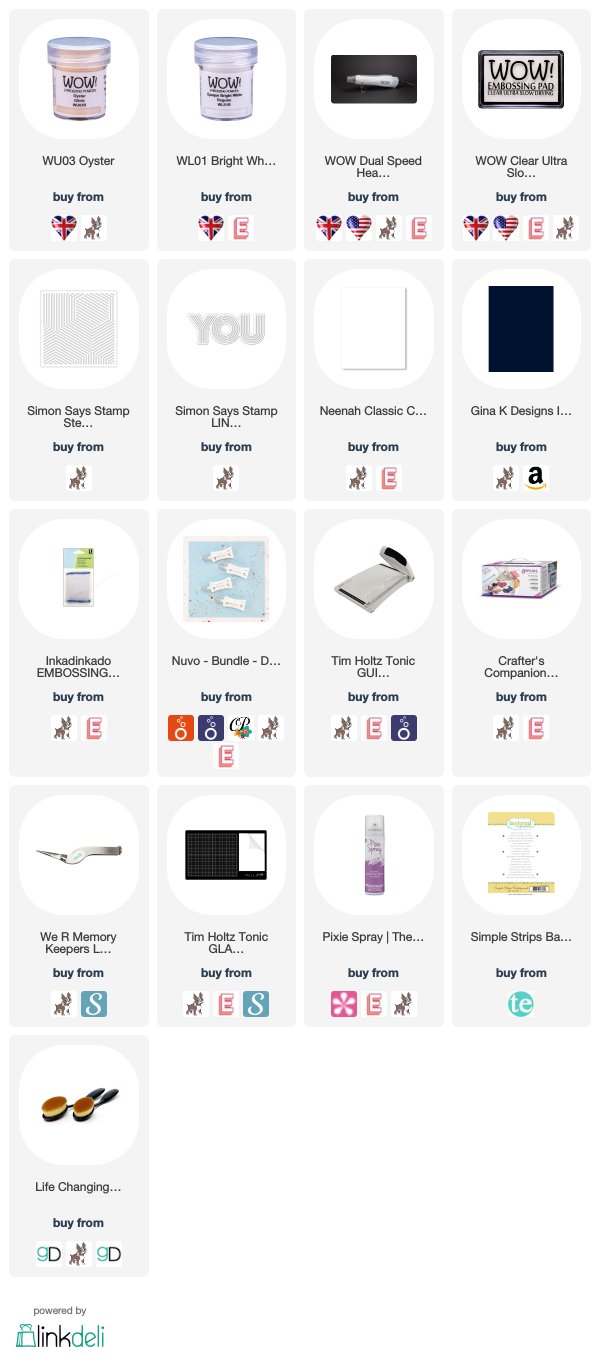
Below you will find a grid of supplies I used to create this card. Thanks again for using the links and encouraging my efforts at inspiration. Please feel free to follow me and connect with me where you socialize! On Facebook, Instagram or YouTube you can find me with handle: delandartie.
Have a wonderful and crafty day!
I love all the stripes with the embossed stencilled background and complemented by the die cut and embossed sentiment. A beautiful stylised card Daniel. x
ReplyDeleteAwesome stenciled background and love the bold YOU!
ReplyDelete