

Hello, it's Verity with another video and blog post as a Creative team member for WOW! For today's video I'm hoping to provide you with
some last minute inspiration for your Christmas cards if you still have a few
to make. I'm using some classic metallic embossing powders to make quick and
easy backgrounds to suit any stamp, die or embellishment you wish to add.
There's still time to make Christmas cards to hand out and I hope this video
gets you back in your craft area with your festive stamps and dies.
Quick backgrounds for Christmas with Classic Metallics Video Tutorial:
Quick backgrounds for Christmas with Classic Metallics written tutorial:
To start off, I've
positioned a piece of white card onto my grid mat, alligning the top with the
lines on the mat. Next, I'm using a nice cheap tool - paper!, to mask off a
line on the card. To keep the paper in place, I'm just using some washi tape to
adhere it down once I've use the lines on my grid mat to make sure it is
straight. Once, my area is masked off, I'm using my clear ultra slow drying
embossing ink and smooshing the pad down over the paper and onto the card. This
will add the embossing ink in a straight line across the card front.

Next, I'm moving the paper down a couple of lines on my grid and masking off a slightly larger area with the paper. Again, once masked off, I'm just smooshing the embossing pad down onto the card to add ink to the area. Now, just keep repeating this down the card front, changing the size of the gap or the masked area to add interest until you have cover the whole card front.
For the first metallic, I'm using Metallic Silver embossing powder as silver and white go beautifully at Christmas. Using eat setting two on your dual speed heat gun, just enjoy the powder melt as you heat it up and you end up with a lovely classic looking background that can suit any style of stamp you have to add to the top.


The first card uses very simple tools to create the background, but for the second background, I'm going to use a stencil by Thirsty Brush & co, which is a great hand-painted brush stencil. This time, I'm smooshing the ink through the stencil onto Gina k Cherry red card stock for a classic Christmas colour schemed. The Metallic I'm pairing with this is, of course, Metallic Gold Rich embossing powder. The gold looks so rich and luxurious when heat set against the vivid red card.


For the last background, I'm using another stencil again; this time this one is the Snow Flurry by My Favourite Things and I'm smooshing the ink through the stencil onto a dark blue card panel. Now, normally I would reach for my Metallic Platinum embossing powder for occasions like this as it is a such a beautiful metallic. But for this card, I wanted to step it up and I decided to add a little sparkle by using Metallic Platinum Sparkle which as small silver glitter mixed into platinum embossing powder.


A tip for when your heat embossing embossing glitter is to start heating from beneath the card. This will allow the powder to melt and trap the glitter in it. If you heat from above, you run the risk of the glitter blowing off before it is heat set into the powder. AS you can see, the sparkle just steps the background up a notch as it catches in the light.
To turn these backgrounds into cards, I'm first of all stamping the poinsettia from Altenew Modern Poinsettia and heat setting this in Metallic Gold rich powder. I want to add colour quickly and loosely for a more artistic look, so I'm going to make use of the emboss resist element by adding clear water over the top of the embossing. Next, I'm using a couple of red Brushos and sprinkle some of the powder over the stamp into the water.

To help the colour spread, I'm spritzing the image with clear water from a spray bottle and using my brush to help move the colour about. If you find it gets a bit too much or messy for your liking, you can easily take a clean piece of tissue and mop some of it up. To add a bit more depth, I'm just going back in to add more concentrated colour to the centre.
To speed up the drying processing, youR dual-speed heat gun works wonders. Heat setting one will allow you to dry the colour but isn't overpowering and moving the colour about. Also won't start to ruin your heat embossing. Once dry, I just fussy cut around the embossing so it was ready to add to my card.

For the second panel, I'm stamping the tree from Altenew's Festive foliage onto a piece of Vellum and covering this with metallic Platinum embossing powder. You might wish to run your anti-static bag over the vellum before you stamp as vellum can hold static more than regular paper. Remember when heat setting powder on vellum to make sure the gun is nice and hot before you bring it to the vellum and keep it moving about to prevent it scorching the vellum. The powder heat sets quickly on vellum. I'm also stamping onto white card, the heart that sits in the middle of the tree, and to link this to the background, I've covered and heat set this in Metallic Gold rich powder.
For the last background panel, I'm stamping the Angel from the Catherine Pooler Merry Christmas Angel stamp set onto white card. I always seem to associated angels with white and Silver, so of course, I had to use Metallic Silver for this angel and fussy the angel out once she was heat set. For this card panel, I wanted to add a little more depth, so I added some soft ink blending to the edges using Catherine Pooler Juniper Mist ink and a blending tool.

All the stamp elements were foam mounted onto the card panel panels and simple sentiments were stamped in black versafine ink onto strips of white card. A few Jewels from Lucy's card where adhere using Gina K Connect Glue and a pick me up tool for a little more interested and shine around the poinsettia. For the Christmas tree card, I've just added a select few Nuvo drops in Morning Dew. I didn't add any other embellishments to the angel card as it has that sparkle in the background.
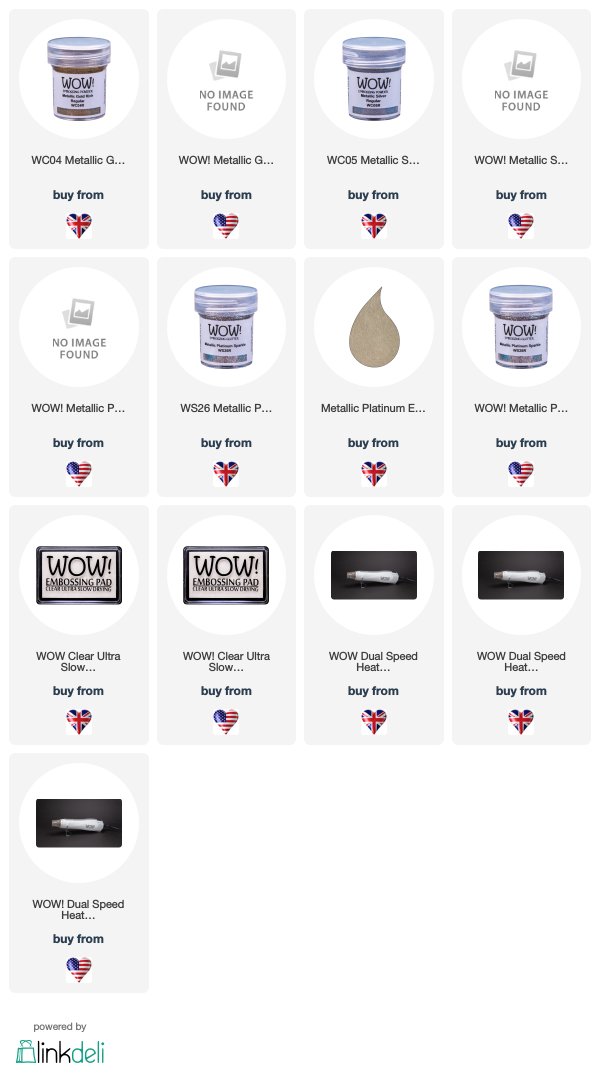
Supplies for Quick backgrounds for Christmas with Classic Metallics:
Other supplies used:
Stamps used: Festive Foliage (Altenew), Modern Poinsettia (Altenew), Merry Christmas Angel (Catherine Pooler Designs), Simply Winter Sentiments (Lawn Fawn),
Inks: Juniper Mist (Catherine Pooler Designs)
If you've still got a few more Xmas cards left to make, then why not try out these simple backgrounds using a selection of classic metallic. But if you're done for Christmas, why not try out these backgrounds for another occasion as they can suit any stamp or die.
I hope you enjoyed today's video and stay tuned for more to come. If you make a card with this technique, make sure to tag us #wowembossingpowder so we can check your creations out!
Till next week,
Verity
Connect With Us:

Powder Arts Thermography Warehouse LTD, Caslon House, Lyon Way, St Albans, AL4 0LB
Three great quick card designs Verity and love the pretty stripes on two and the spots on the other as a background, and the angel, poinsettia and tree all look beautiful over the top. x
ReplyDeleteAWESOME creations! I love the embossed backgrounds!
ReplyDelete